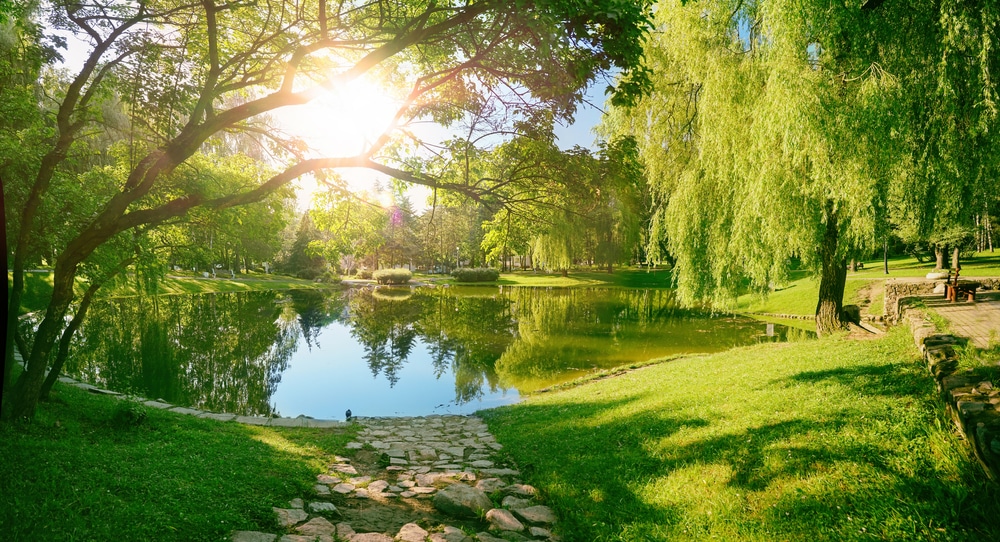
Having a pond in your yard will undoubtedly add to the beauty of your gardening setup.
There are some amazing ideas and unique presentations that you can develop with a pond in play, and you will have complete control of the aesthetic.
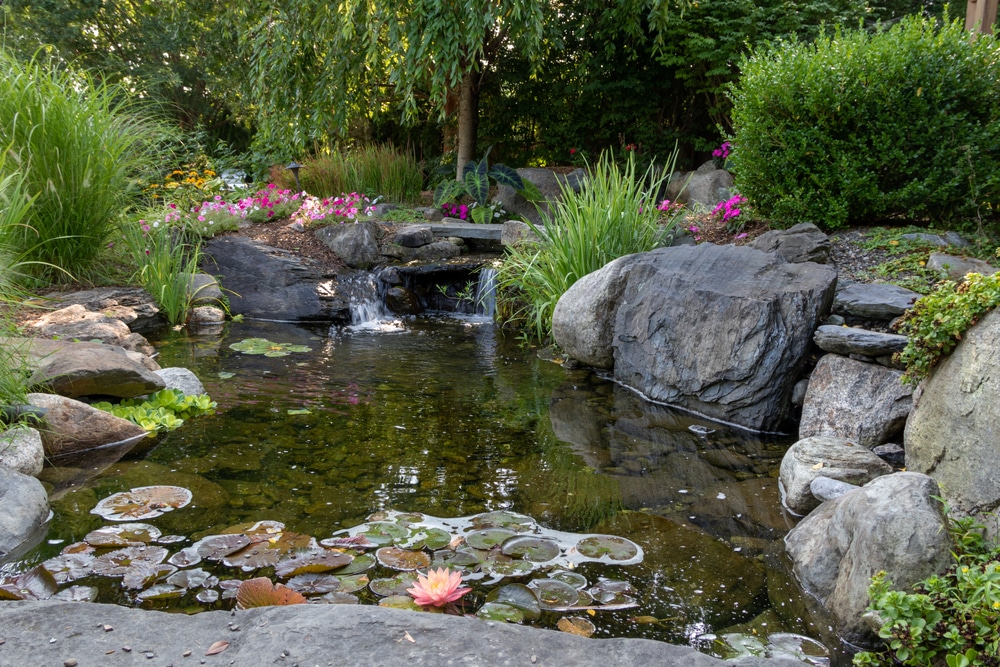
However, that doesn’t mean that it is all sunshine and rainbows when sticking with this option. You will find that many owners have to spend hours of their time every week managing and maintaining a pond.
Many things can go wrong, and you will have to set aside enough time to keep everything in order.
It can be pretty hard to maintain a pond if you don’t have time in your schedule. This is the reason why most gardeners end up filling their ponds with dirt once they realize the struggle behind maintaining a pond.
It is especially true for people that have pets like dogs roaming around in their yards.
So, even though the overall procedure is relatively simple, many people can be confused about how to go about filling a pond with dirt. If you’re unsure about the same thing, then follow through with this information.
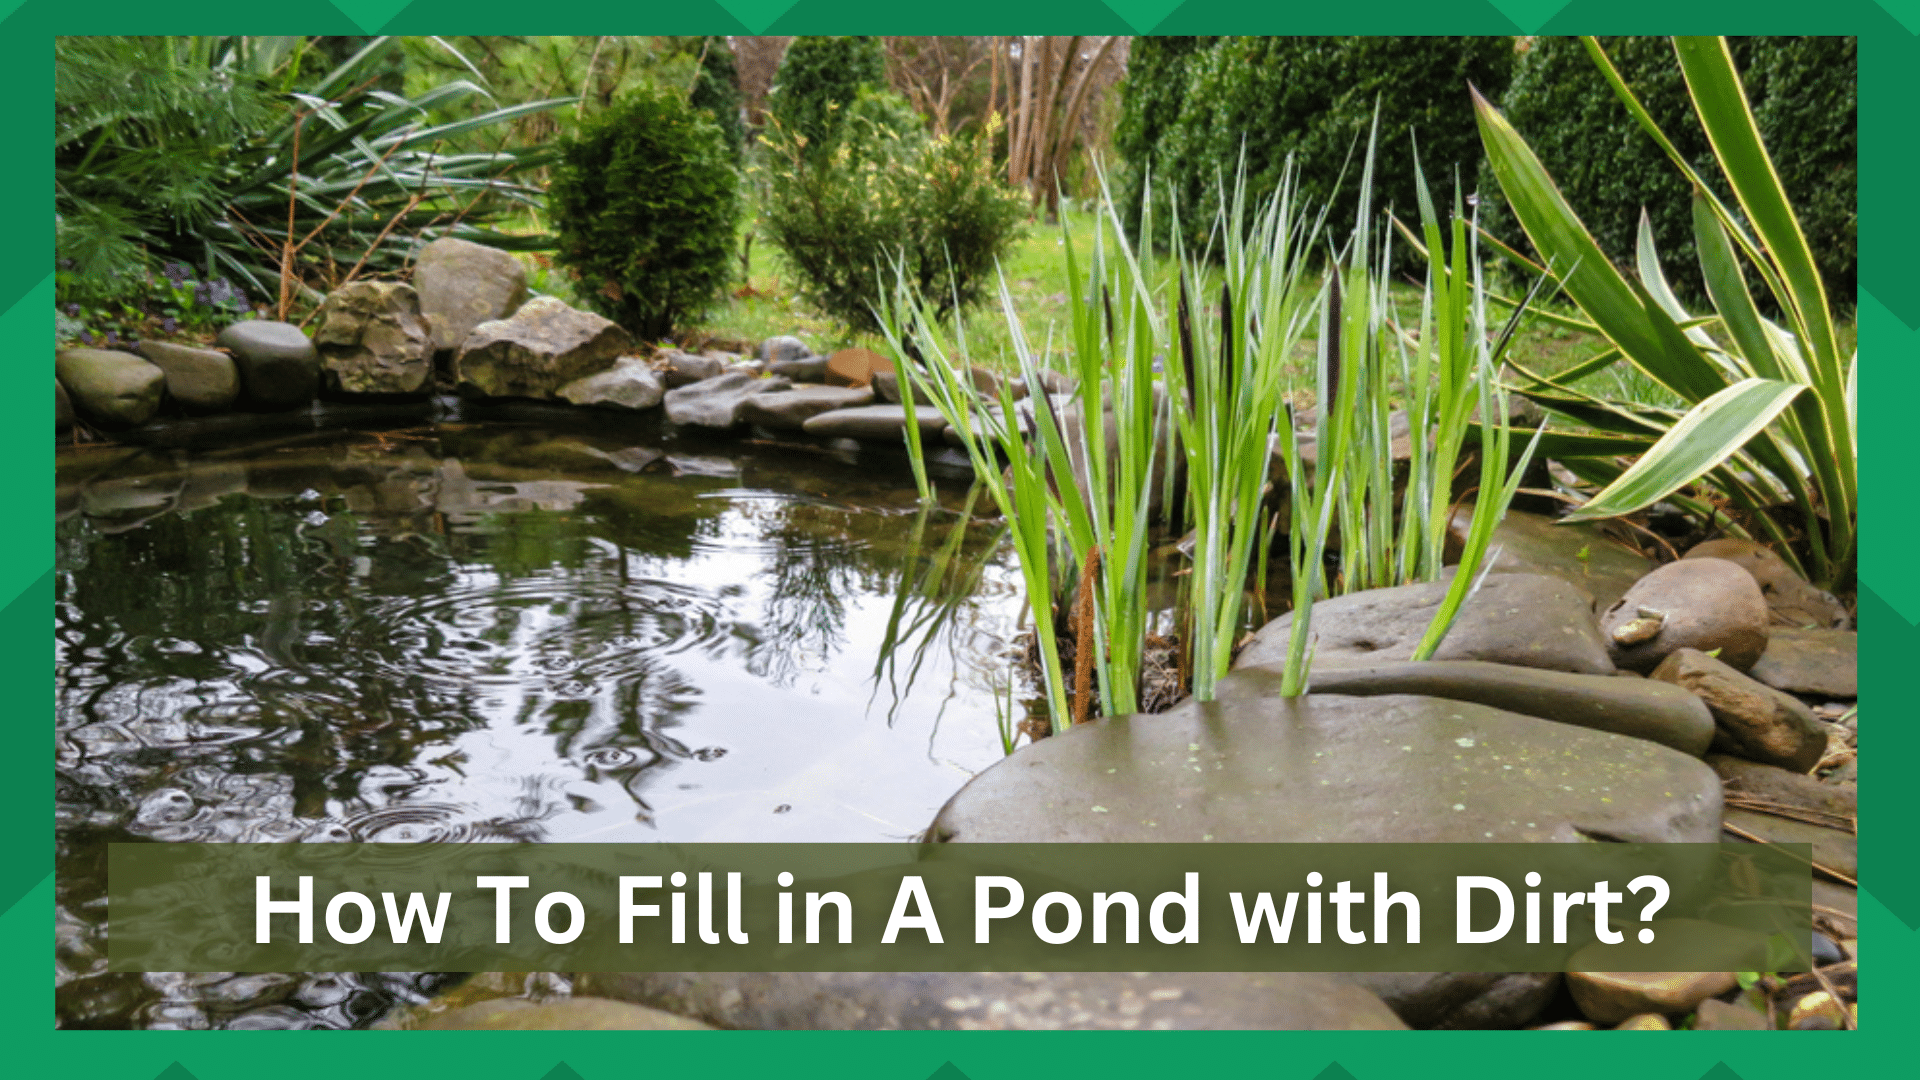
How To Fill in A Pond with Dirt?
When it comes to filling in a pond, there are a ton of techniques that you can use. Some owners like to turn the pond into something else to maintain the same aesthetic, while others like to blend it completely with the yard.
So, you can decide for yourself what will be the best option for you.
With that out of the way, here are some simple pointers that you should follow when filling in a pond with dirt.
- Pump The Water Out
To start, you will need to rely on a pump to get all the water out of the pond. Getting the maximum amount of water out of the pond will only make it easier when you have to remove the sludge and other rocks.
So, once you have removed all the water from the pond, you can move towards shoveling out all the clay or the sludge at the bottom of your pond.
Depending upon the size of your pond, it will take several hours to perform, so get some help from your friends or family members.

One more thing to keep in mind here is that you should remove all the wildlife from the pond. If the pond is sufficiently big, it is not that rare to see wildlife thriving in those conditions.
So, you will have to go about adjusting this situation accordingly when getting rid of the wildlife.
The simple thing that you can do is to transfer everything to a neighboring pond or to your local lake.
That way, you will not have to worry about destroying all the wildlife and it will keep thriving in a new home with a much better layout.
- Remove Liner
Once all the sludge is out, you can remove the liner without any difficulties. Just make sure that all of the extra material has been removed from the system.
You can rely on a shovel to get rid of the extra dirt, and managing the system will be fairly simple from this point onward.
Depending upon the depth and the size of the hole, the sludge can be pretty annoying to handle. However, if you have enough manpower, managing this process will not be that challenging.

So, we will suggest that you get help and don’t try to get through the process on your own.
Otherwise, you will just be stuck in this process for days, and handling the process can be challenging. It won’t even be that bad of an idea to hire some locals to help you out.
These professionals might charge you a bit, but they will get through the job more quickly.
- Fill in The Space With Rocks
At this stage, your pond is ready to be filled in with dirt. Now you are free to use rocks or dirt to fill in the maximum volume of the pond. Your main focus here should be on taking up maximum space in the hold, and relying on larger rocks is the best idea.
According to many experts, it is better to use rocks to fill the volume faster and provide more stability to the filling process. So, if you have some large rocks lying around, now might be time to fill in the pond.
Even if you don’t have access to larger rocks, you can source them for a fair price from the local dealer.
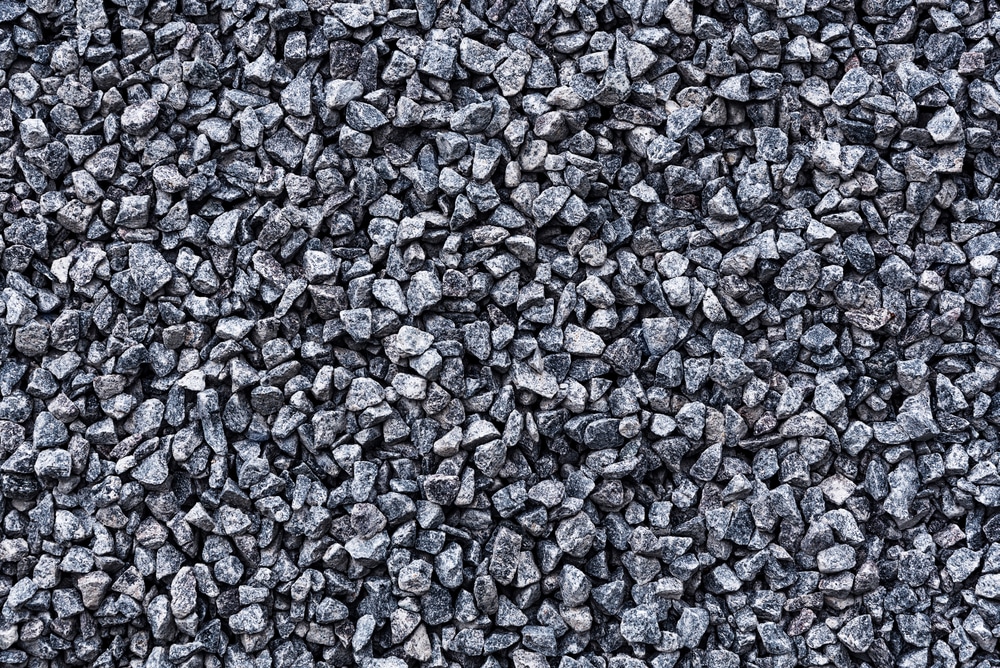
- Adding Gravel
After using rocks to cover up the hole and the maximum mass in the hole, you can just rely on smaller rocks or gravel to get rid of the spaces in between. It is next to impossible to find big rocks that will interlink perfectly to provide you with no spaces.
So, you will have to adapt to the situation here and rely on the gravel and smaller rocks to get into the smaller gaps. This will connect the structure and create a more robust base for the system.
The good thing is that it will not take you as much time to manage the gravel.
All that you have to do is to pour in the mass in the spaces and then add a complete layer on the top as well. You need to completely encase the larger rocks with the gravel and then go about adding some pressure.
- Compact the Filling
Once you’re through with the foundation, you can compact the filling with a weighted roller or you can just walk on this base.
This will help you further solidify the foundation and the gravel won’t move around that much when you go towards adding in the top layer.
It is one of the most crucial steps in the process and you should never ignore the compacting part. Otherwise, you will just be stuck with a poor landscape that will be pretty difficult to manage.
- Using Dirt or Topsoil
After filling the pond with rocks, you can use dirt to cover all the exposed regions and then use a roller to level the filled area. Some owners also like to rely on sand or topsoil for this process.
So, if you’re not that worried about the budget and just aiming for a cleaner finish, then going with the topsoil or sand options is a better idea. Yes, you will have to spend a bit of cash, but the final presentation will be much better.
Add more dirt if it is necessary and level out the whole region with essential tools. There is nothing more to it, and the only time-consuming part is getting the sludge out of the pond.
Using rocks makes it easier to fill up the pond faster, but some large rocks are too heavy to carry for one person.
So, you should try to break up these rocks into smaller pieces and then dump these pieces into the pond. You can either use dirt or gravel to fill in the vacancies, and that should be all you need to fill in a pond with dirt.
One last note, some owners also like to rely on the landscape fabric to discourage the growth of weeds. Dealing with weed growth can be one of the most annoying things, and you will thank yourself in due time after relying on landscape fabric.
So, be sure to reach out to the local hardware dealer and order landscape fabric. This small layer will help you a ton and you will not have to worry as much about the management of this filled pond.
Hopefully, you will be sorted out at this stage when it comes to filling in the pond with dirt.
To Conclude
To fill in your pond with dirt, you need to first take care of all the water and sludge at the bottom of the pond. So, you will need a pump to remove the water and then shovel the sludge out of the pond.
Once this procedure is done, it is pretty simple to fill the pond with dirt.
All you need is to bring a few loads of dirt and some heavy rocks to cover the volume of the pond. Put in the rocks first, fill the spaces with dirt, and level out everything with a roller.
This should be enough to help you out, and you will not have to worry about spending more time on the pond.
Alternatively, you always have the option of hiring an expert. There is simply no point in going through with all of this hassle when you have the budget to hire an expert for this job.
You can look towards any local contractor and he will do a much cleaner job for you.
Yes, spending money on a simple project might not seem like the best idea. However, when you’re inexperienced, you will have to spend a lot more time on management.
So, be sure to keep all these pointers in mind when you’re stuck, and go with the professionals.