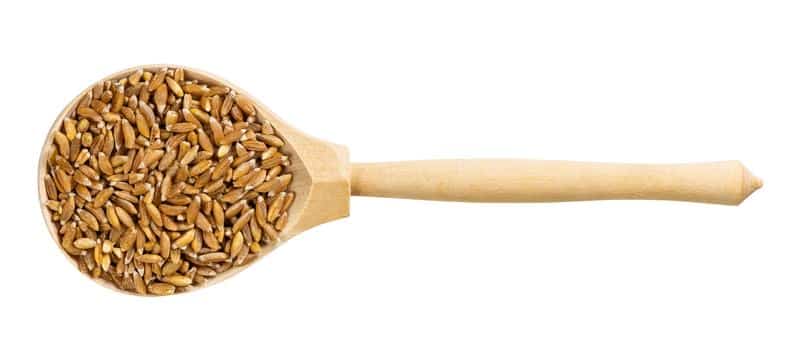
Faro is one of the most nutritious grains and is suitable for people who can digest gluten. This is a savory grain, which has a high percentage of zinc, vitamin B3, and fiber, along with a satisfying chew.
It can be added to cereals and salads since it has cinnamon undertones and cashew flavor. For this reason, many people prefer growing their own batch of farro and using fresh farro for their salads and breakfast cereals.
However, since it’s different from regular wheat, many people don’t have an idea about the correct growing process.
Learning How To Grow Farro Most Effectively
Just like other varieties of grains, you need to follow the seasonal instructions to ensure proper growth. You can start raking the soil gently and plant the farro sees in the soil.
It can be planted in spring as well as fall as long as there is enough time for it to grow. Make sure you leave three to five inches of space between the seeds as they need proper space to grow over the course of a few months.
The best thing about farro is that you don’t need nutrient-rich or high-moisture soil to grow this grain. It can grow exceptionally well, even if the nutrient level is average.
Usually, the farro takes approximately three months to grow, and mature – this duration is enough to make the farro harvesting-ready. However, it’s suggested that you wait till the farro achieves a golden-brown color.
In fact, if you are growing farro in the backyard, you will be able to harvest the grains with your hands. On the other hand, if you are growing farro on a large scale, you can use the sickle to remove the grains.
When you are done harvesting, the grains must be kept in a dry and cool place, and it’s suggested to use an airtight jar. Keep in mind that proper storage is important to extend the grain’s life and helps maintain the rich flavors. The growing steps include the following;
- Planting
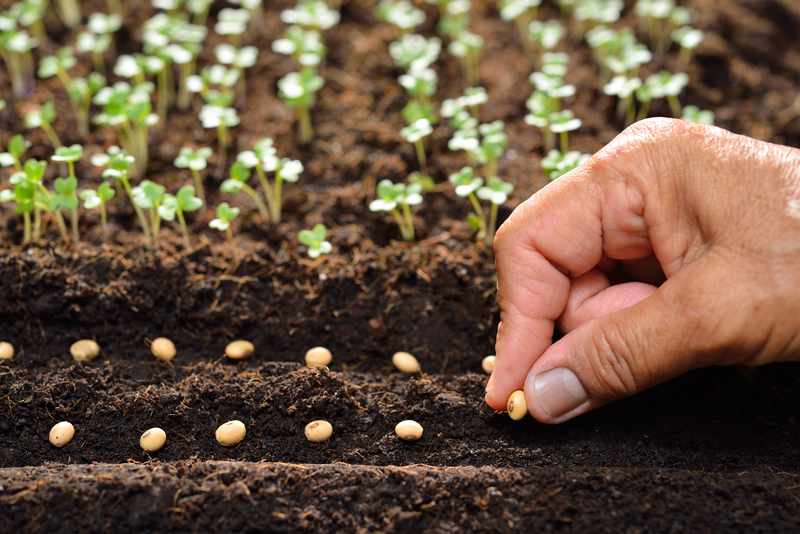
To plant the farros, you need to prepare the soil with gentle raking. It is suggested to plant the seeds at one-inch apart, and the rows should be approximately six inches apart.
In addition, you can sow the farro seeds at 0.5-inch depth. It can be sowed in spring as well as fall, depending on when you want to harvest the grains.
You need to ensure that soil is friable rather than compact like cement. Moreover, do not plant the seeds too deep into the soil as it can restrict the airflow, resulting in growth issues.
It is suggested that rack the soil after seeding as well to make sure the seeds are covered with soil. Last but not least, you can add some farro-compatible fertilizer to the soil to ensure accelerated growth but keep the soil loose.
When planting the seeds, you must be careful about the location because farros need approximately eight hours of sunlight to have a proper growing experience.
On the other hand, if you are living in a warm country, make sure that you provide some shade (you can use shade netting) after seven to eight hours because over-exposure to sunlight can result in rust spots.
- Growing
Farro is different from the modern hybrids of wheat, which means it can thrive pretty well in soil that doesn’t have too many nutrients and doesn’t get too much rain.
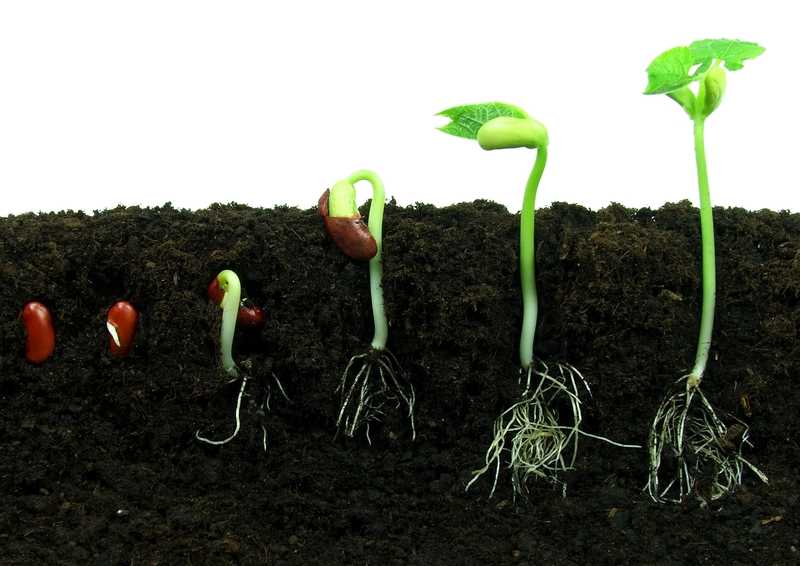
The seeds should be grown until the maturity phase, which is around three months, but it can take over four months, depending on the weather and growing conditions.
Usually, the germination process starts in the first week, and once the germination starts, you must keep the area free of weeds and well-watered.
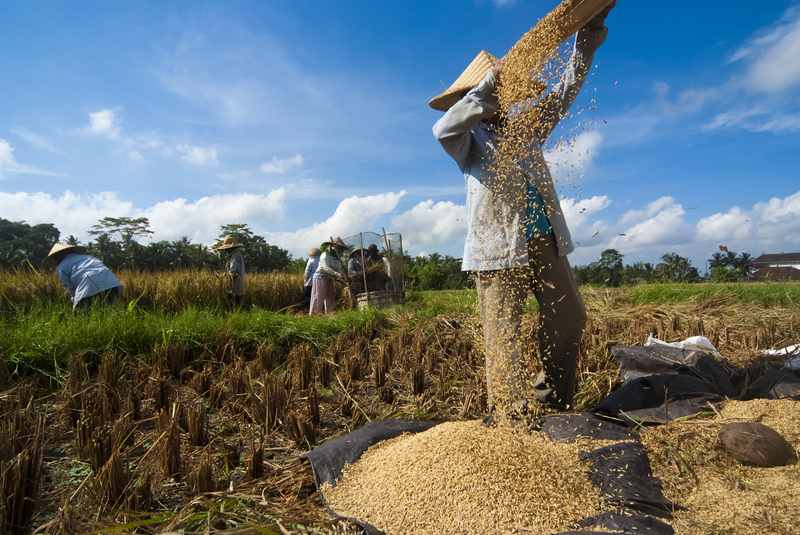
- Harvesting
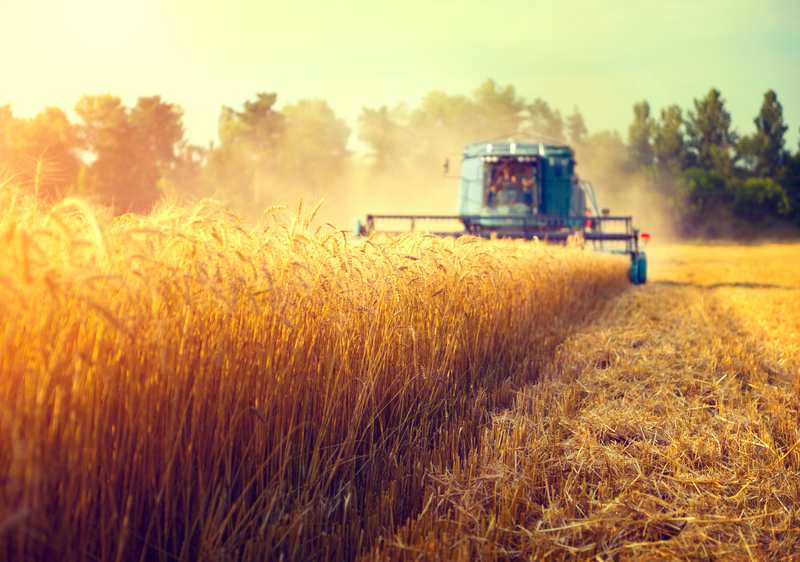
You can start harvesting the farro when the plants start achieving the golden-brown shade, and the seeds’ heads are completely mature. In addition, you can cut one stalk of this grain and bite it – if it’s hard to bite, you can start harvesting them as they are ripe.
As far as the harvesting method is concerned, you can snap off the heads with your hands or use a sickle or scythe (these are hand tools that are readily available at gardening stores or nurseries).
- Threshing

When you have harvested the grains, you need to begin the separation of farro berries from the plant. You can thresh the farros by hand or use a bucket. If you are using your hands, just pull off the farro berries from its stalks.
On the other hand, if you are using the bucket, you have to slam the farro against the bucket’s edges, and the bucket will be filled up.
- Dehulling
Farros have a hull, which means the separation process might be a bit tough. However, the hull protects the farro grains from mycotoxins, which are a common issue with these grains.
The dehulling process includes smashing the farro berries to help them break from the hulls. For this purpose, you can also use a rolling pin. In addition, it is recommended that you cover the farros while smashing to ensure they don’t fly out.
- Winnowing
Once the farro grains are dehulled, you will have the husk residues and the main farro berries. For this purpose, you have to winnow the farros by using a fan. You can turn on the fan and let it blow across the bucket.
You can also grab the handful of farros, and the lightweight plant residue and hulls will fly away from the fan’s wind, and the farro grains will be left behind.
As a result, your farros will be ready, and you can store them in airtight containers. However, if you are afraid of the worms and bugs, it is suggested to heat the grains in the oven at a temperature range of 130-degrees Fahrenheit to 140-degrees Fahrenheit (use a baking sheet).
You have to heat it for an hour. In addition to heating in the oven, you can also opt for a dehydrator.
Using Farro
Having home-grown farro is extremely rewarding. Since it’s nutritious, you can add it to your daily routine by adding it to salads and cereals. However, you can also mill the grains into flour, which lasts for one to two months in a non-humid environment.
The flour can be used to make tortillas and wraps, and you can add some to the pancake batter as well. Also, you must not put grains and/or flour in the refrigerator because it’s too humid.
Tips To Take Care Of Farros
Growing farro is pretty easy, but there are various tips that can help improve the outcomes;
- Make sure the soil is raked properly and has some fertilizers to ensure proper growth (using an organic fertilizer would be more suitable)
- Proper watering is important to ensure proper germination, which is why it’s suggested to water the farros an inch of water every week
- It is better to heat the farro in the oven for an hour to prevent the chances of insects or bugs damaging the grains
- If you use a dehydrator to prevent the bugs infestation, it is suggested that you use it for an hour and at a temperature of 150-degrees Fahrenheit
- Make sure you wear the gloves during dehulling and winnowing process because the stalks have a hard covering which can cause scratches on the hand
- You must clean the seeds before sowing them to make sure they are exposed to water and soil’s nutrients; it is important for growth
- You can treat the seeds by using a fungicide to make sure the growth is not stunted
- It is important to cut out the weed regularly, and you can also use weed-control chemicals to prevent the weed growth
To Conclude
Farro might seem complicated to grow, but you don’t need to follow any special techniques to grow this grain. This is because it can be grown in average soil and will be ready within three months.
In addition, you can easily harvest the farro with basic gardening tools or hands. So, just follow the information provided in this article, and you will have your own yield of farro growing in the backyard.