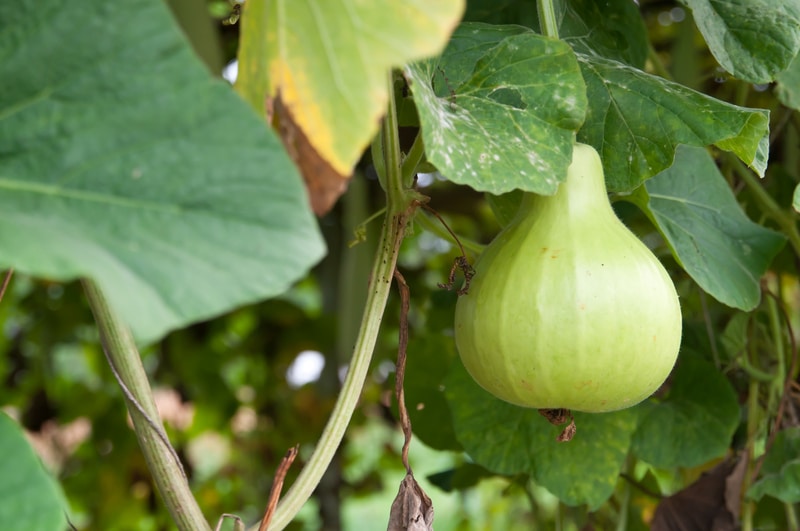
Gourds are fruits of some flowering plant species. Many gourds are edible, while some are not edible.
Such gourds are mostly used for decoration purposes. The gourds can make beautiful, unique, creative bowls, birdhouses, rattles, and whatnot.
Gourds are used for decorating once they are dried out from the inside out. But before painting the gourds for decoration, they must be cleaned first.
Therefore, our article will mainly focus on the techniques and methods of “how to clean dried gourds properly.”
How To Clean Dried Gourds?
Cleaning dried gourds are simple, but it can be challenging for beginners. To clean the dried gourds, follow the steps given below:
- Take a bucket of size in which your gourd can be easily submerged. You can also use a sink for this purpose.
- Submerge the dried gourd in medium-warm water. Also, add some bleach to the water to properly clean the gourds.
- Let the gourd soak in the water for about 20 to 30 minutes. This will make sure that all the dirt can come out easily.
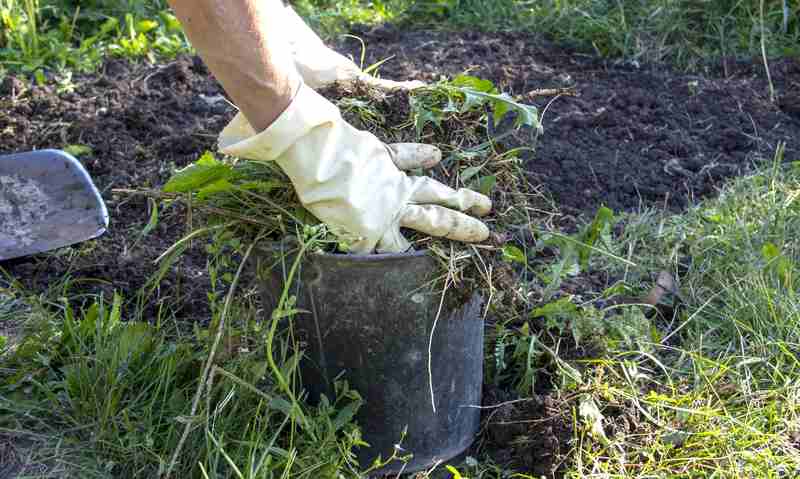
- Next, cover your mouth and nose with the help of a mask. Also, use gloves to protect your hands.
- Clean the gourd in the process of scrubbing. Use a wire mesh scrub or a cereal spoon for this purpose.
- Remove all the dirt by scrubbing the gourd.
- Ensure that you clean all the dirt and mold.
- Once the dirt is removed from the gourd skin, take the gourd out of the water.
- Dry the gourd. You can use a towel or cloth for this purpose.
- Once dry, sand off all the excess skin present on the gourd.
Gourds can be preserved and used for years if you handle them properly.
If you use dried gourd for painting and decoration, you will need a spray of water-based primer. This will prevent the paint from bleeding through the cracks on the surface.
In case you are painting and decorating the gourd to be left out in the sun, it is recommended that you apply 3 to 4 coats of sealer to ensure that the paint lasts longer and does not fade away.
Also, use paint that is UV protected and will not fade away in direct sunlight.
How to remove dark spots from gourds?
Removing dark spots from gourds can be challenging, but it’s not impossible. Gourds are an interesting vegetable used for centuries in many cultures as food and decorations.
Unfortunately, some gourds can develop dark spots over time due to harvesting techniques or improper storage.
If you have ever had to discard a gourd because of these dark spots, then you know what a waste it can be.
Fortunately, there are some methods for removing dark spots without sacrificing the quality and taste of your gourds.
The first step in removing dark spots from gourds is to clean them as soon as possible after harvesting or purchase.
If the gourds have been stored for a long time, then it’s important to ensure they are still viable for use.
To clean the gourd, rinse them off with cold water and let them air dry. It’s important not to leave any excess moisture on the surface of the gourds, which can cause the dark spots to return.
Once you’ve successfully cleaned and dried your gourds, it’s time to remove the dark spots. The easiest way is to use a mild soap and water solution.
Combine one part mild dish soap with two parts warm water and mix. Soak a clean cloth in the solution and gently rub it over the affected areas of the gourd.
The soap and water will help to break down the dark spots, making them easier to remove.
It may take several rounds of cleaning, but eventually, the dark spots should start to disappear.
After all dark spots are removed, use a clean cloth to rinse off the gourds and let them air dry.
Once completely dry, you can store the gourds in a cool, dark place until you’re ready to use them.
What to avoid when cleaning dried Gourds?
When cleaning dried gourds, it is important to take proper care when handling them and to avoid certain practices that can damage the gourd.
To ensure that your finished product will be of good quality, here are a few tips on what to avoid when cleaning dried gourds:
- Do not cut into or otherwise damage the gourd. Cutting into the gourd will weaken its structure and cause it to be more prone to cracking or breaking while you are working with it.
- Avoid using strong chemicals or cleaners when cleaning your dried gourd. These can harm the gourd’s surface, leaving behind a residue that may affect the color or overall appearance.
- Do not scrub too hard to remove dirt and debris from the gourd’s surface. Abrasive cleaning materials can cause scratches, and vigorous scrubbing can ruin the gourd’s natural texture.
- Avoid soaking dried gourds in water. Gourds are porous and can absorb water, which can cause them to swell, become brittle, and even rot.
- Do not use metal tools or wire brushes to clean gourds; these may scratch the surface of your gourd if used incorrectly. Instead, use a soft-bristled brush or cloth for cleaning.
- 6. Avoid using sandpaper or other abrasive materials when cleaning your gourds. These can cause permanent damage to the surface of the gourd and will not give you the desired effect of a clean, polished look.
With proper care and attention, you can ensure that your dried gourds are properly cleaned and ready to be used in your projects.
Following these simple guidelines will help you avoid damage to the gourd’s surface or structure, preserving its natural beauty for years to come!
How to increase the storage life of dried Gourds?
Gourds are hard-rinded, an edible fruit native to many parts of the world. They have been used as food and decoration for centuries, and dried gourds can be kept for years if properly cared for.
First, it is important to choose the right gourds for drying. Choose firm and unblemished ones, as these will have longer shelf lives than those with a softer rind or blemishes.
Once you have chosen the gourds, clean them thoroughly with a brush or cloth and then dry them in the sun for a few days.
Once your gourds are completely dry, coat them with a thin layer of mineral oil or beeswax to keep moisture from seeping in.
This will help to protect the gourd’s rind and make it more difficult for mold and bacteria to take hold.
Be sure to cover any areas that may have been damaged or cracked, as this can allow moisture to get in.
You can also add a desiccant packet inside the gourd when you store it. Desiccants are materials that absorb moisture and help keep the interior of the gourd dry.
Depending on the environment and temperature, they will need to be replaced every few months or so.
It would help if you stored your dried gourds in a cool, dry place away from direct sunlight.
Consider storing them in an air-tight container to keep out moisture and pests that can damage the gourd’s rind.
With these steps, you can ensure the longevity of your dried gourds and enjoy them for many years to come.
When ready to use your dried gourds, soak them in a bowl of warm water for an hour or two before using them.
This will help rehydrate the gourd’s rind and make it easier to cut and carve.
After use, dry and oil the gourd again before storing it, as this will help keep it in good condition for years to come.
By following these simple steps, you can ensure that your dried gourds stay fresh and last a long time.
With proper care and storage, you can enjoy them for many years and pass them down to future generations.
The Bottom Line
Dried gourds are amazing for painting and are mostly used by kids for their creative projects.
However, they must be properly cleaned before you do anything with them. They are used as ornaments on many occasions.
The gourds can also make small birdhouses for the birds near your house. If you cannot clean the gourd yourself, you can also find pre-cleaned gourd at any local gourd farm.
If you don’t have a gourd farm nearby, you can also use the shipping process as they are cheap and budget-friendly.
Any recommendations on removing dark spots from gourds? How can you get a relatively spot free gourd?