Takeuchi began production in 1963 and has been a leader in the compact machinery business ever since. In 1971, Takeuchi created the first compact excavator, and in the middle of the 1980s, they advanced with the launch of the first compact track loader.
These two items have revolutionized the markets of construction in North America.
Takeuchi rules the industry of heavy machinery. Their products are renowned for their high caliber, robustness, and functionality.
Takeuchi’s product lines will continue to be sold worldwide for many years, whether it’s a Takeuchi zero tail-swing compact excavator for developments in overcrowded urban settings or a Takeuchi track loader and skid steer for use in a swampy area for gardening.
TS80 Skid Steer Loader
Takeuchi manufactures the TS80 skid steer loader in both radials- and vertical-lift variants. The TS80 offers a balance of strength, speed, toughness, and operator comfort.
For increased productivity, the Takeuchi skid steer maintains its increased travel speeds, ground clearance, angle of departure, tractive effort, and burrowing forces. Additionally, aTS80 Skid Steer Loader includes:
- A load-sensing, pilot-controlled drive system, and two-speed option offer a maximum average speed of 11 mph.
- A spacious operator’s station on the Takeuchi TS80 enables the operator to work in the field for more extended periods without getting tired.
- The machine’s vitals are shown on a multi-informational monitor, offering additional functionality.
- There is an option for a pressurized cab that keeps dirt and other debris outside and provides a cozy work atmosphere
- To keep your mobile phone or electronics fully charged, a 12-volt power outlet is available.
- Basic safety mechanisms include:
- Front and back halogen work lights
- A vast skylight
- A rearview mirror
- A backup alert system
- Steering warning lights
- A non-skid safety step.
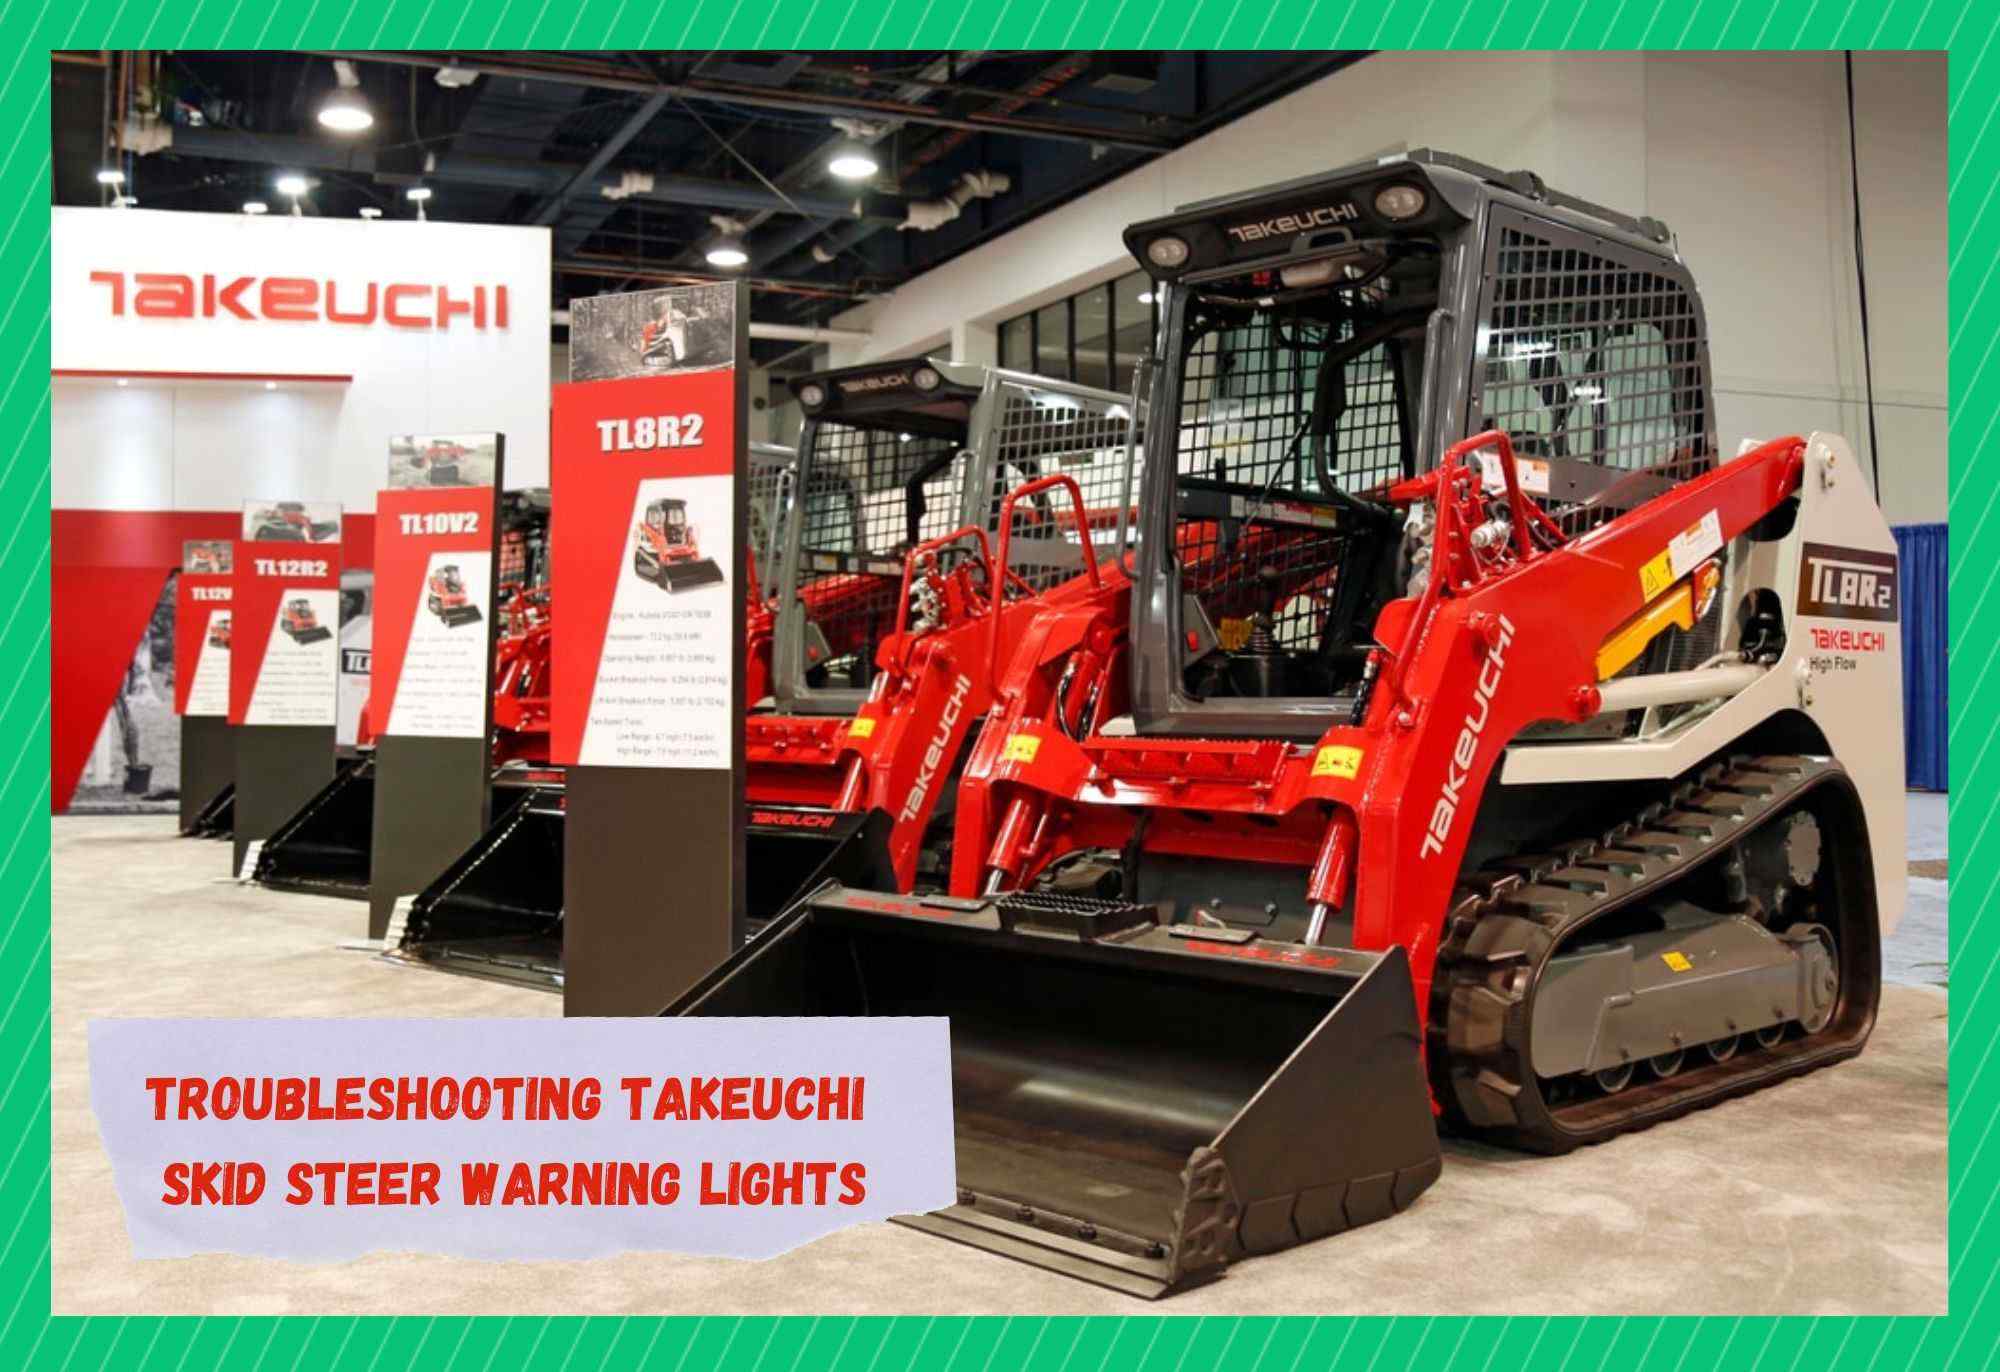
Troubleshooting Takeuchi Skid Steer Warning Lights
Skid steers are used by many businesses and individuals every day to perform operations for gardening and building projects. Using them makes you familiar with how crucial it is to retain their functioning.
There are a few key skid steer concerns you can discover early on to avoid crop failure and expensive repairs. Knowing these steering warning light signs can help you properly maintain your skid steer and know what to look for during inspections.
1. Battery Charge Warning Lamp
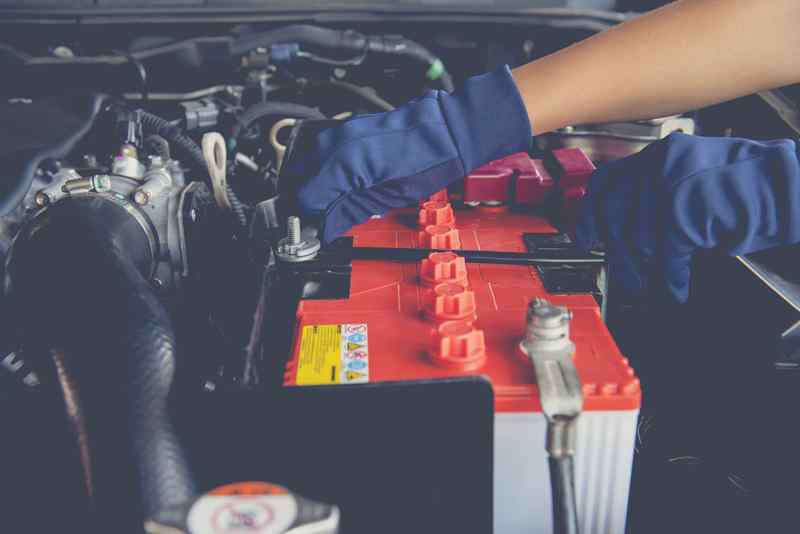
Takeuchi skid steer warning lights about battery charge indicate that the battery or battery charger is malfunctioning. It can be because the battery isn’t getting enough power from the alternator.
Your automobile is basically running on its own charge in this situation, and when the charge runs out, your car will stop.
Also, there could be an issue with the fan belt. Check the fan belt for slack or breaks and make any adjustments required. After maintenance, if the lamp still flashes, there is a charging issue.
Go to a repair shop and service store for advice.
Analyzing and Adjusting the Fan Belt
- Before the regular inspection, turn off the engine and let the machine cool. Immediately after the engine is shut, the machine’s engine, muffler, coolant, hydraulic lines, sliding parts, and many other components are still hot. These parts will burn you if you touch them.
- Unlock the rear door. To access the radiator, take the bolts off.
- Check the tension by applying pressure to the center of the fan and alternator pulleys (about 10 kg or 22 lb.).
- There should be roughly 10 mm of slack.
- Check for scratches or breaks in the fan belt and change it if necessary.
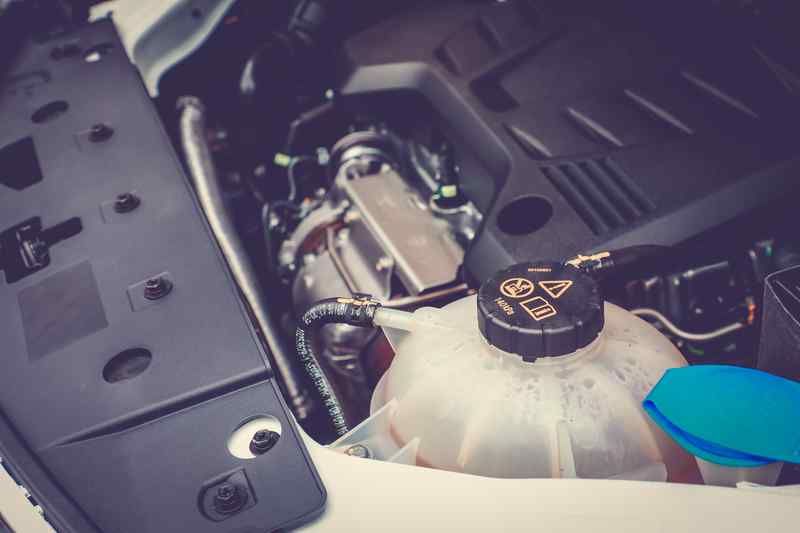
2. Coolant Temperature Warning Lamp

The Takeuchi skid steer’s regular performance is greatly affected by the temperature. The vehicle will display warning lights if the engine temperature exceeds and there are insufficient coolants.
The rising temperature could be caused by several factors, including a leaking, malfunctioning, or simply jammed radiator. The following signs indicate overheating:
- A warning sound is heard, and the engine emergency lamp and coolant temperature warning lamp both flashes.
- Low coolant levels exist.
- The red zone is visible on the water temperature meter.
- Power drops when the engine sputters and slows down.
- The engine room generates steam.
Analyzing and Adjusting the Temperature
- In a safe facility, park the device.
- Check if smoke comes from the engine when the bonnet is shut or if the engine oil pressure or coolant level warning light is blinking.
- If steam appears, turn off the engine immediately and contact a service shop for fixes.
- Run the engine at a low and let the water temperature fall if the engine oil pressure/coolant level warning lamp is off.
- Stop the engine as soon as the water temperature gauge reaches the green zone.
- Check the following things after the engine has cooled down:
- Water leaks
- Coolant Level
- Fan Belt Slack
- heater fins
- Sludge in the cooling system
Contact a service outlet for repairs if the issue still exists after you’ve tried the above steps.
3. Line Filter Warning Lamp
The line filter warning lamp flashes when the hydraulic oil line filter becomes contaminated or clogged. The hydraulic and line filters of the machine could be affected if it is used while the lamp is on. As soon as the lamp flashes, replace the filter. When changing the filter, turn off the engine.
Replacing the Hydraulic Oil Return Filter
Immediately after the engine is shut, the hydraulic lines and many other machine parts are still hot. These parts will burn you if you touch them. The hydraulic fluid is also heated and pressurized.
When taking off caps and plugs, be cautious. The oil may spout if caps, filters, or pipes are removed or attached before relieving hydraulic system pressure.
- Unlock the rear door.
- Take out the plugs.
- When removing plugs, screws, or hoses, step to the edge and twist carefully to dissipate the internal pressure before removing slowly.
- Take the return filter by turning it counterclockwise with a filter wrench.
- Clear the filter stand installation area.
- Apply a small layer of oil to the new filter’s packaging.
- Hand-install the replacement return filter.
- After the filter packing makes contact with the installation plate, adjust the filter with a further 2/5 turn using the filter wrench.
- If the levels are low, check it with the sight gauge and add more.
- Retighten the plugs.
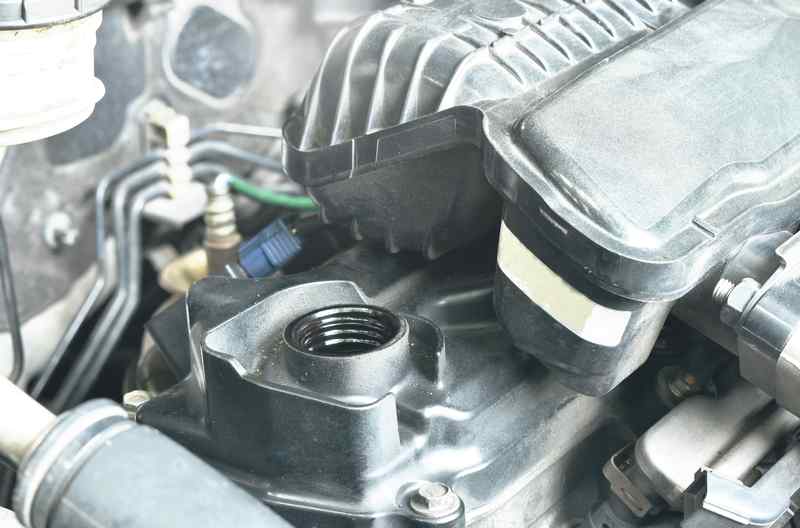
4. Engine Oil Pressure/ Coolant Level Warning Lamp
Lamp for engine oil pressure and coolant level examine the coolant or engine oil levels. It is an indication that you should change the oil in your vehicle. Additionally, it can signal that the engine oil level is too low. The oil needs to be changed in both situations.
Consult a service outlet if the lamp continues to flash above the average level or even after adding coolant or oil.
Inspecting and Replenishing the Engine Oil
Before the regular inspection, turn off the engine and let the machine cool.
Inspection
- Detach the engine hood. Take the dipstick out, then use a towel to remove the oil.
- Reinsert the dipstick completely, then draw it out.
- Examine the oil level on the dipstick.
- The level must fall within the upper bound (H) and lower bound ranges (L).
- Refill if it is below the lower limit (L).
Replenishing
- Take off the oil supply cap.
- Oil should be added to the dipstick’s upper limit (H).
- An oil level that is either too low or too high could cause issues
- Place the supply cap back
- The engine should be started, idled at a low speed for roughly three minutes, and then stopped.
- Examine the oil level after 20 minutes.
5. Air Cleaner Warning Light
The air cleaner warning light, as its name suggests, indicates that your air cleaner is contaminated. Your car’s engine will malfunction under such circumstances, making it unable to function correctly.
The reason for this is that a blocked air cleaner limits the engine’s supply, which results in fuel gas residue building up on the spark plug.
Cleaning the Air Filter
- Both sides of the air filter should be sprayed with filter cleaning.
- Allow the cleaner to absorb all of the dirt blocking the filter.
- Clean the filter once the debris has been released.
Final Verdict: Continue to Use Your Skid Steer!
The temperature, engine, and hydraulic motor of your vehicle are technically what keep your skid steer in action, so if you notice any of the signs mentioned above, be sure to have it serviced before the problems become too severe to be fixed. These indications point to a problem with your drive!