A tractor is one of the most important parts of the farming and agricultural industry. This is because it can be used for plowing, adding fertilizer to the crops, planting, cultivating, and harvesting the crops.
In addition, a tractor helps haul the materials on the field. In simpler words, they reduce the labor work for farmers and improve productivity in the field.
The tractors are designed with a temperature gauge to keep an eye on the coolant’s temperature in the engine. However, if the temperature gauge is not working on your tractor, it can result in overheating issues and there are various reasons behind it.
So, we are sharing some reasons as well as the solutions!
Fixing Tractor Temperature Gauge Not Working
- Checking The Gauge
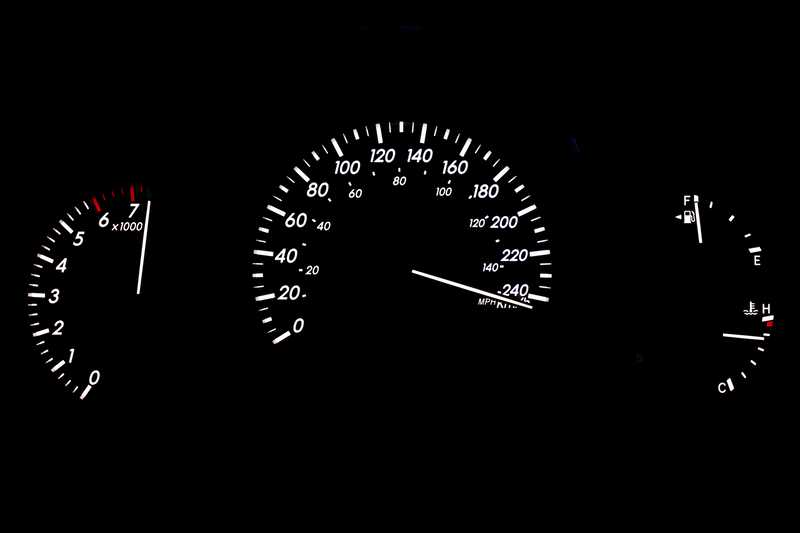
First of all, if your tractor has a mechanical temperature gauge, you need to inspect it for damages. For this purpose, you have to take out the motor’s remover and boil water in the pan.
When the water starts boiling, put the temperature sending unit into the pan, and check the reading on the temperature gauge.
In case it doesn’t show the temperature, it’s likely that the temperature gauge is broken or seized. The broken temperature gauge has to be replaced.
However, if the gauge is seized, you need to add oil to the gauge’s spindle and pull the panel. You’ve to remove the panel to make sure it squirts the oil. Once the oil starts squirting, the temperature gauge will start working.
- Broken Thermostat
The tractor is integrated with a thermostat just like other vehicles, and it’s responsible for maintaining the minimum operating temperature in the tractor’s engine.
When the engine is turned on, the thermostat makes sure that the coolant and antifreeze mixture is kept within the engine. Once a specific temperature is achieved, the mixture is allowed to move. In addition to this, the thermostat is responsible for detecting and regulating the temperature.
So, when the thermostat breaks down, it won’t be able to take the reading, and the temperature gauge won’t be able to show the temperature.
The thermostat can be checked for continuity if you have a multimeter – connect the multimeter to the thermostat when the tractor is running and see if it shows the continuity value. If there is no continuity, the thermostat is broken and needs to be repaired.
- Check For Loose Connections
Tight and correct connections are essential for the tractor’s components to work properly. So, if the temperature gauge has stopped working, it’s likely that there are loose or damaged connections.
We recommend that you check connections around the temperature sensor where it is connected to the engine. If the connection is loose, you must tighten it up properly. In most cases, the loose connections are caused by vehicle vibrations, so make sure you secure the wires tightly.
- Temperature Sensor
When the temperature gauge stops working, you must inspect the CTS (coolant temperature sensor). It is usually installed near the thermostat or near the radiator’s base.
When the sensor fails, it won’t be able to take the coolant’s reading, and the temperature gauge won’t work. The solution is to replace the sensor.
To replace the sensor, you’ve to turn off the tractor and wait for half an hour to ensure the coolant’s temperature drops down. Once the coolant is cooled down, locate the temperature sensor with the help of a user manual and remove the sensor’s connector to take out the sensor.
Then, just install a new sensor, reconnect the connector, and redo the coolant plug connections. Once done, you can start the engine, and the temperature gauge will start working.
- Air
Another common reason behind a malfunctioned temperature gauge is air in the radiator hose. The air can collect near the thermostat or temperature sensor and lead to incorrect or no readings. In addition to causing issues in temperature gauge, air can impact the cooling efficiency.
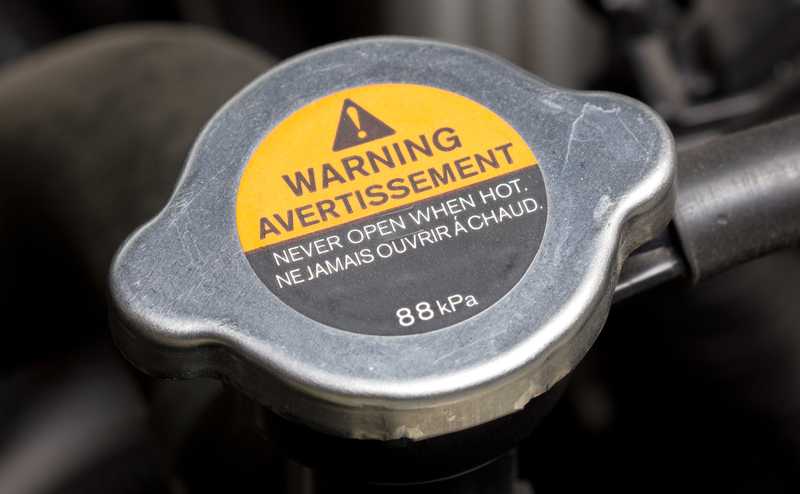
To remove air from the system, you need to take off the radiator cap, turn on the tractor, and the coolant will start cycling through the engine and burp.
If there is air in the radiator, it will be removed, but you must let the tractor idle until it becomes warm (this warming process might take over twenty minutes). Once the burping stops, put on the radiator cap and use the tractor.
- Broken Cables
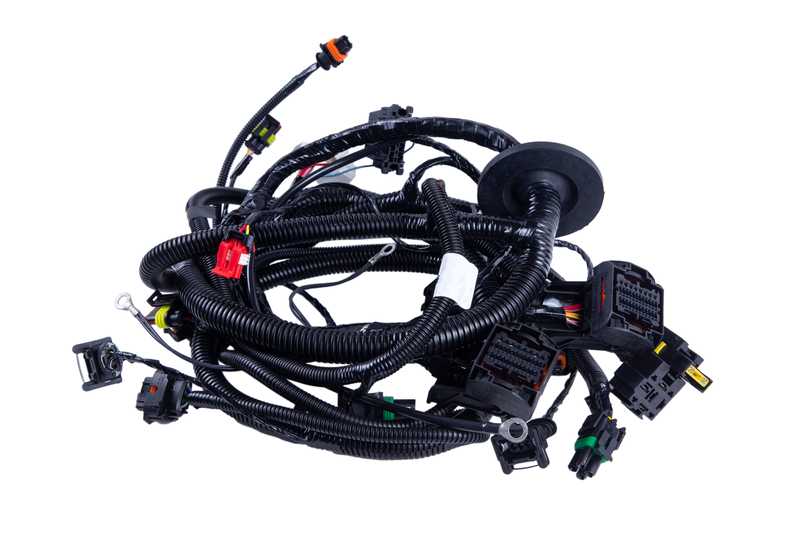
The cables connect the sensor to the motor control unit or the cluster. For this reason, when the temperature gauge stops working, you must look for a broken cable.
It’s recommended that you use the multimeter for all cables (it will help determine internal damage in the cables). If there is no continuity even when the tractor is turned on, the cables are damaged and should be replaced to make sure they provide power to the temperature gauge.
Also, you must replace the cables if the protective sheaths are damaged.
- Connectors
The connectors on the temperature gauge are used to connect them to the battery. However, if you’ve been using the tractor for a long time for fieldwork, it’s likely that the exposure to water and mud has caused corrosion in the connectors.
For this reason, it’s recommended that you inspect the connectors for corrosion. If you find corrosion, you can use the vinegar and water solution to clean the corrosion (make sure the tractor is turned off when you clean the connectors).
In addition to cleaning the temperature gauge’s connector, you have to clean the cluster connector, motor control unit connector, and sensor connector. On the other hand, if this cleaning solution doesn’t remove the corrosion, you’ve to replace the corroded connectors.
- ECU
ECU is the electronic control unit of the tractor which is responsible for ensuring smooth operation of the engine. In addition, it is connected with the fuel injector to control the amount of fuel that’s injected into the engine cylinders.
However, when the ECU is damaged, the temperature information won’t reach the gauge, and the gauge won’t work. For this reason, you’ve to use the OBD2 scanner to check if it receives temperature-related information. In case it’s unable to receive the information, you’ve to get the ECU repaired.
Secondly, if a temperature control unit is integrated into the ECU, make sure that both of them are connected to the same sensor to ensure a consistent flow of information. You can also hire a mechanic to install a sensor if you need to install a new one!
- Engine
An overheated engine can cause various functionality issues, and a malfunctioned temperature gauge is one of them. The engine is considered overheated when the temperature increases beyond 230 degrees Fahrenheit.
In addition to a malfunctioned temperature gauge, an overheated engine can warp the engine cylinder’s head. As a result, there won’t be enough pressure to turn on the tractor or its components.
So, if the tractor seems overheated, you need to turn it off to let it cool down. In addition, you must opt for the engine overhaul to prevent overheating.
- Fuse

A blown fuse can interfere with the temperature gauge’s functionality. To ensure the smooth performance of the temperature gauge, it’s important that the fuse has power on both sides whenever the tractor is turned on.
To check the fuse, you can use a multimeter. If the multimeter shows zero or no reading, it means that the fuse is blown and should be replaced. Also, a blackened fuse is a clear indication of a blown fuse, so check the fuse’s exterior.
The Bottom Line
Repairing the tractor’s temperature gauge is pretty easy as long as you have understanding of the wires and internal components. However, if you haven’t repaired a tractor before, it’s recommended that you hire a professional mechanic to ensure correct repairs and replacements.
Also, if the tractor is new, the companies offer a warranty on parts, so call the manufacturer’s customer support for free repair.