Stepping Stone Spacing Calculator
Plan a walkable stone path by balancing path length, stride, stone length, visible gap, offsets, curve allowance, height class, and layout style.
Use this as a layout guide before setting stone, pavers, or flagstone. Dry-lay the path and walk it both directions before digging, especially on curves, slopes, or routes used by children or guests.
Spacing Plan
Your stepping stone layout will appear here.
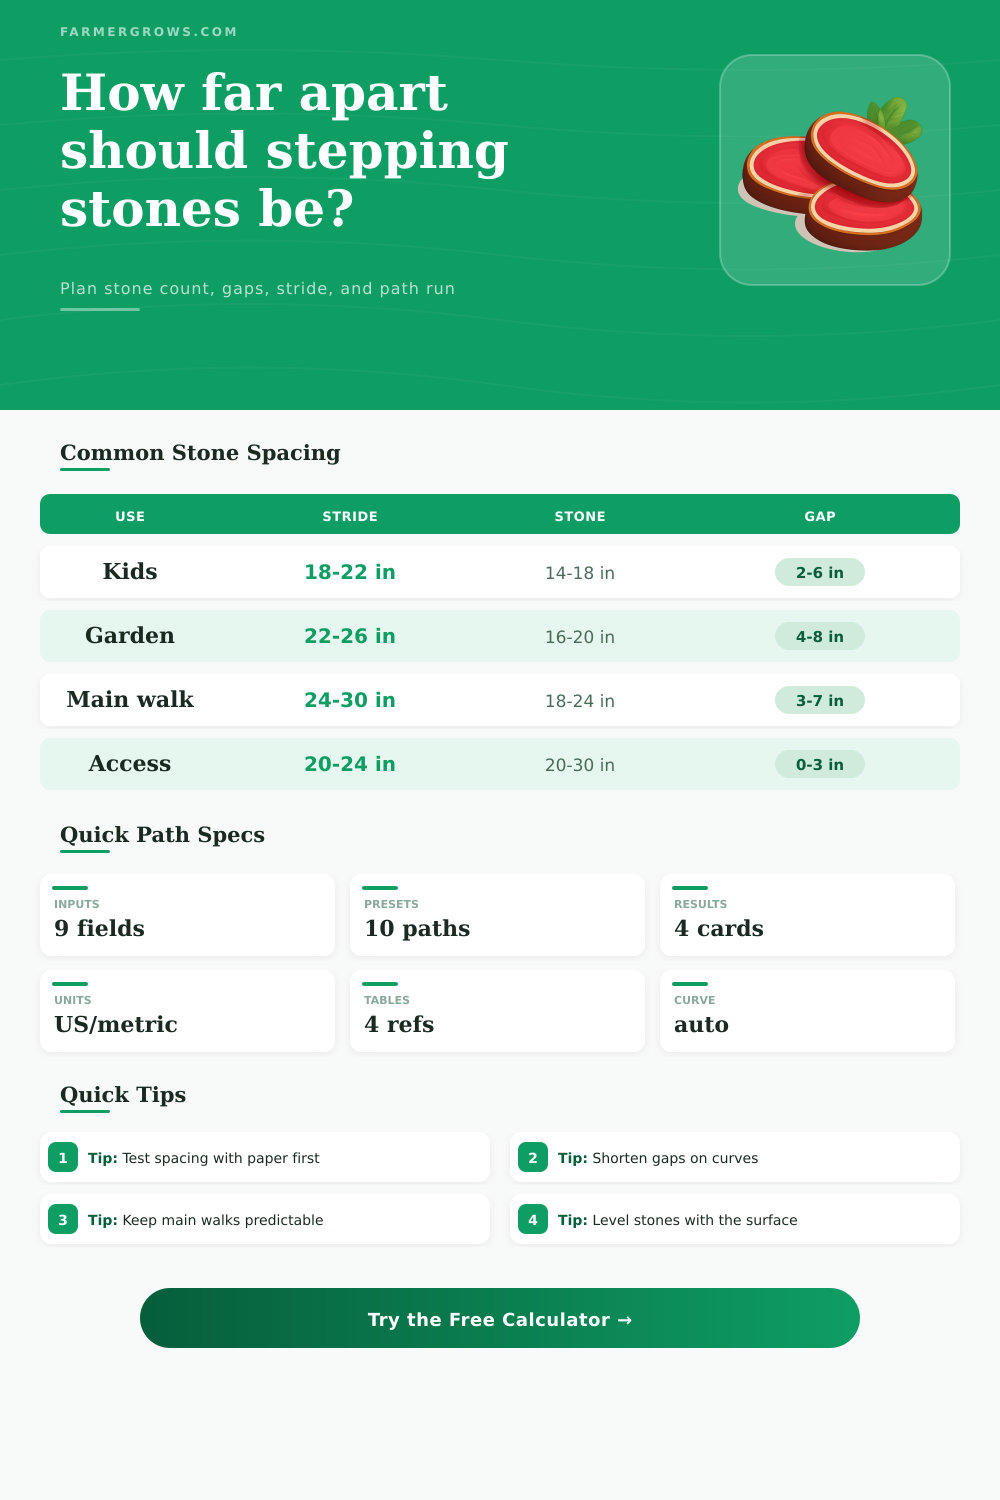
| User group | Typical stride | Stone center target | Spacing note |
|---|---|---|---|
| Children or short stride users | 18-22 in / 46-56 cm | 18-22 in / 46-56 cm | Use shorter gaps and wider stones where the path crosses lawn or mulch. |
| Compact adult stride | 22-25 in / 56-64 cm | 22-25 in / 56-64 cm | Good for small gardens, side yards, and routes with frequent turns. |
| Average adult stride | 25-29 in / 64-74 cm | 24-28 in / 61-71 cm | A reliable starting range for most single-file garden walks. |
| Tall adult stride | 29-33 in / 74-84 cm | 28-32 in / 71-81 cm | Works for informal shortcuts but may feel long for mixed visitors. |
| Mixed household or guest route | 22-28 in / 56-71 cm | 23-26 in / 58-66 cm | Choose the middle of the range and keep the rhythm consistent. |
| Stone type | Common length | Best gap | Use case |
|---|---|---|---|
| Small round stepping stone | 14-18 in / 36-46 cm | 4-7 in / 10-18 cm | Herb beds, play areas, and decorative garden edges. |
| Square concrete paver | 16-24 in / 41-61 cm | 2-6 in / 5-15 cm | Neat runs from patios, gates, sheds, and greenhouse doors. |
| Irregular flagstone | 18-30 in / 46-76 cm | 3-8 in / 8-20 cm | Naturalistic beds where each stone may vary in length. |
| Large slab or access stone | 24-36 in / 61-91 cm | 0-3 in / 0-8 cm | Wheelbarrow approach, mixed mobility use, and main garden routes. |
| Feature boulder-cut stone | 20-32 in / 51-81 cm | 6-12 in / 15-30 cm | Slower ornamental walks where the reveal is part of the look. |
| Condition | Spacing guidance | Surface guidance | Practical check |
|---|---|---|---|
| Main route used by guests | Keep center spacing about 22-26 in / 56-66 cm. | Set stones flush with surrounding gravel, lawn, or soil. | Walk the path while carrying a basket or hose. |
| Wheelbarrow or cart crossing | Use broad stones with 0-2 in / 0-5 cm gaps. | Avoid raised edges and loose fill between stones. | Roll the empty cart, then test with weight. |
| Gentle slope below 5% | Shorten spacing by 1-2 in / 3-5 cm on downhill runs. | Use textured stone and firm bedding. | Check footing after watering the path. |
| Steeper garden slope | Consider steps, landings, or continuous paving instead. | Do not rely on wide stepping gaps on steep grades. | Verify local code and drainage before installation. |
| Mixed ages or limited mobility | Choose low-gap access style and larger stones. | Keep stones stable with compacted base and edge support. | Ask the shortest regular user to test the dry layout. |
| Path example | Typical length | Good layout style | Starting spacing |
|---|---|---|---|
| Patio to herb bed | 10-18 ft / 3-5.5 m | Single-file straight or small curve | 16-18 in stones with 5-7 in gaps. |
| Front walk accent | 20-35 ft / 6-11 m | Single-file straight with even offsets | 20-24 in stones with 3-6 in gaps. |
| Shade garden meander | 25-50 ft / 8-15 m | Gentle curve through beds | Add 6-10% curve factor, then dry-lay. |
| Pond edge walk | 15-40 ft / 5-12 m | Staggered casual garden stones | Keep gaps modest near damp or uneven ground. |
| Gate to greenhouse | 30-70 ft / 9-21 m | Low-gap access route | Use larger stones and keep the path predictable. |
Dry-lay before digging: Place cardboard or scrap boards at the calculated centers, then walk the path at normal speed. A path that works on paper can still feel awkward when a curve or doorway changes body position.
Use smaller gaps where stability matters: Wide green gaps look pretty, but narrow gaps and flush stones are easier for carts, older guests, wet shoes, and repeated garden chores.
The rhythm of stepping stones are key: It needs to feel comfortabley underfoot. If they’re spaced too widely, you’ll stretch out as you move along. Most people assume it’s all about spacing but it isn’t. But if the stones is too closely packed, they’ll jostle each other, leaving nowhere clean to put a foot down, fussy.
Once you’ve used this path a few times, that spacing will shape the whole route. You plug in the variables. Your stride (or that of a child’s), the size of your stone, how long your walkway is, and what your desired gap between stones should be. Why? Because those things link what people walk on with how much space there really is.
How to Plan Your Stepping Stone Path
If you’ve got a straight shot off the patio, it has to be a different rhythm then a meandering path through the beds. The tool takes all that into account, then spits out center-to-center distance and total number of stones, as well as the visible gap left behind. It even takes into account starting and ending offsets (i.e., you don’t want the first stone to rest right up against the door). That way the last one stops exactly where you’d like to stop.
There’s a sweet spot in the range of comfortable gap widths, and it all depends on pedestrian traffic. If you’re using a wheelbarrow, for instance, and want to get places fast, your stepping stone path require close joints and good footing for the cart; no one wants to change stride every other step. On the other hand, if someone is walking at a more relax pace, wider openings are acceptable as long as they’re softened with plants along the way. You can try both approaches quickly on the calculator, then check your findings against comparison charts on the page. The charts will illustrate how each group moves but not provide a single magic answer for you.
And then there are curves. They add yet one more variable. A slight turn makes the inside half of the path shorter and the outside longer. This means the same amount of space between two stone feels out of kilter. To handle that disparity, the calculator include a small margin in its curve factor input. It’s no substitute for walking out the layout first with nothing on your feet, but it prevents original plan from getting too far off track from something that feels right when you walk it.
The same applies to start and stop offsets: a couple more inches of separation from an unforgiving edge might keep starting stone from plunking down into a puddle. It will also ensure the final stone doesn’t come to rest on a wobbly bed of free-floating mulch. Instead of being treated as afterthoughts, the calculator include those offsets in the usable run so you don’t fall into the trap of calculating everything perfectly only to find yourself off to a bad start or end.
Once you have the numbers, that’s when the true test begins: lay out those cardboard cut outs or stones in their calculated positions and walk the route as you normally would, holding something in your hands to maintain your pace. Does it feel like your steps is now shorter or longer than they should of been? Adjust them accordingly before digging. Having that number from the calculator are a solid starting place, but until your feet tell you that spacing feels correct in actualy conditions, you’re not going to get a good path.