Stepping Stone Method Online Calculator
Choose a layout method, then estimate the adjusted route length, placement count, center spacing, turn stations, border clearance, and compacted base volume before you dig.
This calculator focuses on the method of laying out a stepping-stone route: where centers land, how curves tighten the rhythm, and how much base area each stone station needs.
Stepping Stone Method Results
Layout method results will appear here.
| Layout method | Placement order | Best route | Watch point |
|---|---|---|---|
| Centerline tape | Mark start, centers, then edges | Straight or lightly curved route | Keep border offset consistent |
| Dry-walk stride | Walk, flag footfalls, average centers | Informal lawn or garden crossing | Test both walking directions |
| Turn-first layout | Set corner stones, then fill gaps | S-curves, pond edges, bed curves | Do not stretch the inside turn |
| Paired station method | Mark station centers, split stones left and right | Utility and harvest routes | Check total width before digging |
| Field-fit flagstone | Place large stones, bridge gaps with smaller ones | Organic flagstone paths | Sort thickness before base prep |
| User or route | Center spacing | Typical stone length | Method note |
|---|---|---|---|
| Children or short stride | 18 to 22 in | 14 to 18 in | Use tighter gaps and flatter stones. |
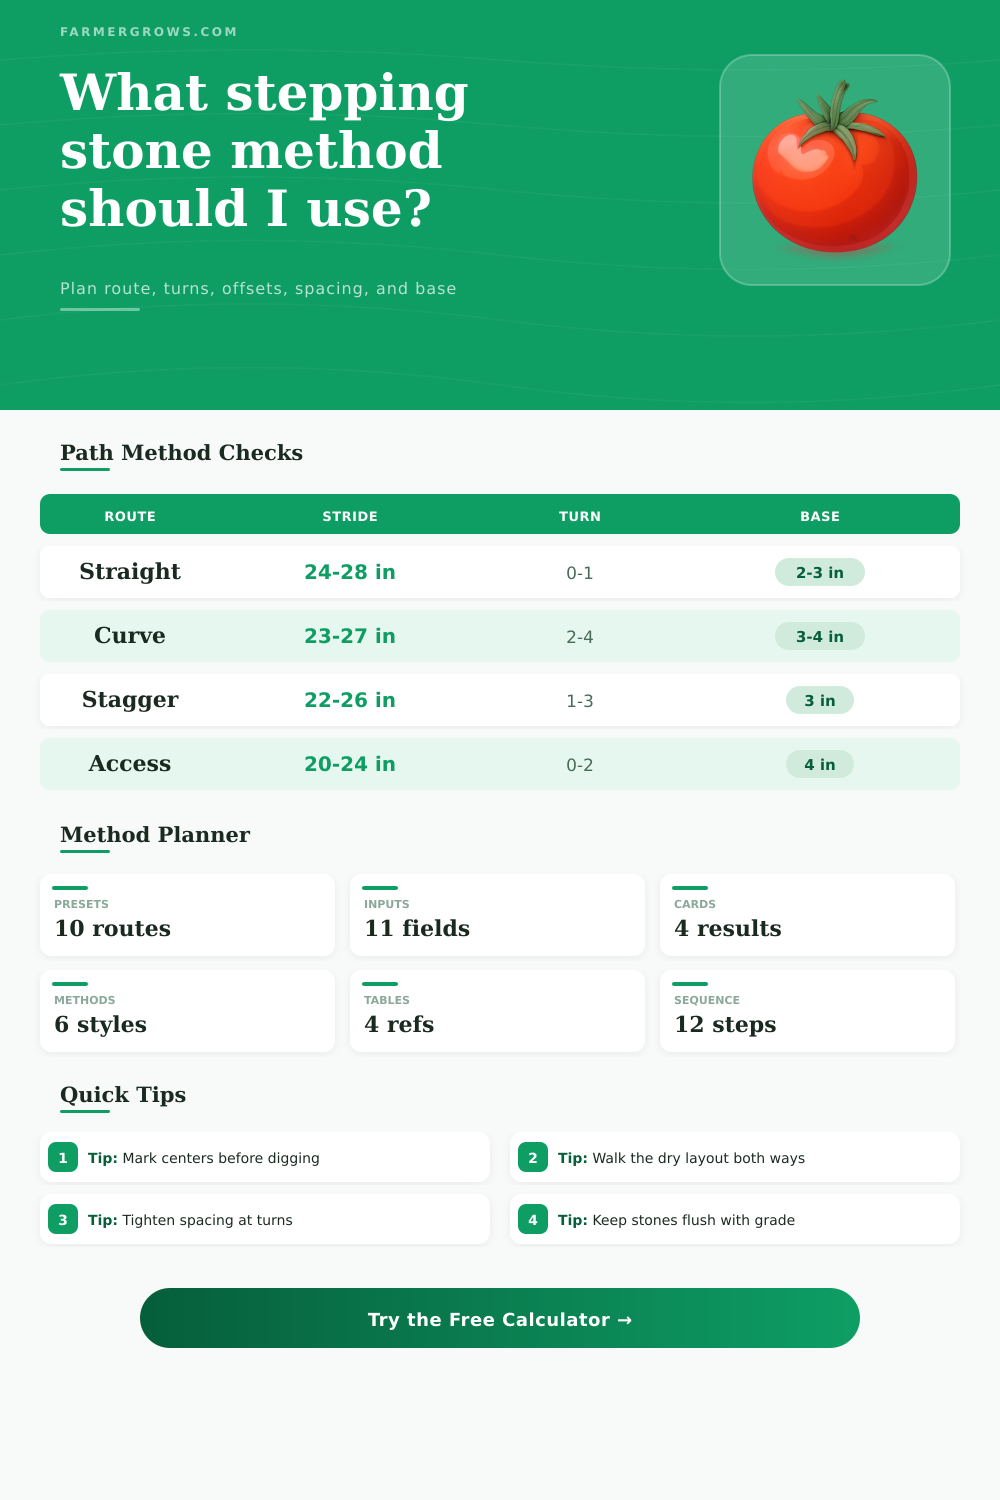
| Average garden walk | 24 to 28 in | 16 to 20 in | Start with stride centers, then dry-walk. |
| Tall adult stride | 28 to 32 in | 18 to 24 in | Keep guest comfort in mind for public routes. |
| Utility or access path | 20 to 24 in | 20 to 30 in | Use paired stations or low-gap placement. |
| Curved garden route | 22 to 26 in | 16 to 22 in | Shorten spacing around tight turns. |
| Setting surface | Base depth | Bedding layer | Placement method |
|---|---|---|---|
| Lawn stepping stones | 2 to 3 in compacted gravel | 0.5 to 1 in sand or screenings | Individual pockets below mowing height |
| Mulch bed path | 3 in compacted gravel | 1 in sand or fines | Keep stone tops proud of mulch |
| High-use entry walk | 4 in compacted gravel | 1 in bedding layer | Use larger stones and low gaps |
| Soft clay soil | 4 to 5 in compacted gravel | 1 in bedding layer | Widen pockets and compact in lifts |
| Flagstone field fit | 3 to 4 in compacted gravel | Adjustable screenings | Sort stones by thickness first |
| Pattern | Visual effect | Stone count effect | Best use |
|---|---|---|---|
| Single-file center stones | Quiet and direct | Baseline count | Simple garden walks |
| Alternating staggered centers | Relaxed and natural | Adds about 5% | Mulch and orchard routes |
| Two stones per station | Wide and stable | Nearly doubles count | Harvest basket and service paths |
| Clustered stones at turns | Anchored corners | Adds one at each major turn | Curving beds and pond edges |
| Random flagstone field fit | Organic and informal | Adds 12% sorting allowance | Cottage and woodland paths |
Mark centers before digging. Put flags or chalk dots on the centerline first, walk the route both directions, then widen only the pockets that feel right.
Let turns control the layout. On curves, set the turn stones first and fill between them so the path does not become awkward at the exact spot where people change direction.
I find stepping stones easy…until I have to put them down. Once I do, all the other step follow that same rhythm. A couple inch difference early on means cramped corners and spaces out-of-place later in the trip. By the time you get to the last step of your route most folks has moved some or all their stones because the way we walked didn’t match the way they laid it down. Those adjustments take time and frequently result in an uneven look, patched instead of planned.
Plugging in your measurements, desired stride length, stone size and number of turns on your intended path lets the calculator do all the figuring. Because each input impacts the location of the subsequent center, they all count. The spacing method decides whether the centers is based off the turn first, fixed gaps, or stride. Route type instructs it to account for looped sections or curved paths by adding their length. Then it returns the results. It shows the number of stones required, the new look of the adjusted centerline with turns and offsets applied, and the amount of base required for the pockets.
Why You Should Use a Stepping Stone Calculator
Without shifting a single flag in the yard, you can experiment with different curve factors or stride lengths. Walk it at least one time before marking anything. See how your foot falls, what turns of direction it takes, etc. That dry walk give you a realistic stride length and shows which corners will need tighter spacing. And see how many places turn corners because those turns will require tighter spacing.
Walk it once so you have an idea of where things are going and then enter that into the calculation (it adjusts the base volume & count to match). It saves everyone the trouble of laying the thing out only to find you’ve got too much or not enough stone between them after walking it the other direction a few times.
The same goes for border offsets. Wherever you begin (assuming the first stone is up against a door threshold or some other edging), if it’s tight against the edging, the entire run begins to feel cramped. Backing off about a foot on the end stones allows the path space to breathe and avoids having the final step land on a hard edge. The tool factors is shifted toward the usable centerline to spread out the remaining stations.
Preparing the base is an all too common afterthought, yet it determines how long your path remains level. Pockets are sized by width and depth which depend on stone size and whether you’re using a single-file layout or paired station. Setting a bit deeper base under turns where people concentrate their steps will keep those spots from settling. Order all at once rather than guess. Once you figure out the total volume required by the calculator, you know what to get in one shot. This way, you don’t have to return later for another load.
Once you’ve got the number down, it’s time for the true test: lay out the first three stones as indicated in the layout and walk the line. Make any adjustments that feel unnatural before digging your remaining pockets. That little check makes the calculator less of a hard-and-fast blueprint and more of a trustworty guide.
You should of used it to make sure everything fits naturaly. If you dont plan ahead, stone placement can be difficultly. One moddern way is to use math rather than guess based off your instinct.