Potato Planting Depth Calculator
Estimate seed-piece depth, initial soil cover, trench bottom depth, hilling height, and emergence risk from potato type, soil texture, planting method, seed size, moisture, and soil temperature.
Potatoes are usually planted shallow enough to emerge strongly, then protected by hilling or mulch as stems grow. This calculator separates the seed piece's initial depth from later cover so the plan fits both the crop and the soil.
Potato Planting Depth Plan
Results update from your planting method, soil, temperature, seed size, and hilling target.
| Method | Seed-center depth | Initial cover | Later cover | Notes |
|---|---|---|---|---|
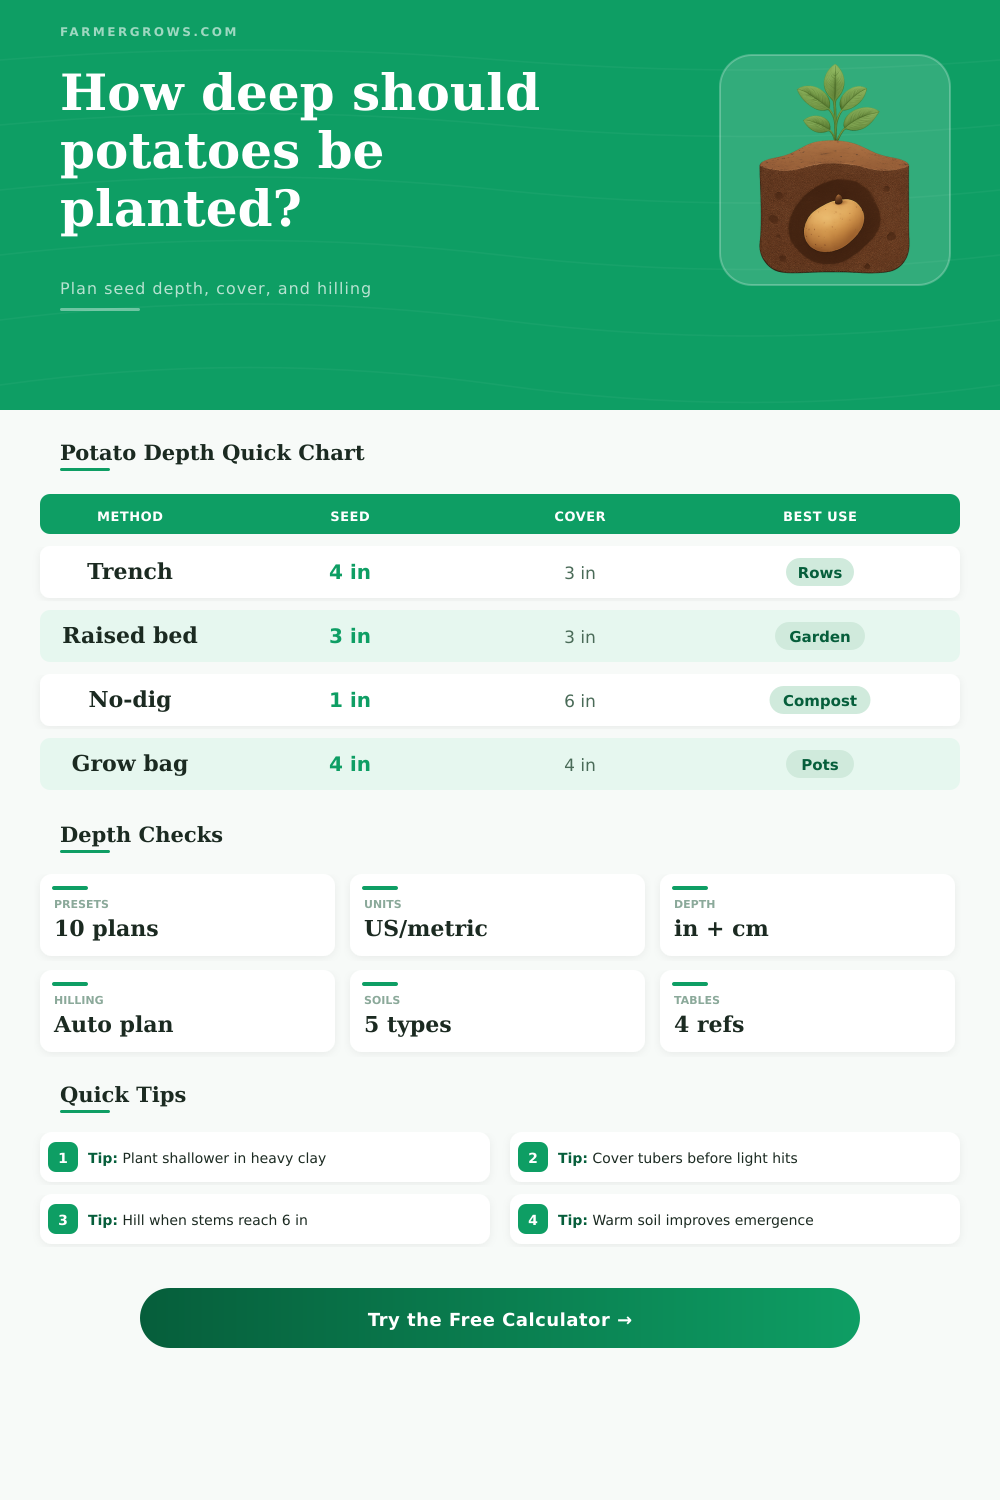
| Classic trench row | 3.5 to 5 in | 2.5 to 4 in | Hill to 8 to 10 in total | Best for long rows where loose soil is pulled over stems. |
| Raised bed row | 3 to 4 in | 2.5 to 3.5 in | Hill or mulch to 7 to 8 in | Warm beds suit moderate planting depth and steady moisture. |
| No-dig compost | 0.5 to 2 in | 4 to 6 in cover layer | Add compost or straw as stems grow | Seed may sit near soil surface under light-blocking material. |
| Container or grow bag | 3 to 5 in | 3 to 4 in mix | Top up in stages | Keep mix loose and avoid burying all foliage at once. |
| Heavy clay spring row | 2.5 to 3.5 in | 2 to 3 in | Hill after growth is active | Shallow planting reduces rot and emergence drag in wet soil. |
| Condition | Depth adjustment | Emergence effect | Risk if too deep | Best correction |
|---|---|---|---|---|
| Heavy clay, wet | Reduce 0.75 to 1.25 in | Slower | Rot, weak emergence | Plant shallower and hill later. |
| Garden loam, moist | No change | Normal | Low | Use the standard depth range. |
| Sandy loam, dry | Add 0.25 to 0.5 in | Normal to fast | Dry seed zone | Plant slightly deeper and water in. |
| Loose sand | Add 0.5 to 1 in | Fast if warm | Drying around seed | Firm gently and mulch after emergence. |
| Compost-rich bed | Reduce 0 to 0.5 in | Fast if warm | Settling exposes tubers | Add more cover as plants rise. |
| Potato type | Typical start | Final cover | Spacing note | Why it changes |
|---|---|---|---|---|
| Early or new potatoes | 3 to 4 in | 6 to 8 in | Often 10 to 12 in apart | Fast harvest means moderate hilling is enough. |
| Maincrop all-purpose | 3.5 to 5 in | 8 to 10 in | Often 12 in apart | Needs enough cover for tuber set and sizing. |
| Fingerling potatoes | 3 to 4 in | 7 to 9 in | Often 8 to 10 in apart | Small tubers tolerate tighter rows but still need light protection. |
| Russet or baker | 4 to 5.5 in | 9 to 11 in | Often 12 to 15 in apart | Large tubers benefit from deeper, wider hills. |
| Seed multiplication | 3 to 4 in | 7 to 8 in | Uniform rows matter most | Even emergence and clean seed lots are the priority. |
| Schedule | First hilling | Second hilling | Total cover goal | Use when |
|---|---|---|---|---|
| Standard two hillings | Stems 6 to 8 in tall | 10 to 14 days later | 8 to 10 in | Most garden and field rows. |
| Three small hillings | Stems 5 to 6 in tall | Repeat twice lightly | 7 to 9 in | Loose soil, small plants, or windy beds. |
| One larger hilling | Stems 8 to 10 in tall | None unless tubers show | 7 to 8 in | Short rows with easy soil access. |
| Mulch top-up | After emergence | When stolons set tubers | 6 to 10 in | No-dig beds and containers. |
Use cover, not just hole depth. A large seed piece in a 4-inch-deep hole may only have about 3 inches of soil above it, so cover depth is the number that controls light protection and emergence drag.
Use soil texture to shape the plan. Heavy wet soil favors shallower planting and later hilling; dry sandy soil often benefits from slightly deeper placement and a mulch layer after emergence.
Hill after stems are growing. Burying seed very deep at planting can delay shoots. It is usually safer to start moderate, then add soil when plants can keep photosynthesizing.
Watch for exposed tubers. Any tubers that reach light can green. Add soil, compost, or mulch before stolons swell near the soil surface.
It’s almost panic time: You’re digging around your potatoes, and there’s nothing left except bare earth. What happened? The soil doesn’t look like it held the crop. Was it planted too shallowly? Did it get enough water? Nope; more likely the answer was just that simple. Why? Because correct first step.
The depth at which tubers are set, must correspond with the soil they’re placed into. That first step make all the difference, determining if shoots push through surface or if emerging potatoes is shaded from light. To calculate those numbers, separate out how deep you plant the seeds from what eventually covers them in soil, as calculator does here. Too many gardeners at home don’t make this distinction.
How Deep to Plant Potatoes
Potato planting depth isn’t just “drop it in a hole.” It’s also a question of how much loose soil goes on top versus distance to where the seed piece is centered. This is important, since surface layer will inhibit the tuber’s exposure to light (which causes it to turn green and become toxic). Don’t start your hill until you know for certain how deeply covered you are; otherwise you’ll be wasting seed pieces.
The device consider your soil type. Sand differs from clay, etc., since they behave different.
The soil is heavy clay. With clay gardens, particularly those that is wet in spring, the ground is like a heavy ceiling. It’s hard for young shoots to poke upward. Try planting in slightly shallower spots than normal (the calculator will tell you how deep). Shallower planting reduce resistance on emerging stems; there is less chance of rotting if area around them gets waterlogged.
Sandy loam is a light soil that dries out quickly and does not hold moisture well. Extra-deep means the seed zone stay stable and moist longer. That’s a head-start against any early summer heat. Seeds placed too far above may shrivel up without ever getting their root systems go.
How much you hill depends not just on your variety, but what kind of potato: Those destined for early harvest (and thus dug up while still smallish) do not require large hills since they aren’t allowed time to get there. On the other hand, the russet types and other maincrop storage potatoes needs plenty of head-covering during their swelling phase. Depending on timing, hilling provide a sunless tunnel for stolons to produce more potato, free from UV light. A chart within the tool lists various schedules and corresponding finished hill heights.
Hilling is something most folks do as an afterthought, after plants reach a certain height. Make it part of the initial plan! Know how many inches apart they’ll be planted. Know how long your row will be. Then, work backward by asking how much looser soil you think you’ll pull up around their stems eventually. That way, you don’t run short of dirt halfway into the season, or create uneven rows that make for difficult harvesting. It will also help determine if one big hill is best, or multiple little hills would work out in terms of size of your bed.
Growing potatoes successfully isn’t so much about magic formulas as it is knowing how seed and soil and light relate to one another physically. You adjust for soil type, check moisture levels and temperature, and measure to remove the guesswork. That’s what the calculator does, figures out arithmetic of those variables. And then there’s just plain knowing, with your own eyes, when the stems are tall enough that it’s time to mound the first hill of earth above.
Get it started correctly and then keep the tubers dark while they’re growing. If you do it right, there probably wouldn’t of be any empty holes at harvest time. Just keeping things simple: Plump potatoes stay safe underground till you want to dig them up, and healthy shoots grow without stopping.