
Gardening may not be one of the big budget hobbies, but it’s always a good idea to save a few bucks whenever you can and saving seeds each year is one way to do that.
Additionally, if you save your seeds year after year, you can tailor them to your particular climate and soil conditions, possibly improving your yields with each generation.
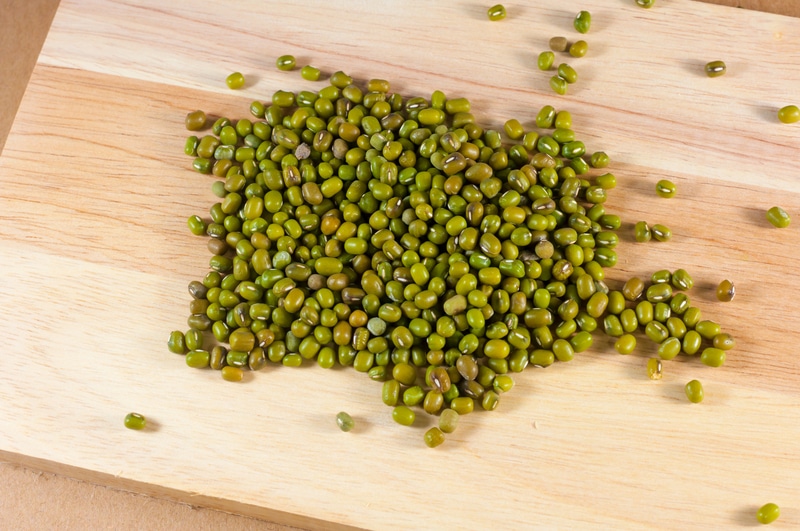
Non-hybrid, open-pollinated green bean seeds are not only easy to grow and cook but also effortless to save seeds for planting next year. Fresh veggies are great for soups, salads, stir-fries, and other meals, and once you dip into this seed-saving world, you realize how satisfying and easy a task can be.
For instance, tomatoes, peas, and green bean seeds are a great place to start. This way, not only you keep yourself in organic produce, year after year, but you’ll also save your hard-earned money!
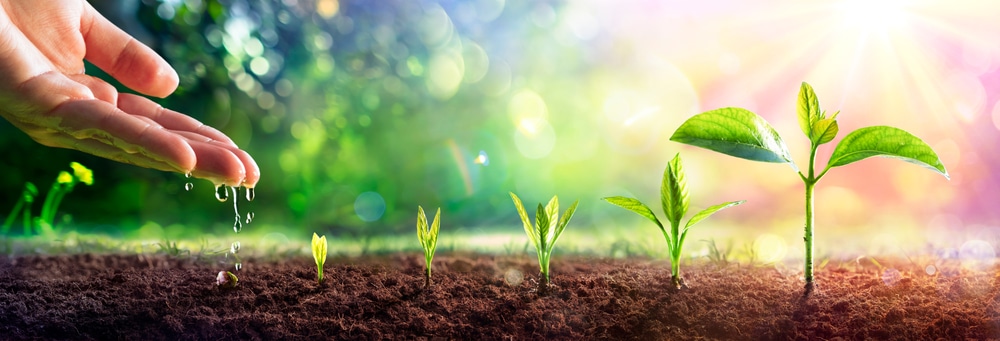
If you want to make your gardening setup more efficient, then your best bet is to focus more on preserving healthy seeds.
These seeds will not only bring a better germination rate, but you will also be able to grow more robust plants that will bring improved yield to your gardening setup.
Recently, several gardeners have come forward with questions on how to save green bean seeds for planting next year. If you’re also interested in the same topic, then the details here should help you better understand the preservation process.
Green bean seeds are a great choice to start with if this is your first attempt at seed saving; since they are self-pollinators, you don’t have to worry about potential cross-pollination.
For instance, the runner bean flower is pollinated by a bee from other neighboring plants, usually, which are some different type of runner bean, the yield could be a mix of the two or the original one, and hence at the end of the season, you cannot predict what sort of runner bean would grow off your saved seeds.
But this isn’t the case with green bean seeds. Their self-pollinating capacity makes you sure that the plant that grows next year will be the same plant you saved the seeds from.
The cherry on top is the green bean plants will produce seeds the same season they are planted, they are very easy to take care of, and they can also fix nitrogen levels in the soil making the soil favorable for your other crops.
If you have a good gardening setup and there are plenty of green bean plants in the yard, then there is no need to go out of your way to purchase a new set of seeds.
The healthy plants in your yard will make it easier for you to manage the garden’s growth in the long run.
It will also provide you with enough yield in a season that you can save the green beans for the next winter to add fresh flavor to your favorite dishes and will also have enough to save at the end of the gardening season.
Sow them the following year and keep yourself from buying pea seeds.
Here are a few ways to never buy peas seeds from the market for sowing. You should follow these simple steps to save green bean seeds for planting next year.
How To Save Green Bean Seeds for Planting Next Year?
- Find the Right Plant
A key component of saving a good seed for planting next year is starting with the right plant. The green bean plant comes in three different varieties.
Make sure to choose the same plant to collect seeds you want to grow in your backyard next year.
To ensure the seed-saving process is successful, find the plants in perfect shape and health. So, mark out the thick and robust bushes compared to other green bean plants in your yard.
These thicker and stronger plants will produce green beans relatively in larger quantities and be more flavorful than the other bushes.
Marking them would also make it easier to identify the bushes when the pods on all bushes have matured and look alike.
- Wait For The Cycle To Finish
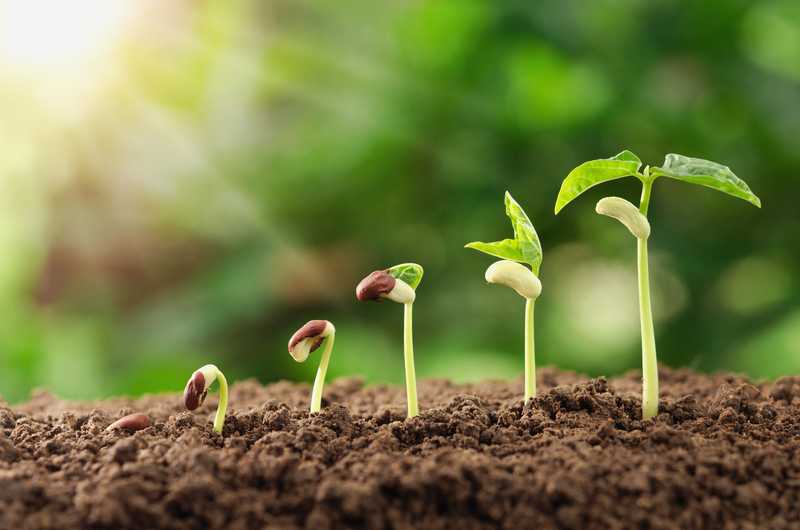
After picking the perfect bush to harvest pods, you must wait for the growing cycle to finish.
Be sure to give the green pods enough time on the plant to fully mature and fill out the pod, which will begin to turn yellow and brown as it dries out.
You should only pick pods after the plant has finished the production of seeds and their maturation.
Although maturing of green bean seeds will take around four to six weeks, if you stay patient, you will notice a substantial improvement in the health of your setup.
If there’s a risk of frost damaging the pods you want to save for the next year, lift the entire plant and hang it indoors somewhere warm to aid the maturation process until the seeds are fully ripened and dry.
- Collect The Pods
Once the plant has matured, pick the pods from the bush. While selecting these pods, your primary focus should be choosing the brown and rough texture seeds. Ensure the pods you are picking don’t have any green on them.
To confirm the seeds have matured, shake the pods; while you shake them, you should hear the rattle of beans moving around inside.
Another way to substantiate if the green bean seeds are fully ripened is to squeeze the pods; there should be a crunch to the touch.
If shaking and squeezing the pods produce these results you should know they are ready to pick off the plant.
- Dry The Bean Pods Again
Drying the pods entirely after you have picked them from the bushes is essential. To do so, arrange the pods on a tray such that each pod has its own space. Crowding them up in the tray will prolong the drying up time and make them go bad.
Let them dry on the tray for two weeks in a dry, well-ventilated indoor location. After two weeks, confirm if they have dried entirely by pressing the pod with your fingernail.
If it cracks open, the bean seeds are ready to be shelled off; however, if pushing with fingernail results in denting of the pod, it indicates it still has moisture, and you should leave it to dry for a few more days.
- Remove The Seeds
Now, you have to remove the seeds from the pods. Be careful not to damage them while you remove them. Drying the pods makes it much easier to shell out the seeds.
After you have removed all the seeds from the pods, save the perfect ones.
It would be best if you throw away any seeds that are insect eaten, wrinkled, or of a different size and color than the rest of them. This will help produce the healthiest green bean-producing plant next year when you sow them.
- Dry The Seeds
After collecting the perfect seeds to save for Next year’s planting, place them on the paper towel to dry them further. You don’t want any moisture in the seeds before you preserve them for the following year.
On the paper towel, let the moisture escape from the seeds in a cool and dry place and harden them for several days.
This process can take a few days, so pick an area with minimal humidity, as you would have to keep them away from any moisture.
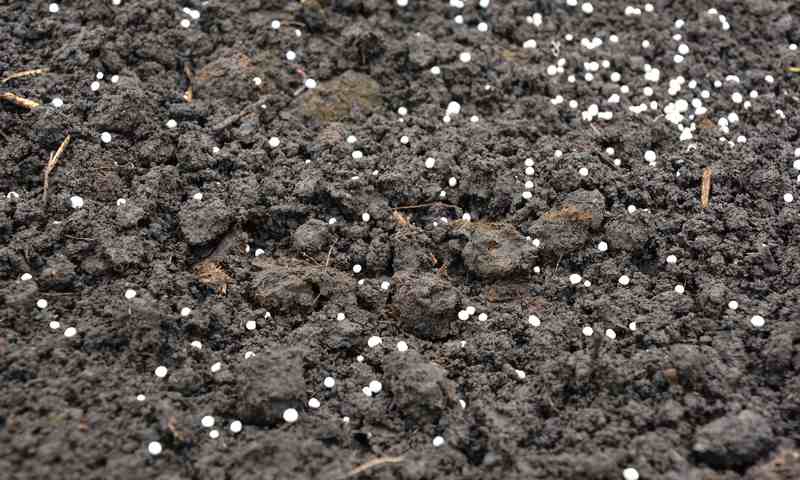
- Store The Seeds
At this step, you just have to store the dried green bean seeds in a container. You can go with an air-tight jar or any other container that allows the air to pass through.
As long as you have control over the moisture content, it shouldn’t be an issue to manage your seeds over the next year.
Another critical step is to put this seed-filled container in the freezer for a week to kill the potentially evil eggs in significantly low temperatures.
After this, you can pull the seed-filled container out of the freezer and store it in a cool dark location.
- Label The Jar
At the least, you should label the jars after filling them with the saved seeds. Mark the year you saved them and also the variety. This way, you would know which plant to expect when you are sowing the seed next year.
Conclusion
These are a few steps you need to keep in mind if you are still getting familiar with how to save green bean seeds for planting next year. The most crucial stage of this process includes picking the pods at the perfect time.
If you pick the pods before they have a chance to mature, you won’t get a reasonable germination rate from the seeds. So, wait out the production cycle and only choose the mature pods.
Dry the pods and also the seeds before you preserve them in the container for next year. Storing them in a cool dark place away from any moisture will make them last long for a couple of years.