Gardening is a popular hobby enjoyed by people all around the world. While the activity helps users in relieving their stress. You should note that gardening can also help in making your garden look beautiful. This is amazing but there are also tons of things that you need to keep in mind. Before you start planting flowers, deciding which ones will work best for you is important.
This is where vincas come in they are known for being one of the easiest to maintain flowers. These can last you an entire season without having to worry about the plant. Although, it is still essential that you keep the flowers planted in an optimal spot. One common question that people ask regarding these plants is if they can be grown using cuttings. This is why we will be using this article to teach you how to grow vinca from cuttings.
How To Grow Vinca from Cuttings?
Before you try to grow the vinca flowers using its cuttings, it is important to note that there are some requirements. The plant mostly grows in warm environments and has some factors that you need to keep in mind. Considering this, make sure that the flowers can grow in your garden without any issues before you try planting its cuttings. We will be providing you with a step-by-step guide that explains how this can be done. Just make sure that you follow the steps thoroughly to avoid running into any further issues.
- Start by taking protective gear that will keep your hands, eyes, and skin protected. This includes gloves and safety goggles usually. The second step involves using chemicals that can be quite dangerous for you. This is why you should wear these as it will ensure that you don’t get any problems later on.
- You can now start gathering all the tools that will be required during the process. This includes a container and cutting tools. Once you have these with you, the user can then sterilize them using alcohol and then rinse the tools with water. Make sure that there is no residue of chemicals on the utensils as this can hurt the plant when cutting it.
- Once done, the user can now start taking a cutting from an existing vinca plant. If you already have these with you then skip the step and move on to the next one. In most cases, the size of cuttings required depends on the season. If you are out of season, then 4 to 6 inches will be required as it is harder to grow the plant. However, if you are in spring then 2 to 3 inches should be more than enough.
- Other than the season, another important thing that you need to understand is where to take the cuttings from. When it comes to this, ensure that the cuttings you take have at least a single node on the stem. If there is more than one, then this will help your plant an even better rate of survival. Keep in mind that only one node is necessary, but this can sometimes fail to grow which is why having multiple ones can be better.
- Now that you have the cutting with you, take the container and fill it up with room temperature water. Only the tip of your cuttings has to be placed inside the container so make sure that you remove the leaves on the bottom part of the branch. Now dip the cuttings inside the container and leave it for some days.
- Monitor the growth and change the water inside the container after every few days. You will notice that small roots will start to spread around the node on your cuttings. This ensures that the plant is now growing and the only thing that you have to do is monitor it for an additional week.
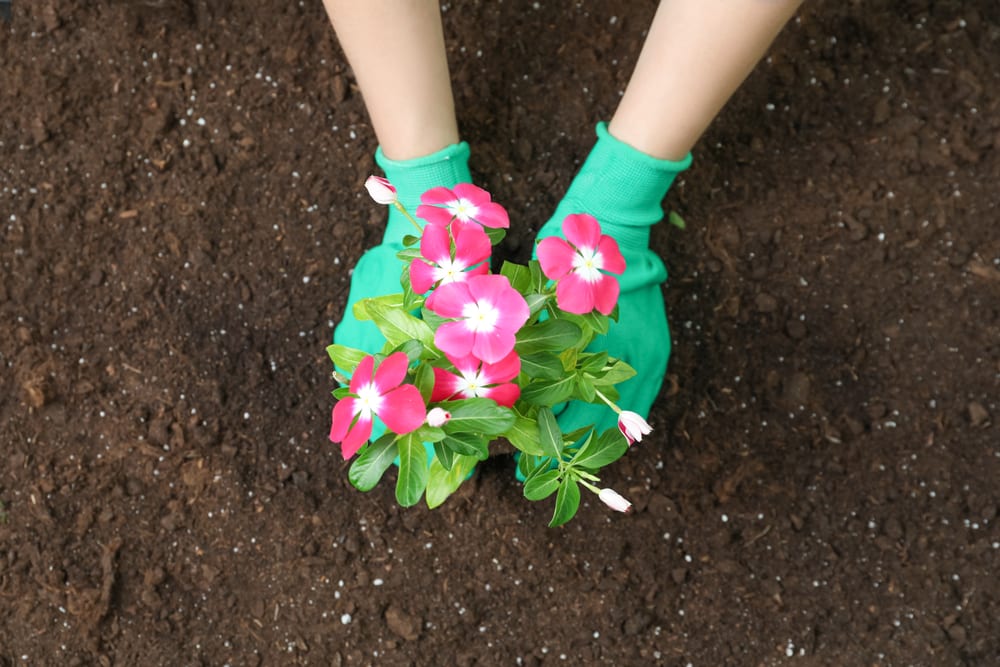
- Now that you have a small vinca plant with you, the user can start planting it inside a patch of soil. It is best that this soil is kept moist at all times and has tons of minerals. Adding fertilizers can be a great way to boost the growth of your vincas. Just make sure that this is done every month for the best results. Finally, you can also use fungicides on your cuttings when growing them to prevent any fungus attacks in the future.