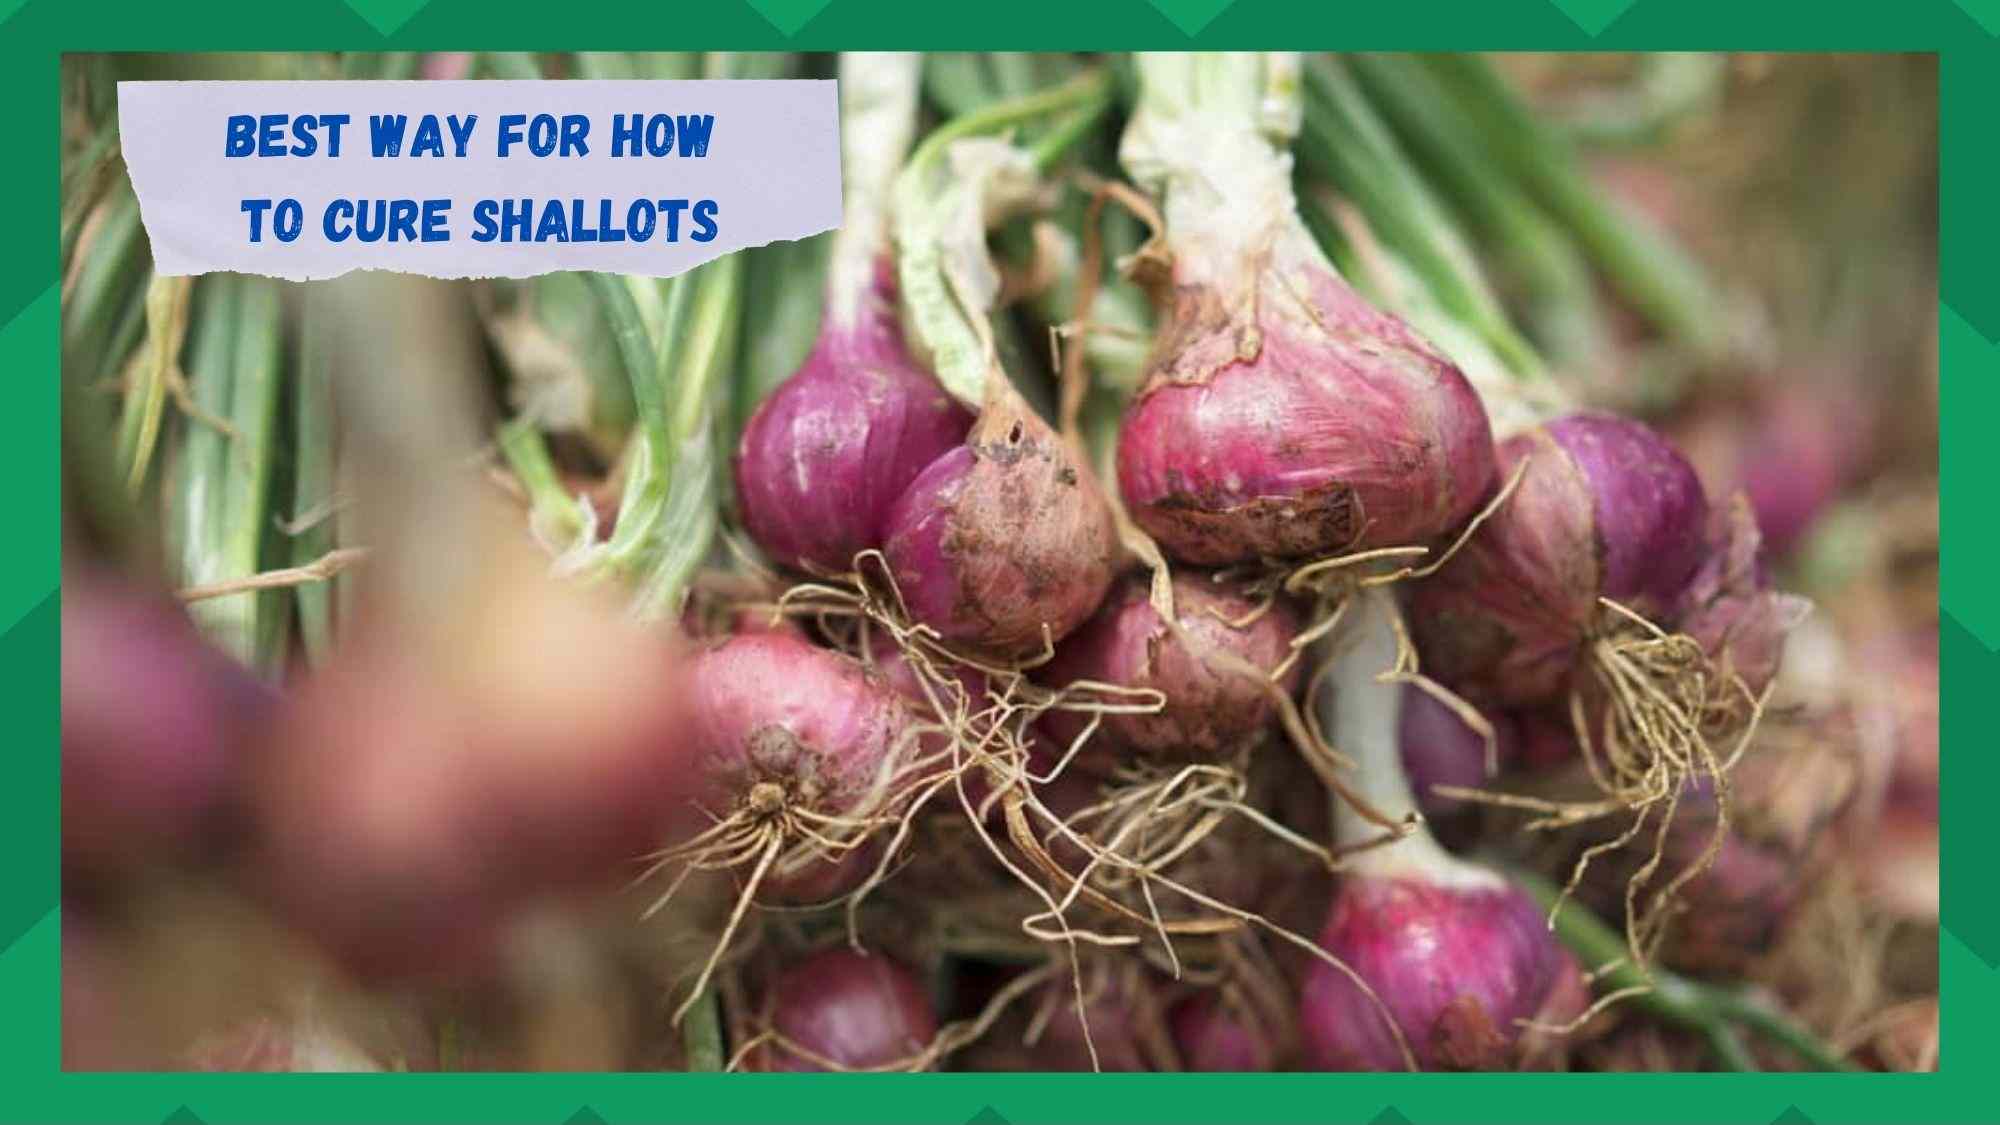
Shallots are flavor-enhancing vegetables from the allium family of vegetables. They are native to central Asia and often mistaken for onions as both have similar appearance and taste.
They have a relatively milder flavor than onions and are a great addition to any recipe that calls for onions. They have a round shape and papery skin and are often grown in clusters.
Thanks to their amazing health benefits, shallots are widely consumed by people all over the world. For starters, they help reduce the cholesterol level in your body.
Their high potassium content makes them a perfect choice for people suffering from high blood pressure. Furthermore, they also benefit your heart and keep heart diseases at bay.
With that out of the way, like every other vegetable, shallots must be grown, harvested, and stored properly for the best results. Curing is an important process if you are to store them for a long period. Proper curing can extend the shelf life of your shallots, and you can store them for up to eight months.
However, many gardeners are unsure about the curing process and do not know how to store shallots. In this article, we will tell you how to cure shallots the right way for maximum shelf life. Let’s dig deeper!
How To Cure Shallots Using The Best Method
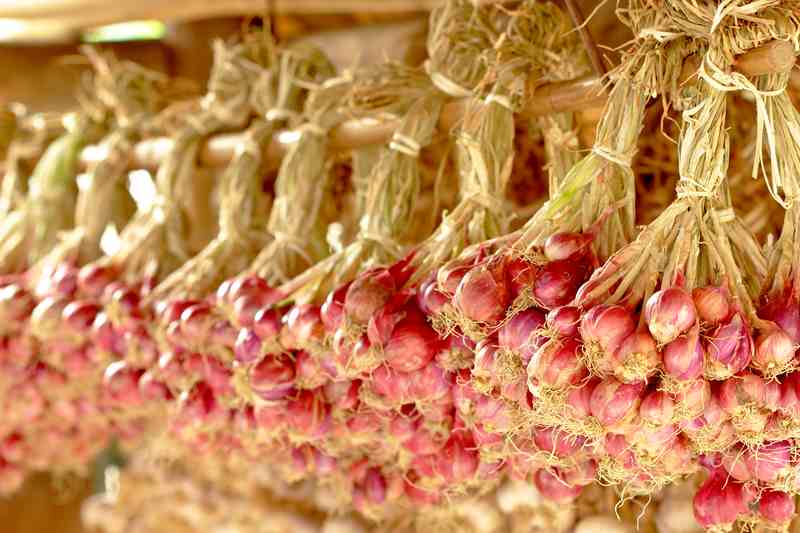
Separating the shallots is the first step of curing. As mentioned earlier, shallots grow in clusters. So, you will need to separate individual shallots from the cluster to cure them. They easily come off, and you won’t have to apply much force.
Once you have separated them, consider placing them on a wire mesh. This is because air circulation is important for the curing process. So, it would be a good idea to arrange your shallots on a wire mesh to encourage airflow. And yes, do not remove their stems just yet.
Some people make a common mistake of washing the shallots soon after harvesting. Garlic belongs to the same family and is washed after being harvested. However, it is not recommended for shallots.
Keep in mind that your goal is to dry them. Washing them will cause more moisture, and as a result, your shallots will take longer to cure, or they may not cure properly. If they are dirty, it would be better to clean them with a cloth or brush.
- Keep Shallots Away From Sunlight

Another thing to keep in mind while curing shallots is that they hate harsh sunlight. If exposed to direct sunlight, shallots can rot pretty quickly. Therefore, make sure they do not receive sunlight once they have been harvested.
It would be a good idea to keep them in a shady and airy place. That place doesn’t have to be pitch black- just choose a place with no sunlight and enough air circulation, and you are good to go! The garage or TV lounge will do the job.
The curing process may take two to four weeks, depending on the weather conditions of your area. If your area has a humid environment, they may take a bit longer.
Once they have been cured, they can be stored for later use. Remove their stems and upper layer of skin, and store them in a bag.
- Blanching
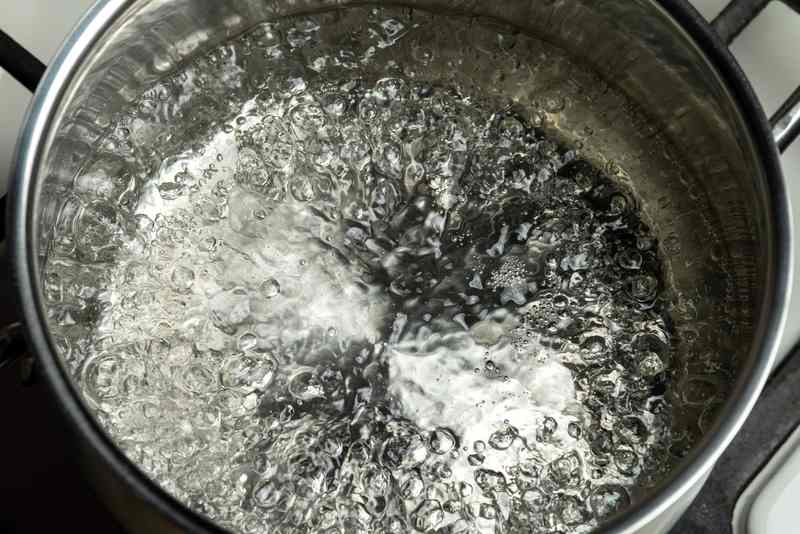
It is advised to blanch your shallots before storing them. Once they have been scalded in warm water, they can be peeled easily. Furthermore, blanching removes the dirt particles from the surface of the shallots.
To blanch your shallots, fill a pot with water and boil it. Clean the shallots while the water boils. Also, fill a bowl with ice water and keep it nearby. Now, put the shallots in boiling water for several minutes.
After that, transfer them to the bowl with ice water and keep them there for a few minutes. Lastly, drain them in a colander. Voila, you have blanched your shallots.
Although blanching offers various benefits, it is not necessary. So, you can store them without blanching if you do not have enough time.
- Storing Shallots in a Bag
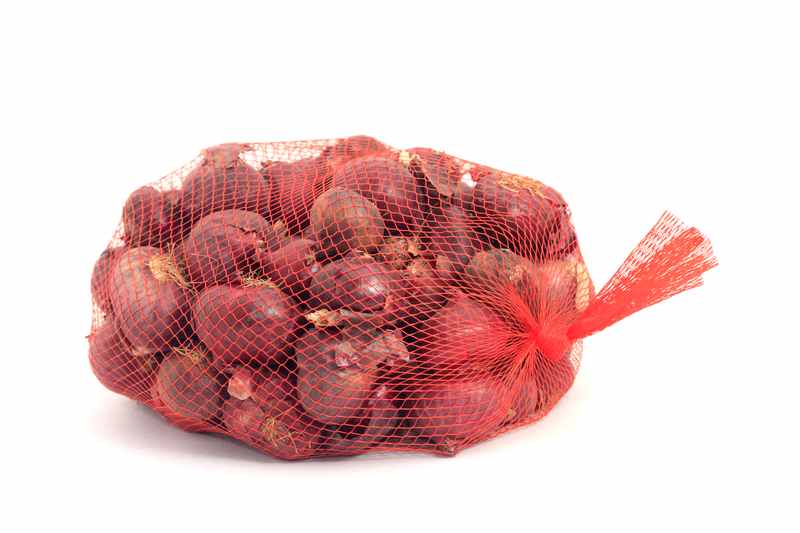
Consider using a netted bag to store your shallots. Remember, proper air circulation is the key. Netted bags are a preferred choice as they offer great ventilation, keeping them dry and fresh. Furthermore, they are environment-friendly, unlike plastic bags. So, storing shallots in a plastic bag is a no-no.
Now store the bag in a dry and well-ventilated place. If you want to use them throughout the winter, consider storing them in your refrigerator. When frozen, shallots can last for a year, sometimes even longer.
- How to Plant Shallots?
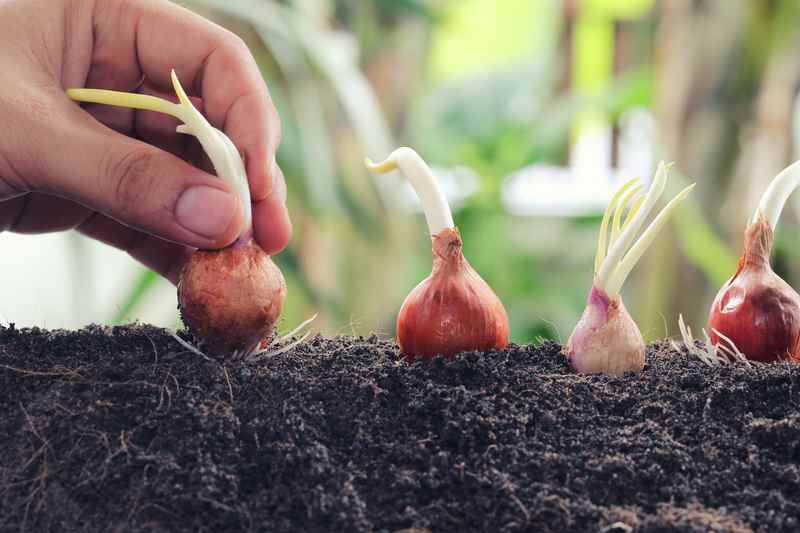
Planting shallots is a simple process and does not require much knowledge. You can also grow shallots in a container.
For this purpose, take a container and fill it with well-drained soil that will retain the water nicely. It is recommended to mix some compost in the soil to help your shallots grow faster.
Shallots are usually sold in sets. Go to your nearby nursery and grab a set of shallots. To plant them, just sprinkle them some inches apart from each other. And yes, it would be better to push them a bit in the soil.
Make sure not to push them too deep, or else leaves will outgrow the bulbs. The rule of thumb is to push them to the extent that you can only see their top part.
- Fertilizing
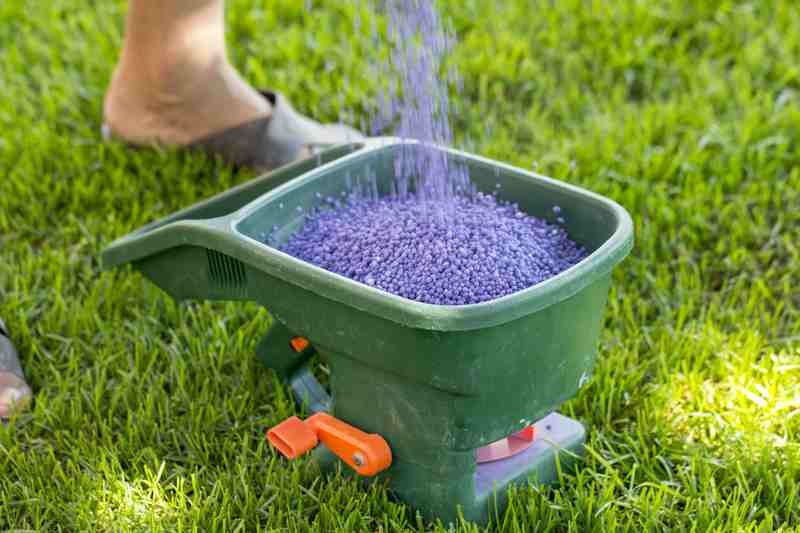
The shoots will grow in around two weeks. Once the shoots have come out, consider applying the fertilizer. A fertilizer is a material that provides your soil with essential nutrients, such as nitrogen, phosphorus, etc.
And yes, add just enough fertilizer, as overfertilizing can also weaken your shallot plants. The recommended amount is usually mentioned on the package, so consider reading it before fertilizing.
There are many vegetable fertilizers available in the market. If you are purchasing fertilizer for the first time, it would be better to consult with a botanist. They will recommend a suitable fertilizer for shallot plants.
- Maintenance

The shallot plants will start developing bulbs after a few months. Keep watering them regularly for their optimal growth. Be mindful that shallot plants are shallow-rooted and require more water than other plants, especially on hot days.
Shallots come in different types, so the growth period may vary depending on the type of shallot you have planted. Usually, they take three to four months to grow. Once they have grown, harvest and cure your shallots to make them last longer.
The Bottom Line
Shallots are loved for their health benefits and mild flavor. They rot quickly, so it is recommended to cure them before storing them. To cure your shallots, separate them from the cluster and place them on a wire mesh.
Next, put them in a shady area with good ventilation. The curing process usually takes two to four weeks. Once cured, trim your shallots and store them in a netted bag.
When should I harvest the shallots and garlic