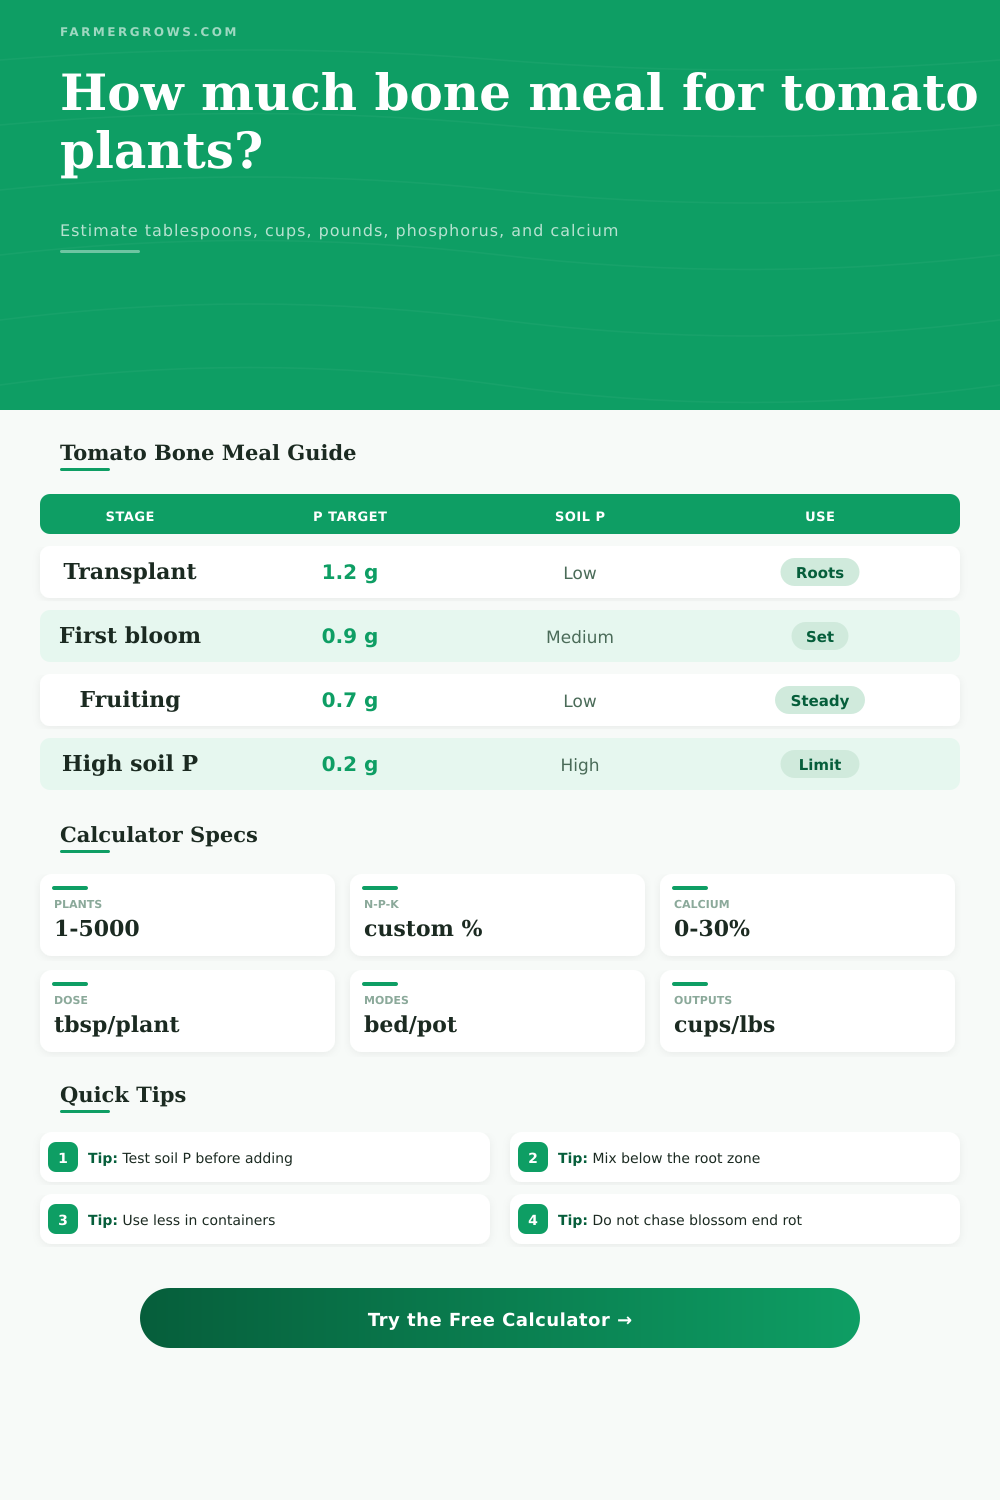
Bone Meal for Tomato Plants Calculator
Estimate bone meal for tomatoes from plant count, planting stage, N-P-K analysis, calcium percentage, tablespoons per plant, soil phosphorus status, bed or container mode, application frequency, and phosphorus or calcium goal.
Bone meal is mainly a slow phosphorus and calcium amendment. This calculator compares a per-plant tomato target with a bed-area P₂O₅ need, converts that need into bone meal from the product analysis, then warns when soil phosphorus or container conditions call for a lighter touch.
Best when soil phosphorus is low and bone meal can be mixed into the future root area before planting.
Works as a gentle top-up, but bone meal moves slowly, so it is not a quick rescue for stressed plants.
Pots have less buffering soil volume, so the calculator trims phosphorus targets for grow bags and patio tomatoes.
Bone meal can add calcium, but even watering matters more for blossom-end-rot prevention than adding extra phosphorus.
Bone Meal Recommendation
Enter your tomato planting details to estimate a practical bone meal dose.
| Bone meal type | Typical N-P-K | Calcium range | Best tomato use |
|---|---|---|---|
| Steamed bone meal | 3-15-0 or similar | About 12-20% | Mix into low-P transplant beds before roots spread. |
| Granular organic bone meal | 4-12-0 or similar | About 15-22% | Good for measured spoon rates around each tomato plant. |
| Fish bone meal | 6-8-0 or similar | About 10-18% | Useful when a modest nitrogen bump is acceptable. |
| Blended tomato starter | 2-7-4 or similar | Varies by label | Use the blend label, not a generic bone meal value. |
| Planting stage | Base P₂O₅ target | Bone meal fit | Timing note |
|---|---|---|---|
| Seedling pot-up | 0.35 g per plant | Very light | Use only tiny amounts in seedling mixes. |
| Outdoor transplant | 1.20 g per plant | Strongest fit | Blend below and around the future root zone. |
| Pre-bloom establishment | 0.95 g per plant | Good fit | Apply before rapid flowering if soil P is low. |
| First bloom | 0.80 g per plant | Moderate fit | Do not overdo P once roots are established. |
| Early fruit set | 0.65 g per plant | Limited fit | Potassium and steady water often matter more. |
| Midseason maintenance | 0.45 g per plant | Light check | Use only if soil P is low or plants were missed earlier. |
| Soil P choice | Calculator factor | When it fits | Tomato action |
|---|---|---|---|
| Very low soil P | 125% of target | Soil test shows deficient phosphorus. | Use the calculated amount and mix it into soil. |
| Low soil P | 110% of target | New beds, sandy soil, weak root development. | Apply near planting and recheck next season. |
| Medium or unknown soil P | 75% of target | No test, decent garden growth, compost use. | Use a cautious starter amount only. |
| High soil P | 25% of target | Soil test already adequate or high. | Skip most bone meal and use the result as a ceiling. |
| Excessive soil P | 0% of target | Very high soil test phosphorus. | Do not add bone meal for tomatoes. |
| Use pattern | Typical spoon plan | Best frequency | Placement note |
|---|---|---|---|
| Raised bed transplant | 1-3 tbsp per plant | Once at planting | Blend into soil several inches from the stem line. |
| Field row planting | 2-4 tbsp per plant | Once or split twice | Band below the row and avoid direct root contact. |
| Container tomato | 0.5-1.5 tbsp per plant | Small split doses | Use less product because potting mix volume is limited. |
| High phosphorus bed | 0-0.5 tbsp per plant | Usually skip | Choose compost, potassium, or pH correction instead. |
| Target setting | Calculator behavior | Good use | Caution |
|---|---|---|---|
| Phosphorus target first | Uses the full adjusted P target. | Low-P transplant situations. | Can overapply P if soil test is already high. |
| Balanced P and Ca | Uses 90% of the adjusted P target. | General garden planning. | Still depends on label analysis. |
| Calcium cross-check | Uses 75% of P target and reports Ca delivery. | Checking how much calcium comes along. | Not a quick blossom-end-rot cure. |
| Conservative phosphorus cap | Uses 60% of the adjusted P target. | Unknown or compost-rich soil. | May undersupply very low-P beds. |
Soil test tip: Bone meal is a phosphorus source, so avoid routine use when the soil test already shows high phosphorus. The calculator result is a planning estimate, not a lab recommendation.
Placement tip: Mix bone meal into moist soil before or at transplanting. Surface-applied bone meal releases slowly, especially when soil is dry or roots are not nearby.
Tomato growers everywhere swear by bone meal, saying things like, “I always put some bone meal in my tomato holes, as tomatoes realy love it.” And if only it were true! There’s no overnight miracle here; bone meal is a slow release additive, relying on soil microbes to gradualy convert the phosphorus and calcium into something available to plant over time (weeks or months). Know that, and you’ll know what to do with it.
Don’t dig a giant hole, dump it all around your hungry plant and hope for the best, and then watch it grow immediately. That doesn’t happen, so don’t waste good money and good bone meal. If you want a little help doing the math, try this tool. The calculator above will crunch numbers for you, though you’ll use it differently once you understand why it needs the data it does.
How to Use Bone Meal for Tomatoes
First, consider your soil phosphorus status. This is by far the biggest factor in this equation. Adding more bone meal doesn’t benefit plant if your soil test indicates high phosphorus. The nutrient simply goes unused; it just sits there. Or even worse, it locks up other nutrients such as zinc and iron. This cause leaves to turn yellow as though they have a deficiency, but it isn’t a deficiency at all… It is a blockage. When you choose high soil P, the dose goes down. It’s a guardrail against over-applying.
Soil tests are ignored by most gardeners (too slow, too expensive). If yours isn’t done, the calculator starts from a conservative estimate of P level; a safe bet. It prevents the common mistake of over-doing a dose by dumping half a bag of amendment into soil that already has plenty.
Phosphorus promotes early fruit set and root development. This is why timing matter. It is best applied during transplant time. After transplanting, the root system is small but grows outward. This means the plants needs access to any nutrients applied right around them. Bone meal breaks down gradualy. Applying it around roots when the plants are planted ensures the nutrients will be accessible as they reach out with their roots. Side-dressing bone meal later in the season usually isn’t worth the effort, because by then the roots has taken hold. Slow release just isn’t timed well enough to affect current flush of activity. This is why calculations shows that less phosphorus is needed as the plant ages. From transplant onward, what you supply is meant to help a plant get a strong start, rather than feed an adult vine.
All that changes with containers: Less soil volume means they dry out sooner. Flush nutrients faster. A dose that works for a raised bed can burn a plant in a five-gallon bucket. Time for the tool to go into reduced mode: It cuts back on the tablespoons. Big time. Why? Concentration spikes are toxic in a small volume of potting mix. What you’re after is a gentle background level of phosphorus, not a shock.
And then there’s calcium. To help avoid blossom-end rot, add bone meal, a good source of calcium. Calcium, however, travels slow in the soil. Applying bone meal isn’t going to be a solution on a plant whose fruit are already starting to split. Typically, blossom-end rot indicates a watering problem; the fruit must have consistent water to carry calcium up and down from the roots. Bone meal will contribute some soil-borne calcium over time, but it won’t remedy instant drought stress. The calculator tell you how many grams of calcium you’re applying. Plan for the season with that figure… Not as a treatment for a stricken plant right now.
Read the N-P-K analysis on your bag. All bone meal is not created equal. Some bone meals may be steamed (e.g., 3-15-0). Other bone meals might come from fish bones (e.g., 6-8-0). The phosphorus contents is different. If using a product that has a lesser percentage of phosphate, then you have to add more by volume to achieve the same target. The tool takes this into account. It converts the percentages listed on label into actual nutrients delivered. You’re not guessing at the density of the powder. You’re working based off the specific product that’s in your hand.
And then there’s the weight. We can measure tablespoons easily. Buying pounds is easy. The calculator closes this divide. It tells us whether we’ll need one entire spoon per plant, or whether we’re going to need a full bag for the garden. It saves us from having to buy 5 pounds of an amendment when all we need is two cups. It keeps your garden budget under control. It keeps your soil balanced. Reminds us that gardening isn’t a game of panic but rather preparation. You set the stage at planting time. Let nature do its thing. The roots will find what you’ve provided for them, and it should of helped.