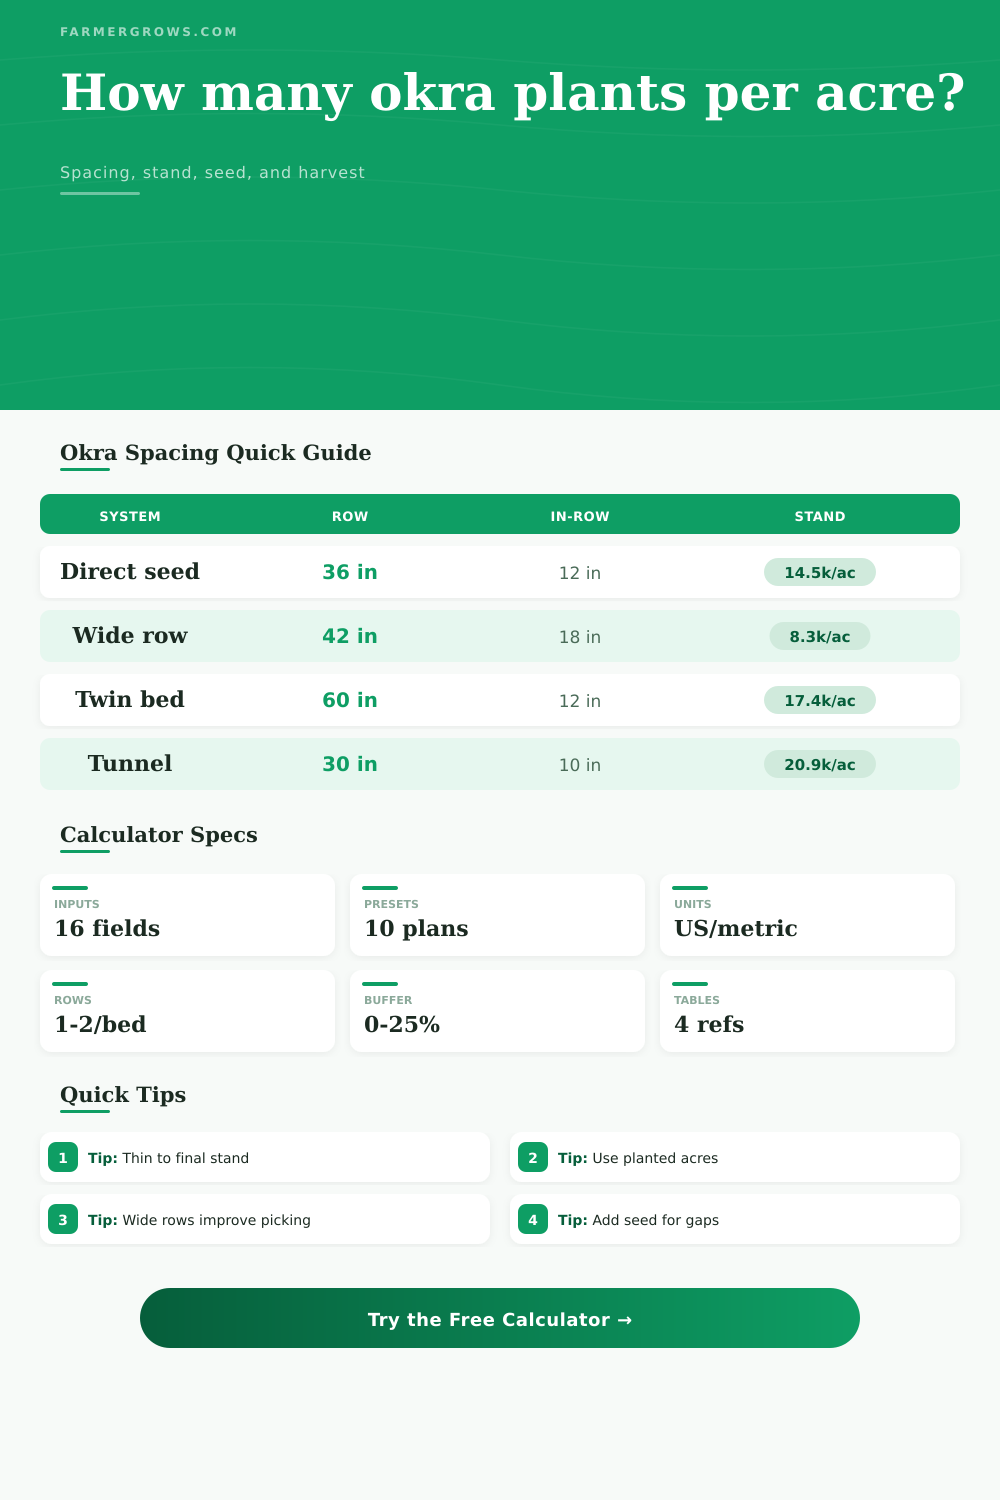
Okra Plants Per Acre Calculator
Estimate okra plant population, planted row length, seed or transplant order, stand density, thinning needs, and harvest range from spacing, usable acres, rows per bed, establishment, and picking assumptions.
Use the area actually planted to okra when possible. Headlands, access alleys, irrigation manifolds, wash lanes, and irregular field edges reduce the stand that fits inside a gross acre.
Sow extra seed, then thin to the final stand after emergence is strong and rows are visible.
Uses fewer seeds and gives an early start, but order size should cover weak cells and field gaps.
Two rows per bed raise population but need harvest access, fertility, airflow, and steady picking.
Wider spacing helps drought stress, tall branching plants, and manual harvesting in hot fields.
Okra Planting Estimate
Enter field and spacing details to calculate okra stand density.
| Row spacing | Plant spacing | Rows per bed | Plants per acre | Best fit |
|---|---|---|---|---|
| 30 in | 10 in | 1 | 20,909 | High tunnel or intensive baby okra where picking is frequent. |
| 36 in | 12 in | 1 | 14,520 | Standard fresh-market okra with balanced population and access. |
| 42 in | 15 in | 1 | 9,954 | Hand harvest rows with more canopy room and less crowding. |
| 48 in | 18 in | 1 | 7,260 | Wide spacing for dryland, tall branching plants, or long season fields. |
| 60 in bed | 12 in | 2 | 17,424 | Twin-row beds where bed tops hold two rows and alleys stay open. |
| Planting method | Seeds or cells | Establishment | Order buffer | Planning note |
|---|---|---|---|---|
| Direct seed, warm soil | 2 seeds/station | 80%-90% | 10% | Thin after emergence to one final plant per station. |
| Direct seed, cool soil | 3 seeds/station | 65%-80% | 15%-25% | Okra dislikes cool soil; use more seed or wait for warmth. |
| Transplant trays | 1 cell/station | 90%-96% | 5%-10% | Order extras for weak cells, wind damage, and transplant shock. |
| Ratoon stand | existing plants | 70%-90% | 0%-5% | Use surviving plant percentage to judge whether replanting is needed. |
| Gap filling | 1-2 seeds/gap | 60%-85% | 20% | Late fill-ins may lag behind the main harvest window. |
| Net planted area | 30 in rows | 36 in rows | 42 in rows | 60 in beds |
|---|---|---|---|---|
| 0.10 acre | 1,742 ft | 1,452 ft | 1,245 ft | 871 bed ft |
| 0.25 acre | 4,356 ft | 3,630 ft | 3,111 ft | 2,178 bed ft |
| 0.50 acre | 8,712 ft | 7,260 ft | 6,223 ft | 4,356 bed ft |
| 1.00 acre | 17,424 ft | 14,520 ft | 12,446 ft | 8,712 bed ft |
| 5.00 acres | 87,120 ft | 72,600 ft | 62,229 ft | 43,560 bed ft |
| Stand density | Yield per plant | Gross lb/acre | With 12% cull | Use this for |
|---|---|---|---|---|
| 8,000 plants/ac | 0.6-1.1 lb | 4,800-8,800 | 4,224-7,744 | Wide rows or drought-limited fields. |
| 12,000 plants/ac | 0.6-1.2 lb | 7,200-14,400 | 6,336-12,672 | Common market garden planning range. |
| 16,000 plants/ac | 0.5-1.1 lb | 8,000-17,600 | 7,040-15,488 | Standard to moderately dense fresh okra. |
| 20,000 plants/ac | 0.4-0.9 lb | 8,000-18,000 | 7,040-15,840 | Baby okra or intensive systems with frequent harvest. |
| 24,000 plants/ac | 0.35-0.8 lb | 8,400-19,200 | 7,392-16,896 | Dense stands only if picking and fertility can keep pace. |
For direct seeding: The order estimate includes seeds per station, expected emergence, and the buffer. After thinning, the calculator reports final plant stations, not every seed dropped.
For hand harvest: Very dense okra can look efficient on paper but slow picking. Leave enough row or alley space for frequent harvest passes.
The most common causes of okra failure are not insufficient fertility or inferior seed; they’re spacing mistakes made at planting time. Even if you have fertile soil, crowding your plants will cause them to fight each other for air and light. This result in a leggy crop, more vulnerable to disease. Managing the yield also depends on getting plant population correct; not a tangle of woody stems inviting mildew.
The calculator above do the math for you. Plug in how you plan to lay out your plants, such as standard rows or raised beds?), and it spares you the guesswork about what coefficient to use. Those vary based off your layout.
The Importance of Correct Spacing
How many acres can you actualy use? That’s the first question. Almost always that figure isn’t equal to your gross acreage. You have headlands and other field edges. You might also have an irrigation manifold or alleyway where people or carts pick things. If you order enough to plant a whole acre, while in reality only 88 percent of the ground is good, well then you’ll run out of plants long before you run out of space. This sounds like a minor point, but it really matters. The reason most farmer lose money is that they ordered exactly the right number of transplants for the theoretical square footage. Not accounting for the access lanes and the corners that consume actual real estate.
Next, look at the production system once you have finished the actual planting. Is it direct seeded? It’s wasteful but forgiving. Sow more than you think will emerge (particularly in cool soil). Thin later as necessary to final stand. For this reason, the tool ask you for both establishment percentage and an input for “seeds per station.”
Or are they transplants? They are more precise and less forgiving. If you order exact number suggested by the calculator without a buffer, one bad transplant day could leave your field patchy. A ten percent buffer on your order is a cheap form of insurance. It protects against shock or wind damage that kills cell in the tray.
And then there’s spacing: That’s where agronomy meets personal preference. With wide rows you get less disease pressure (more airflow). You’ll pick faster (also a good thing), but you will have fewer plant in any given space. If you’re growing in a high tunnel or twin-row beds, you’re maximizing yield-per-square-foot with dense stands. But you’re going to need to manage fertility aggressively and you’d better do some really regular picking, lest the plants turns into woody giants.
The table at the top of the page indicates that if you’re growing in thirty-six-inch-wide rows, switching to forty-two inches dramatically decreases your plant population. More isn’t necessarily better. Extra pounds of produce may not offset the added labor expense of harvesting in tight quarters.
The way you space them should reflect what you expect to harvest. For example, if you want uniform, tender pods for the fresh market, you’ll want to plant many of them. However, do not plant them so densely that energy is divided among too many plants, as this results in smaller pod. If you’re expecting to pick every couple of days, though, you may get more total weight with dense crops. Though they’ll have fewer pounds per plant. Spacings that result in bigger plants are also more robust, so it’s worth thinking about how easy they will be to pick by hand, especially since they’re easier to see from afar.
Based off those inputs, the calculator calculates a likely range of what you might of to expect at picking time. It is a realistic bracket to shoot for at the end of the season.
Finally: Okra requires planning, and patience. When things line up, it stretches tall and branches out, yielding heavy for a long time. But crowding the plants too closely, trying to cram another row into every bed, usually means harvesting hell. What you wind up doing is wrestling with foliage, rather than picking pods.
Spend the time, as I do, to account for buffers, headlands, and reasonable plant-establishment rates, so your sowing equals what you’ll be harvesting. Better to underplant and build outward then, than plant a sea of seedlings destined to choke themselves by July.
A spaced-out crop is a good-looking crop, and a profitable one. The math will show you just how many can go in before the mayhem begins.