Manure Per Square Foot Calculator
Estimate manure pounds, quarts, or cubic yards per square foot using manure type, composting status, crop nitrogen need, soil organic matter, and the number of days between application and harvest.
Choose a field or garden situation to load realistic starting values. Each preset changes area, manure source, crop class, soil organic matter, application timing, and harvest interval.
Lowest food safety concern, lower first-season nitrogen, easiest to use near planting.
Less hot than fresh manure, but still needs timing judgment for edible crops.
More ammonium nitrogen and more safety risk; apply well before harvest.
Dry, easy to weigh, and useful for small square-foot applications.
Manure Application Results
Rates are calculated from the selected nitrogen target, first-season availability, soil organic matter credit, manure density, and timing safety interval.
| Manure source | Total N | P2O5 | K2O | Typical density |
|---|---|---|---|---|
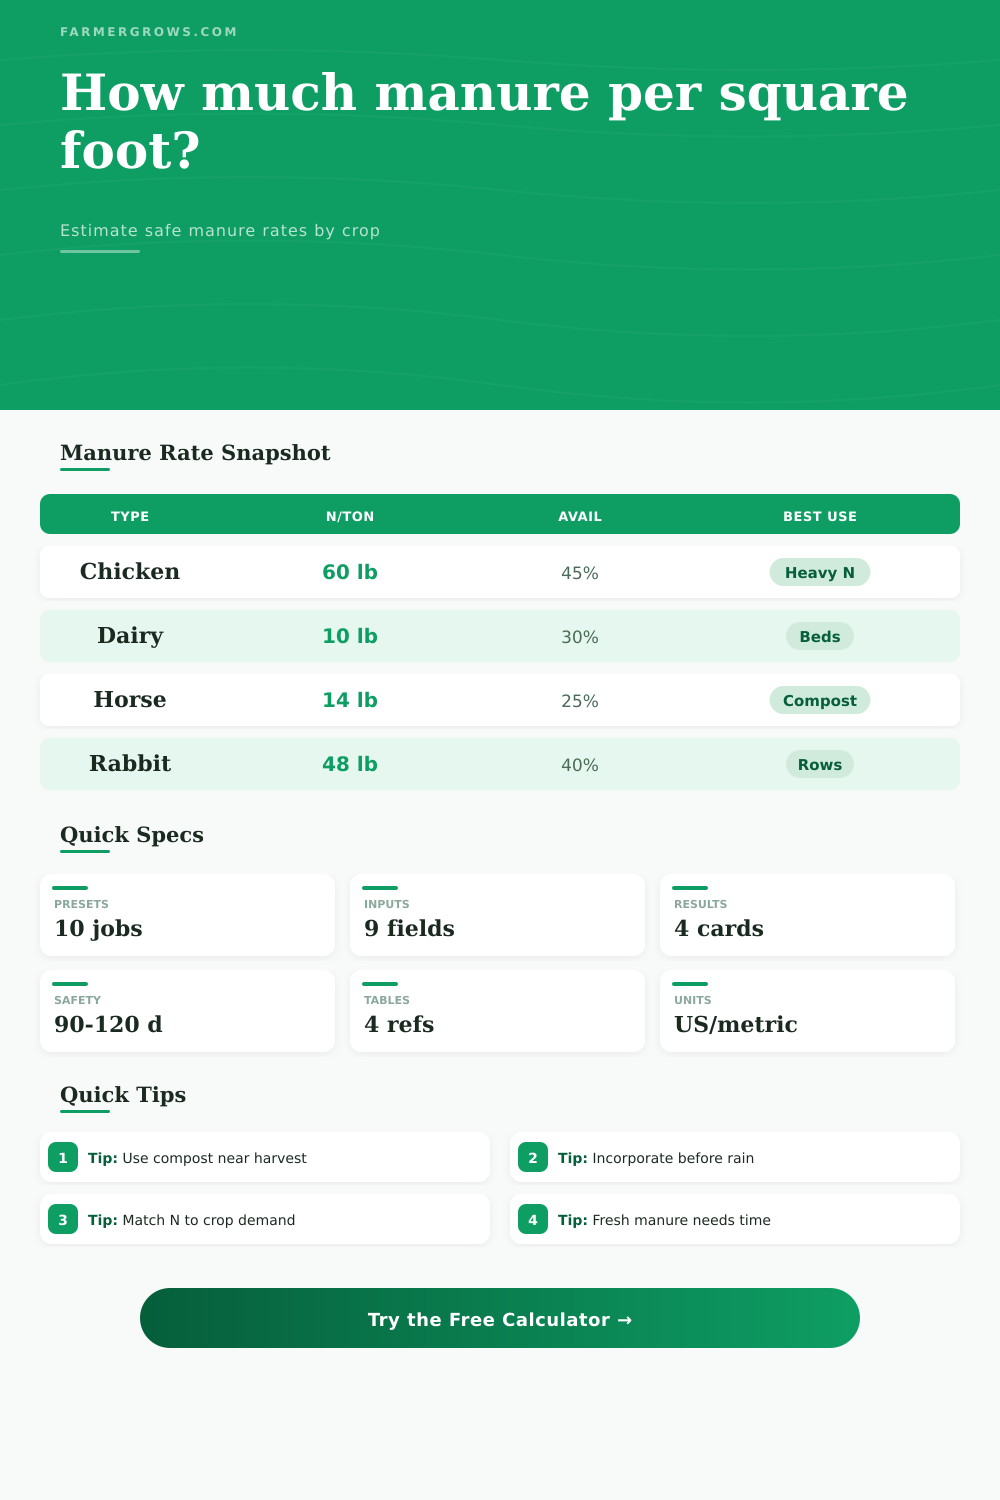
| Chicken litter | 60 lb/ton | 55 lb/ton | 35 lb/ton | 900 lb/yd³ |
| Dairy cow solid manure | 10 lb/ton | 5 lb/ton | 10 lb/ton | 1400 lb/yd³ |
| Beef bedded pack | 14 lb/ton | 9 lb/ton | 16 lb/ton | 1300 lb/yd³ |
| Horse manure with bedding | 14 lb/ton | 5 lb/ton | 11 lb/ton | 1000 lb/yd³ |
| Rabbit manure | 48 lb/ton | 24 lb/ton | 8 lb/ton | 1150 lb/yd³ |
| Pelleted poultry manure | 80 lb/ton | 60 lb/ton | 45 lb/ton | 1250 lb/yd³ |
| Condition and timing | First-season N availability | Best use | Caution |
|---|---|---|---|
| Finished composted, surface | 15% to 25% | Topdress beds, orchards, soil building | Lower immediate nitrogen response |
| Finished composted, incorporated | 25% to 35% | Vegetable beds before planting | Still avoid excessive phosphorus buildup |
| Aged manure, incorporated | 25% to 40% | Fall or early spring garden preparation | Watch weed seeds and salt levels |
| Fresh manure, same-day incorporated | 40% to 55% | Preseason heavy feeders, non-harvest windows | Needs 90 to 120 days before edible harvest |
| Pelleted manure, incorporated | 45% to 60% | Small plots and square-foot beds | Concentrated, weigh carefully |
| Crop class | Normal N target | Per sq ft target | Manure note |
|---|---|---|---|
| Leafy greens and brassicas | 70 lb/1,000 sq ft | 0.070 lb N | Use composted manure close to harvest |
| Tomatoes, peppers, squash | 60 lb/1,000 sq ft | 0.060 lb N | Do not overdo fresh nitrogen before fruiting |
| Root crops and potatoes | 45 lb/1,000 sq ft | 0.045 lb N | Excess N can push tops over storage roots |
| Beans and peas | 25 lb/1,000 sq ft | 0.025 lb N | Usually need less manure nitrogen |
| Sweet corn and grass crops | 90 lb/1,000 sq ft | 0.090 lb N | Split fertility may still be better |
| Orchard, berries, perennials | 35 lb/1,000 sq ft | 0.035 lb N | Keep manure away from trunks and crowns |
| Food safety situation | Minimum interval | Applies to | Practical choice |
|---|---|---|---|
| Fresh manure, edible part touches soil | 120 days | Lettuce, carrots, melons, low greens | Apply in fall or use finished compost |
| Fresh manure, edible part above soil | 90 days | Tomatoes, corn, trellised beans | Incorporate early before planting |
| Composted manure near harvest | 0 to 30 days | Properly finished compost | Confirm compost is mature and clean |
| Orchard or perennial mulch | 60 to 90 days | Tree rings, cane fruit alleys | Keep away from fruit contact and stems |
| Pasture or hay renovation | 30 to 60 days | Forage before grazing or cutting | Follow local nutrient management rules |
Rate tip: Weigh one bucket of your manure and spread a test square. Manure density changes quickly with bedding, moisture, screening, and storage age.
Safety tip: Use finished composted manure for leafy greens or short-season crops. Fresh manure belongs in long windows where the harvest interval is clearly met.
Manure nutrients vary widely. Use a recent manure analysis and soil test when possible, especially where phosphorus, salts, or runoff rules limit application.
It smells like new manure, and if you’re like most gardeners, you know where that’s coming from, but not the math part of what happens when you spread it around. That’s when there’s a problem. Maybe all those tomato plants is thriving and lettuce’s looking puny. Or vice versa. Typically, the answer lies with the amount of available nitrogen that got to the roots at the right time of the year, as things grew.
Instinct (and following someone else’s) serves some people well. But just as often doesn’t, since manure is no kind of fertilizer. It’s an organic-matter-wrapped package of slow-release nutrients; if you don’t unwrap it properly, you won’t be getting your money’s worth.
How to Use Manure Correctly
When you plug in your crop type and your bed dimensions, the calculator do the rest, no more guesswork about whether you’re looking for three pounds of something or thirty. But how do you know what your input mean in terms off the soil?
Poultry poop (aka: chicken litter) contains much higher levels of available nitrogen than, say, dairy manure. The birds is super-efficient at digesting their food, so they create way less of it than other animals. That also means you don’t need nearly as much volume to achieve same effect.
If you assume all manures are alike, you’ll either be starving your plants of energy or gassing out your crops with too-high levels of ammonia. This is a rookie mistake that can ruin an entire season.
It is not just about volume. Adding food safety considerations makes things even more complicated. Pathogens from fresh animal manures may persist for several months in the soil. Generally speaking, regulatory guidance requires waiting ninety to one-hundred twenty days before harvesting crops grown in contact with fresh waste. Leafy crop are especially susceptible.
The tool enables you to plan when you can safely harvest within these timeframes so you don’t risk making anyone sick just to get an inch or two of extra chard. Compost avoids most of these risks, since properly-composted materials will reach high enough temperatures to kill off any bad guys. Soil amended with composted manure would be considered stable, low-risk material that’s fine to work with up through the day of planting.
This doesn’t mean it is full of nutrients right away. See the next point.
Just how much manure, and how do you know when? The capacity of soil to hold onto ions is another important factor in nutrient availability; it’s why rich soil works so much better than depleted or sandy soil. If you have a lot of organic matter in the soil, it will be more like a sponge holding onto whatever nutrients are being released by decomposing manure. If you don’t have high levels of organic matter, those same nutrients run off with the first big rain.
The table from the page here explains all that by comparing the nutrient availability and quantity of various types of manures. These tables is best used as starting places, remember that each batch of manure differs depending on what animals ate, what they were fed, where their manure was stored, etc. Horse manure from a pile with straw bedding will be heavier than one made up off mostly wood chips, for instance. Weight matter, especially if you’re talking about volume.
And again: Soil organic matter makes a tremendous difference to how available nutrients are to the plant. Remember: Think about whose needs you’re feeding! A long-season plant such as squash or corn will require high nitrogen through its entire season (it’s a heavy feeder). A light feeder such as a bean gets its own nitrogen from the air and can be overfed with bad results.
The calculator accounts for this; your light-feeder won’t be given too much food if it doesn’t need it. Too much food means soft, tender growth that invites pest and disease. Also, excess food encourage lots of foliage growth at the expense of roots (or fruit on fruits). You don’t want an all-green show, you want balanced growth.
At the end of the day, manuring is all about collaborating with nature’s timing instead of expecting instant results. If possible, get your soil tested first. Apply a little bit at a time, and see what happens; don’t dump loads on things unless you’re sure they want it. You should of checked for nitrogen levels first.
Plan to match your local weather conditions, as wetter areas will leach out nutrients more quickly than drier areas where they’ll have a chance to soak in over time. You want a living, vibrant soil that provides support not just during this year’s growing season, but beyond, long after whatever you put on there is gone.
Be thoughtful: apply a little, pay attention, then do more; or less… Based off the feedback you recieve. I promise you’ll be surprised by what’s possible when you plan with care…not so much in the quantity of produce, but in its quality.