Stepping Stone Calculator
Estimate stone count, covered surface, compacted gravel base, and bedding sand for garden paths, service walks, stepping-stone rows, and small patio pads.
Use the continuous patterns for filled walks and patios. Use the stride patterns when each stone sits as its own pad in grass, mulch, gravel, or soil.
Stepping Stone Estimate
Counts include your selected waste allowance. Base and bedding volumes are based on the support footprint for the selected pattern.
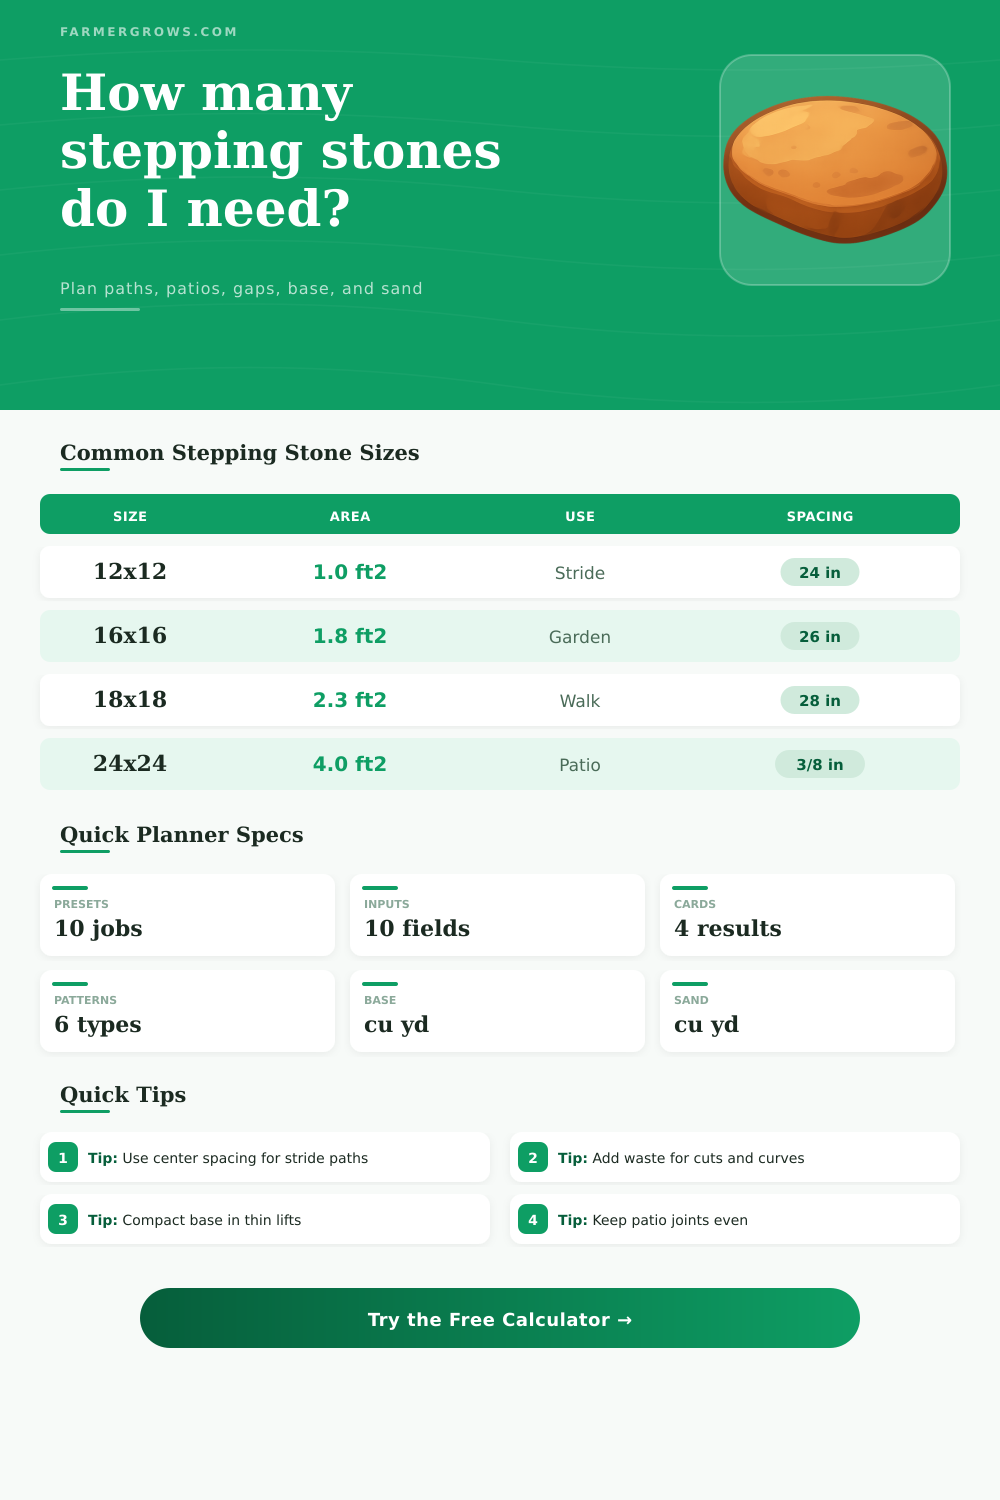
| Stone size | Area per stone | Typical use | Layout note |
|---|---|---|---|
| 12 x 12 in | 1.00 sq ft | Small garden steps | Works best as a light-duty single stride path. |
| 16 x 16 in | 1.78 sq ft | Kitchen garden paths | Large enough for relaxed walking without crowding beds. |
| 18 x 18 in | 2.25 sq ft | Main garden walks | A good all-around size for stride and grid paths. |
| 18 x 24 in | 3.00 sq ft | Side yard runners | Long face can run with the walking direction. |
| 24 x 24 in | 4.00 sq ft | Patios and landings | Fewer pieces, heavier handling, cleaner grid layout. |
| 24 x 36 in | 6.00 sq ft | Wide service paths | Good for cart access when base depth is adequate. |
| Center spacing | Best for | Typical gap with 18 in stone | Planner note |
|---|---|---|---|
| 22 to 24 in | Short steps, children, tight curves | 4 to 6 in | Comfortable where people slow down near gates or beds. |
| 25 to 27 in | Most garden walking paths | 7 to 9 in | Common natural stride range for casual walking. |
| 28 to 30 in | Longer adult stride paths | 10 to 12 in | Use only where the path is straight and visible. |
| 3/8 to 1 in joints | Continuous patio or walkway | Tight joint | Gap controls rows and columns rather than stride stations. |
| 2 to 4 in joints | Grass or gravel between stones | Open joint | Good for permeable paths that still read as a grid. |
| Use case | Base depth | Bedding sand | Why it matters |
|---|---|---|---|
| Single stones in lawn | 2 to 3 in | 0.5 to 1 in | Enough support for isolated stones with low traffic. |
| Garden walkway | 3 to 4 in | 1 in | Good baseline for foot traffic and seasonal wet soil. |
| Patio or landing | 4 to 6 in | 1 in | Reduces settlement where furniture or repeated use loads the surface. |
| Wet clay soil | 5 to 8 in | 1 in | Extra aggregate helps drainage and lowers frost movement risk. |
| Cart or wheelbarrow path | 6 to 8 in | 1 in | Thicker base spreads rolling loads better than thin pads. |
| Material | Planning density | Metric equivalent | Use in calculator |
|---|---|---|---|
| Compacted crushed stone | 2,700 lb/cu yd | 1,602 kg/m³ | Base material card and breakdown. |
| Washed bedding sand | 2,600 lb/cu yd | 1,542 kg/m³ | Bedding sand card and breakdown. |
| Concrete stepping stone | 150 lb/cu ft | 2,403 kg/m³ | Stone weight estimate from thickness. |
| Natural flagstone | 160 lb/cu ft | 2,563 kg/m³ | Default for irregular flagstone layouts. |
| Limestone or sandstone | 145 lb/cu ft | 2,323 kg/m³ | Lighter slab planning range. |
| Granite slab | 165 lb/cu ft | 2,643 kg/m³ | Heavy stone handling estimate. |
Stride paths: Lay a few stones on the ground first and walk the route before digging. Adjust center spacing before cutting sod or excavating pads.
Continuous patios: Keep bedding sand thin and even. Thick loose sand can hold water, shift under traffic, and make large stones rock.
Building a stepping stone path is easy enough…right? That changes until you get out in yard with a tape measurer. How much material do you need? Should stones be close together or will that change when someone walk on it? How deep should I dig for the base layer of stone? Those quick mental estimates never quite hold up to reality. That’s why this calculator is nice.
It take your inputs and gives you material volume and stone count estimate based off what you want to make. Enter your desired length and width, which will specify what total surface area you are looking to cover. Enter the size of the stones, which will tell the calculator about how much surface they will covers when placed down. Select the thickness, since thicker stones requires more support below. Then, select the joint gap depending on if you want the stones to butt up against each other (shoulder-to-shoulder) or if you would prefer to leave space so that gravel or grass can grow between them.
How to Use the Stepping Stone Calculator
If you choose a stride pattern instead of using a grid, the calculator’s math change from the area covered by stations to the number of stations needed. This is because each individual stone are treated as its own landing spot instead of being combined into one continuous surface.
Base depth and bedding sand depth control how well the path will hold up over time. If you’re planning only an occasional walkway across relatively well-drained ground, a thin layer of gravel atop a shallow base will suffice; if furnitures or wheelbarrows may pass through (or if there’s going to be any repeat traffic), include some extra aggregate to spread the weight.
The percentage wasted factors in not just the inevitable loss at the edges where they cut the curve, but also the fact that a handful will get chipped en route to garden, and others might get damaged during installation. It also takes into account if you are laying out stride stones with individual pads underneath them rather than excavating fully to create a continuous patio surface. For stride paths, you’ll only be ordering enough sand/gravel to support just below the bottom of each stone, and then a little “apron” along all the sides. The pattern you lay things in adds its own minor waste allowance, too; if your layout is not a simple grid but something like running bond or random flagstone, you’ll trim a bit more.
The soil itself have an impact that people don’t realize. Sandy soils drain rapidly but are easily moved by the repeated pressure of feet; clay will hold water, then heave during winter. Adjusting the base depth according to these conditions avoids the gradual settling that creates a bumpy path within one season. There’s also a practical side to stone selection. Natural flagstone comes in all thicknesses, requiring thoughtful bedding to maintain a level walk; concrete is uniform and simpler to work with.
Why are there reference tables on base depth and spacing? Because in real life, no project will exactly follow textbook conditions. One person’s comfortabley stride is another’s awkward step. An 18-inch stone might be a main part of a walkway or a light garden accent, depending on its distance from the centers of other stones. The weight estimates for the materials provide a very general idea of what it is that you’ll be hefting around, something to consider when those stones begin arriving on pallets.
Instead of picking up anything more than a tape measure, just use the tool before you dig. Use it to experiment with different stone sizes and patterns. You can also compare a wider paired layout against a narrower one-stride path, or test a deeper base that requires more gravel. It’s not your final shopping list, just a place to start, but it eliminates most of the guesswork that generaly results in too many excess runs to the yard (or leftover supplies haphazardly piled in garage).
The primary consideration is this. Match the way with the path to its intended use: Light and narrow may suffice for a shortcut through raised beds; firm footing and broader stone might be required of a path from the back door to the driveway. After that, it’s just math, arithmetic that the calculator figures out, leaving you free to get down to business on level ground. You should of checked the dimensions first.