No matter how hard you work in the garden, there are times when nothing appears to go as planned. The pepper have powdery fungus on them, your vegetables are infested with hornworms, and your peppers have suddenly decided to wilt for no apparent reason.
You should pay attention when pepper plants wilt since it’s most likely a fusarium or a transplant shock causing it. Sometimes you blame it on lousy fortune and start the next season again. But no more blaming luck. Fix it.
Please continue reading to find more details on the complicated conditions faced by pepper plants and their fixes.
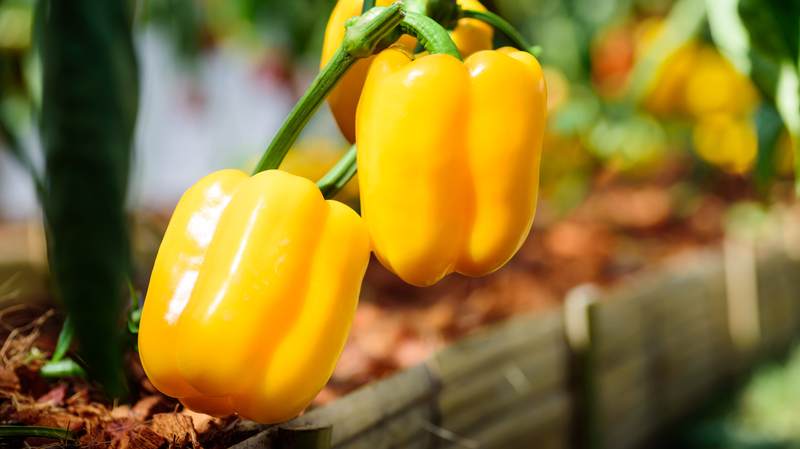
Traditional Warm-Weather Pick: Pepper Plants
Even though planting peppers can be difficult, they are still a common house and garden plant.
But did you know that cultivating peppers might be a little challenging? It’s true. These plants will likely rot away in the fall because they rely on warm, sunny weather conditions to grow and set fruit.
Sometimes you must put in a little more work to ensure your pepper plants are growing in the best conditions. But you’ll be blessed with a lovely, flourishing garden if you do.
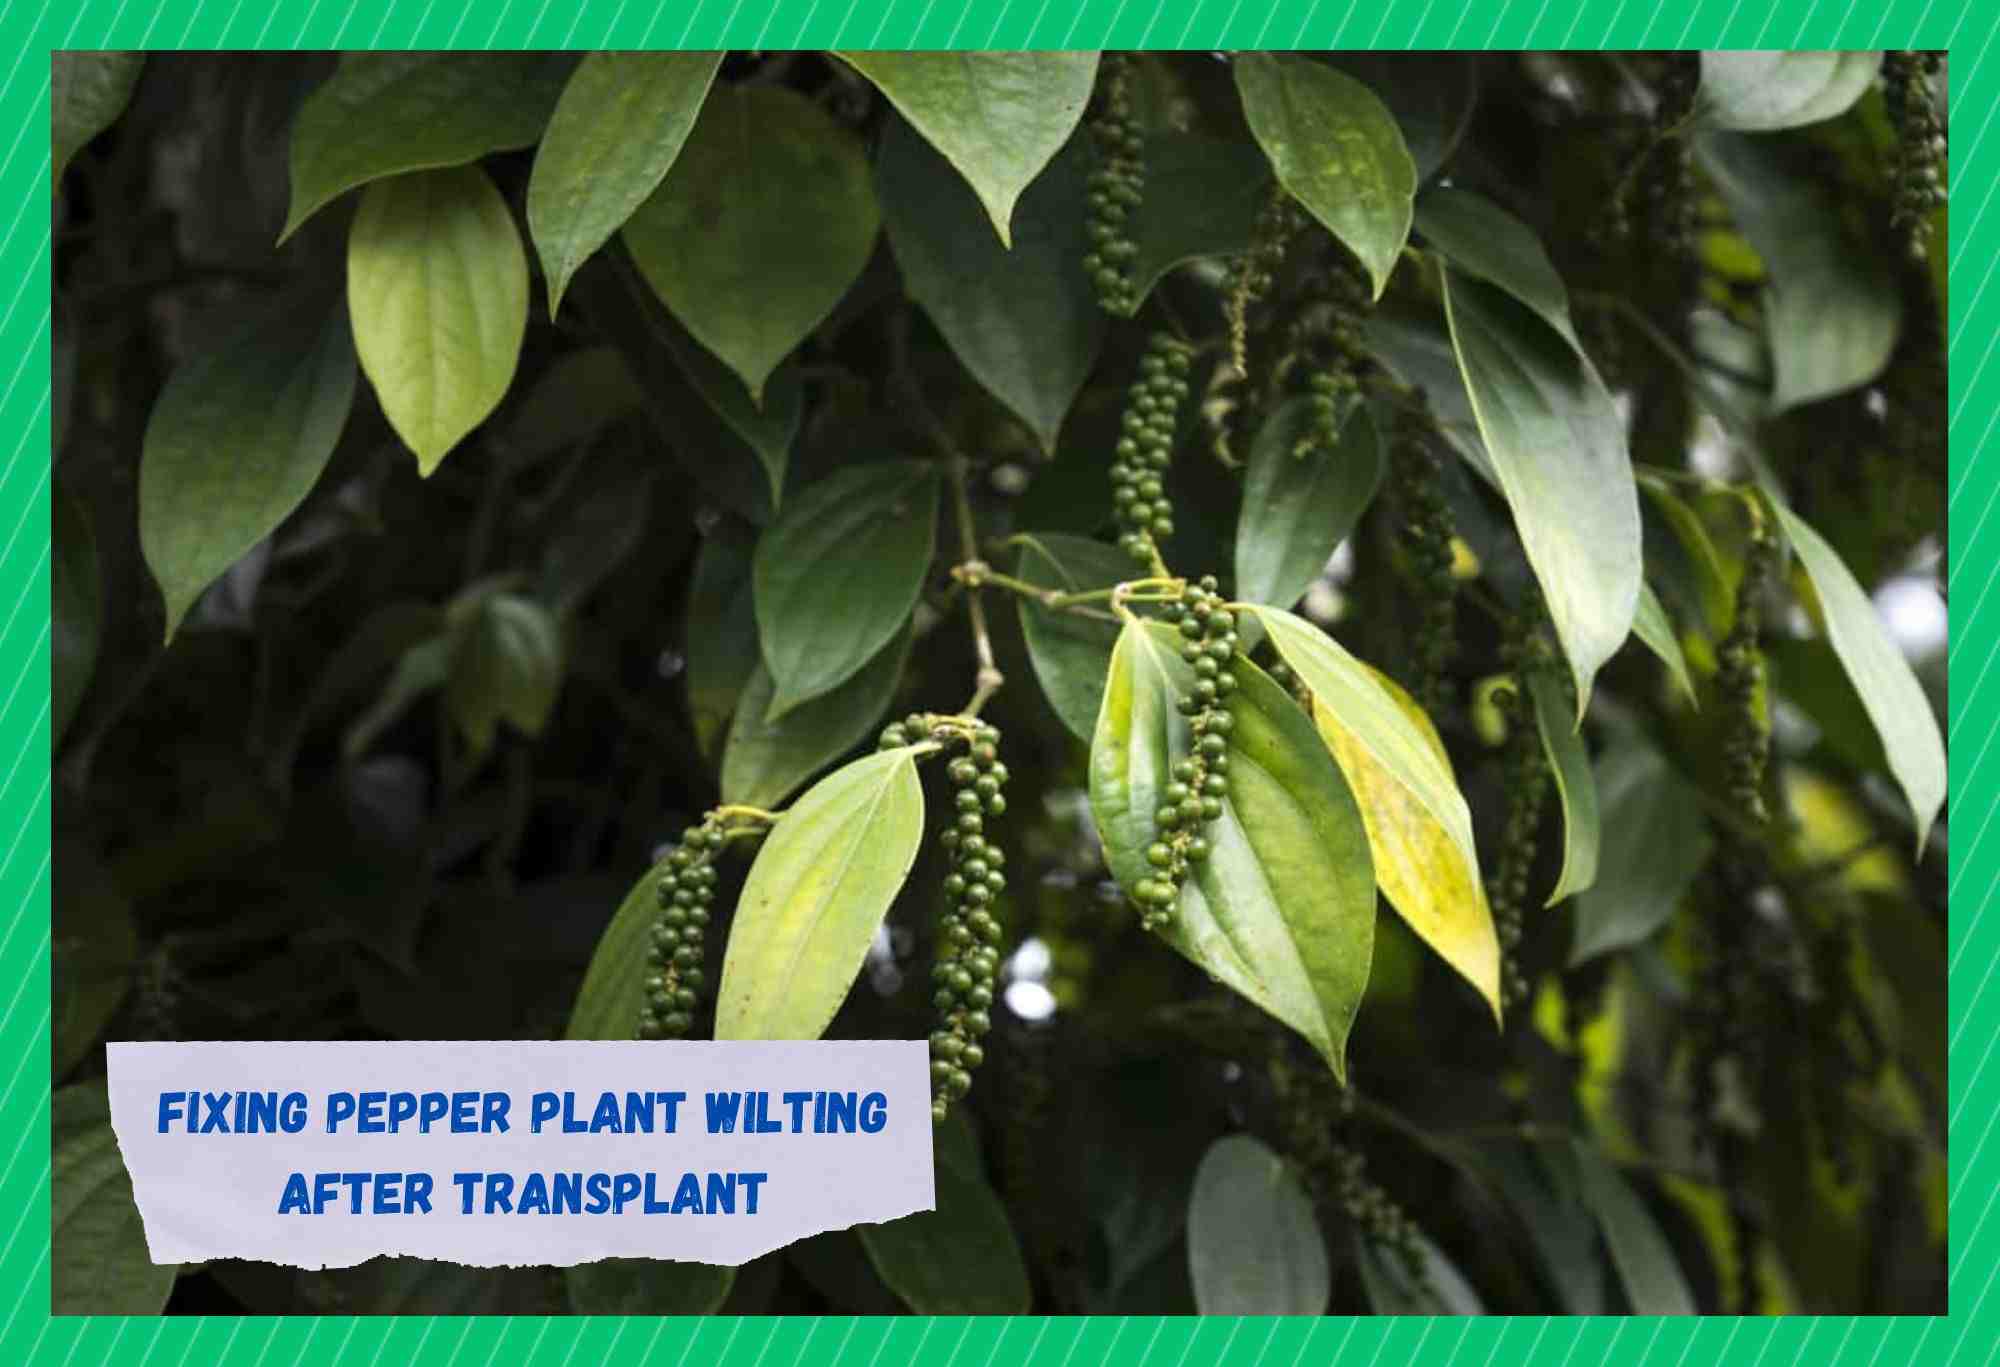
Fixing Pepper Plant Wilting After Transplant
When peppers wilt, they’re often baking in intense heat. But if you are watering your plants sufficiently or abundantly, the problem is probably fungal wilt or transplant shock.
Take a close look at the surroundings as you figure out what causes wilting peppers. How much water are you giving your peppers? Has there been a lot of recent hot, dusty wind? Have you placed them in the proper spot? Are the roots perfect in every way?
Let’s go through some of the primary reasons:
- Dried-out Soil
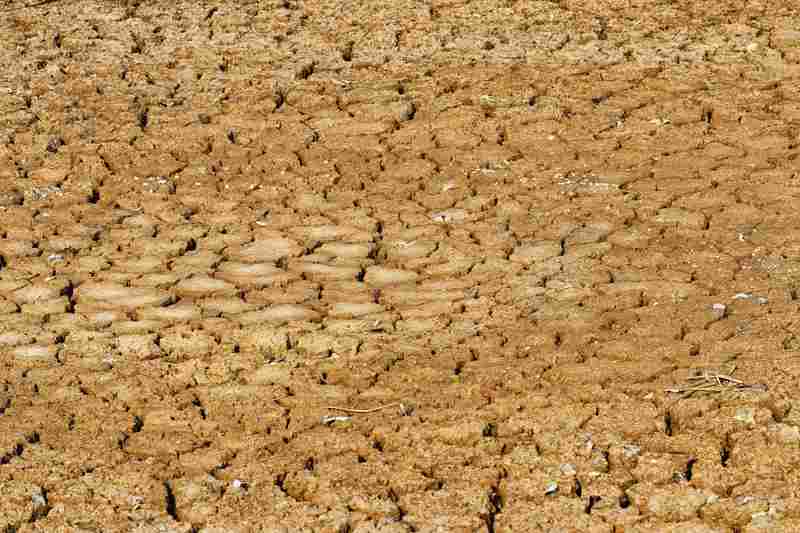
A lack of water is one of the most common causes of pepper plants’ wilting. Drooping leaves are often the first indication that a plant is becoming dry. In pepper plants, this is very apparent.
- Increased Temperatures
Pepper plants can also wilt for a variety of other reasons than low water. Heat stress, or excessive heat, can severely wilt leaves.
Prepare to avoid heat exhaustion if the temperature in your area is expected to exceed 85°F for a few days. Even though peppers are known for surviving in hotter climates, they are still sensitive to excessive heat.
- Pepper Transplant Shock
The stress condition called “transplant shock” may occur when peppers are moved to new pots. Wilting and sagging are two indications of pepper transplant shock. This shock occurs when plant roots are disturbed and can appear in as little as 15 minutes.
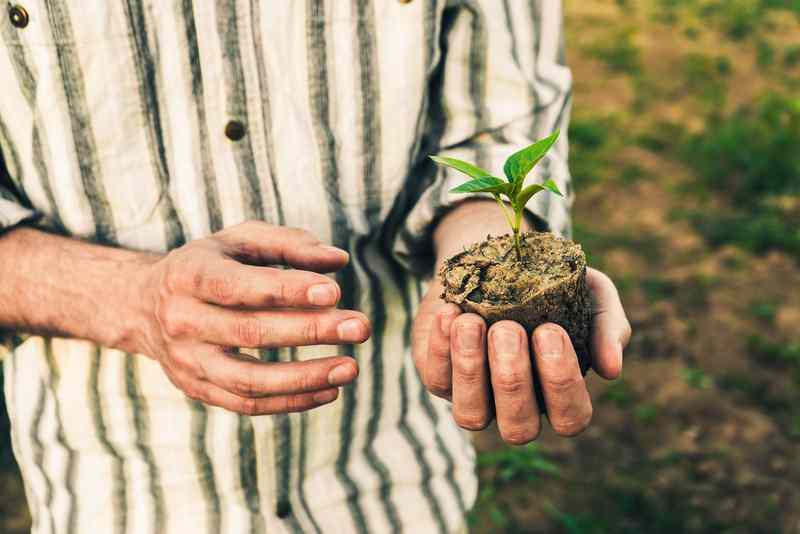
Transplanting Pepper Plants
When you transplant pepper plants, you transfer seedlings to larger containers where they can keep growing and flourishing. This procedure occurs both indoors and outdoors at least twice. This step-by-step manual explains the why, when, and how to plant pepper seedlings.
Moving your plants can make you anxious, especially if they are small. After you’ve done this a few times, it becomes simpler.
- Root Bound
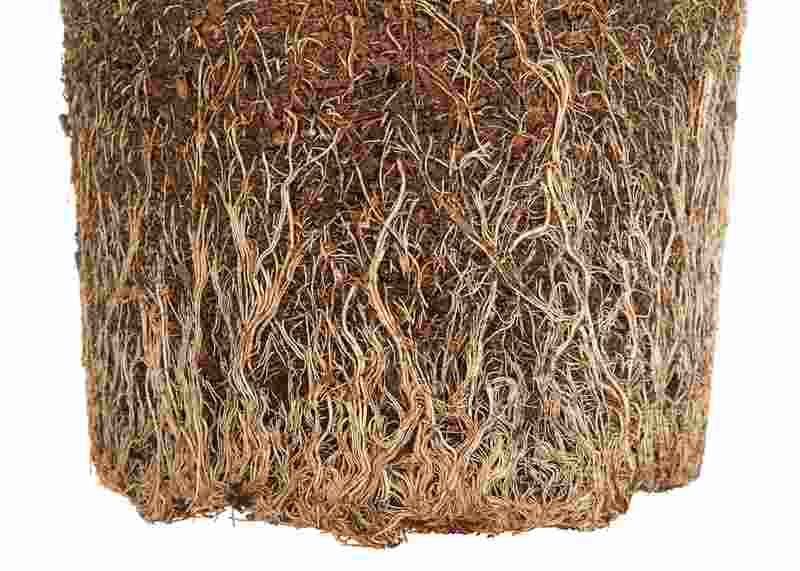
What happens if you don’t move your pepper plants to larger pots? You’ll get plants that have “root-bound” roots. In short, you won’t have healthy peppers, and your roots will tangle into a knot with prolonged growth.
Transplanting Pepper Plants Indoors
Here’s how to transfer your pepper seedlings to larger indoor pots after they’re prepared for transplant.
- Water Your Plants Before the Transfer
Transferring the seedling mix to its new container can crumble if it is too dry. Before moving on to the next stage, feed your seedlings some water.
- Hydrate The Fresh Potting Soil
The fresh mixture needs to be moist but not entirely saturated. To achieve this, fill a bucket with potting mix, slowly pour in water, and stir as you proceed. If it drops to water when you squeeze it, add extra soil.
When ready, you can form the dirt into a ball that will hold its shape.
- Get The New Pot Ready

Fill your container with the new potting mix until it is three-quarters full. Remember to label the new pot! To accommodate the pepper seedling, make a sizable hole in the middle.
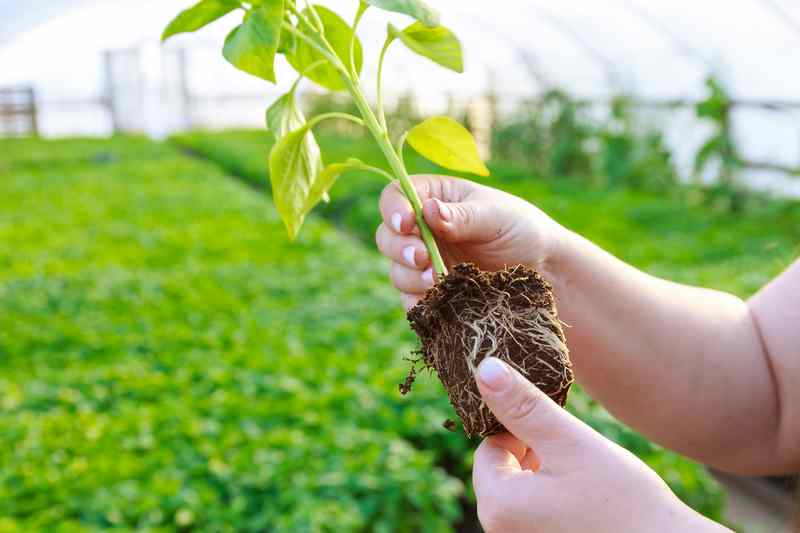
- Remove The Seedling from The Container
Turn the container upside-down if you can, and gently push the bottom to release the seedling. If not, push the plant up while circling the edge of the mixture with the spoon’s handle.
- Fill The New Pot with The Pepper Seedling
Put the seedling gently inside the new container. After that, give the soil a slight tap to stimulate the plant to bond. To fill in any spaces around the plant, add extra mix. Either bury the seedling up to the cotyledons or wait until the first true leaves appear.
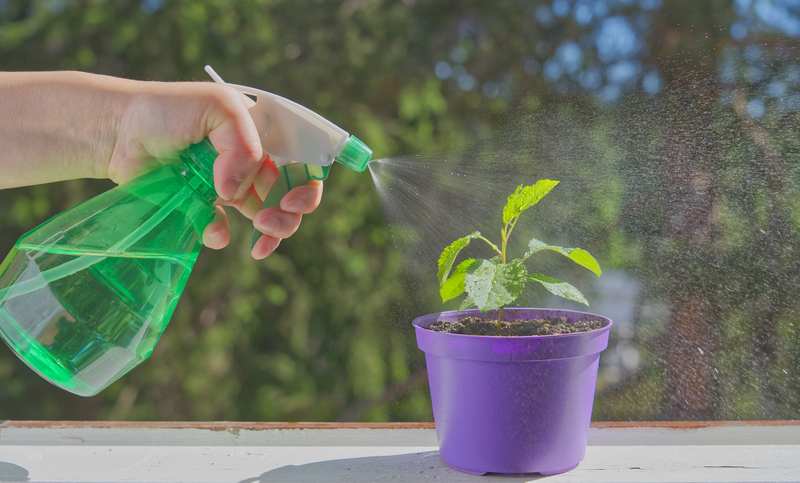
- Give Your Plant Some Water to Help It Adapt.
Lightly water the mixture on top with a watering can or spray bottle. Make sure not to moisten the stems or leaves.
When Is It Safe to Transplant my Pepper Plants?
About three to four weeks after sprout, pepper seedlings can be transplanted for the first time. Pepper seedlings are usually roughly two inches tall, with four or more pairs of leaflets at that time.
- Tip for Bell Peppers
Knowing when to move bell pepper seedlings to larger containers can be difficult. Bell peppers won’t always have two sets of leaves. Instead, look for roots poking through the cell tray or the current pot’s bottom. Your seedlings can be transplanted once the roots extend the entire length of the container.
How to Deal with Pepper Transplant Shock?
Peppers are generally moved into bigger containers as they grow. They can go through transplant shock when it’s time to go from the indoors to the outside. It’s possible that your pepper plants are withering because of the changing environment if you recently put them outside.
Transplant shock doesn’t have to destroy your seedlings; there are many things you can do to avoid it. Among them are:
- Hardening-Off Process

Seedlings grown indoors under artificial light, where the temperature is cozy and comfortable, will suddenly experience a major shock when transported outside. This is why it’s crucial for the survival of your pepper plants’ seedlings to adjust to the outdoors slowly.
Gradually increase the time your pepper plant seedlings spend outside until they are ready for transplanting. Start with an hour in the shade and slowly but surely raise it to one to two hours daily for a week.
By the time your plants need to be transplanted, this will have given them “good” stress, which will have made them hardy and tough.
- Weather-Check
Being patient and paying attention to the changeable seasons can sometimes be challenging for gardeners. When relocating seedlings, always check the weather first. In the coming week, how chilly will the nights become? Perhaps it would be wise to wait if you knew you might experience severe frosts.
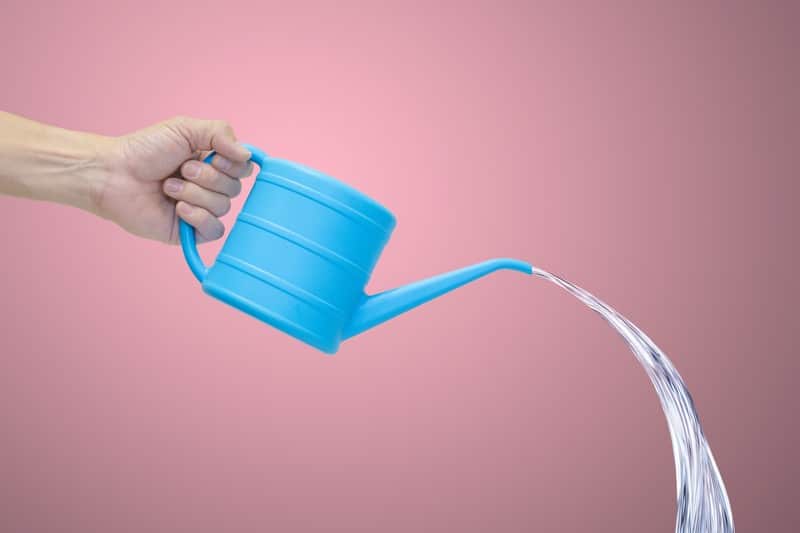
- Watering Before and After the Transplant
The best thing you can do to lessen transplant shock is to water your seedlings. Because water softly permeates the cloth, you can even water plants through row covers. At this point, always check the ground for humidity levels and apply mulch or drip irrigation to balance moisture.
The plant will suffer severe withering and shock if its roots become dry during the transplant. Give your seedlings a big sip of water right after transplanting, and keep watering them for the first week.
- Never Hesitate to Prune
While leaves are essential, vegetation changes and regenerates all the time. If the pepper plant is mature enough, you should focus on pruning before transplanting seedlings so that the roots have fewer leaves to worry about.
- Don’t Mess with The Roots
Avoid the urge to disturb your seedlings’ roots when transplanting them. You should also avoid pruning or breaking up the root ball if it’s young. However, it’s acceptable to slightly detangle some of the roots of a root-bound seedling to access the soil more easily.
Conclusion
It would be best if you now were less concerned about transplant shock and only viewed it as a necessary evil. Keeping this in mind will help you to understand that transplant shock is only a temporary phase.
If you start to feel impatient, remember that new leaves might appear up to two weeks after the roots have become established.
After two weeks, if your plants still appear dead and wilted, you should start exploring alternatives, such as direct seeding, growing fresh seedlings, or purchasing new starts from the nursery.