Daffodil Bulb Planting Depth Calculator
Calculate narcissus planting depth from bulb base to finished soil, soil cover over the bulb, spacing, and bulb count for named daffodil types in beds, borders, lawns, raised beds, and containers.
Daffodils are normally planted deeper than many small spring bulbs. This calculator treats depth as the distance from the soil surface to the bulb base, then shows the soil cover above the bulb nose so you can plant firmly without burying them too shallowly in cold or loose soils.
📋Daffodil And Narcissus Presets
⚖Depth Method Comparison
Large trumpet, large-cupped, and double daffodils usually settle well with a hole about three bulb heights deep.
Small bulbs need enough cover to root, but they can sit slightly shallower in containers and tight rock garden pockets.
Lawns, meadows, and orchard edges favor the deeper end so freeze-thaw cycles and mowing do not expose bulbs.
Paperwhites forced indoors are not buried like outdoor daffodils; the nose often stays visible above stones or mix.
⚙Bulb, Bed, And Soil Inputs
Your Daffodil Planting Plan
The calculated plan will appear after you enter bulb and site details.
📏Daffodil Reference Grids
📚Reference Tables
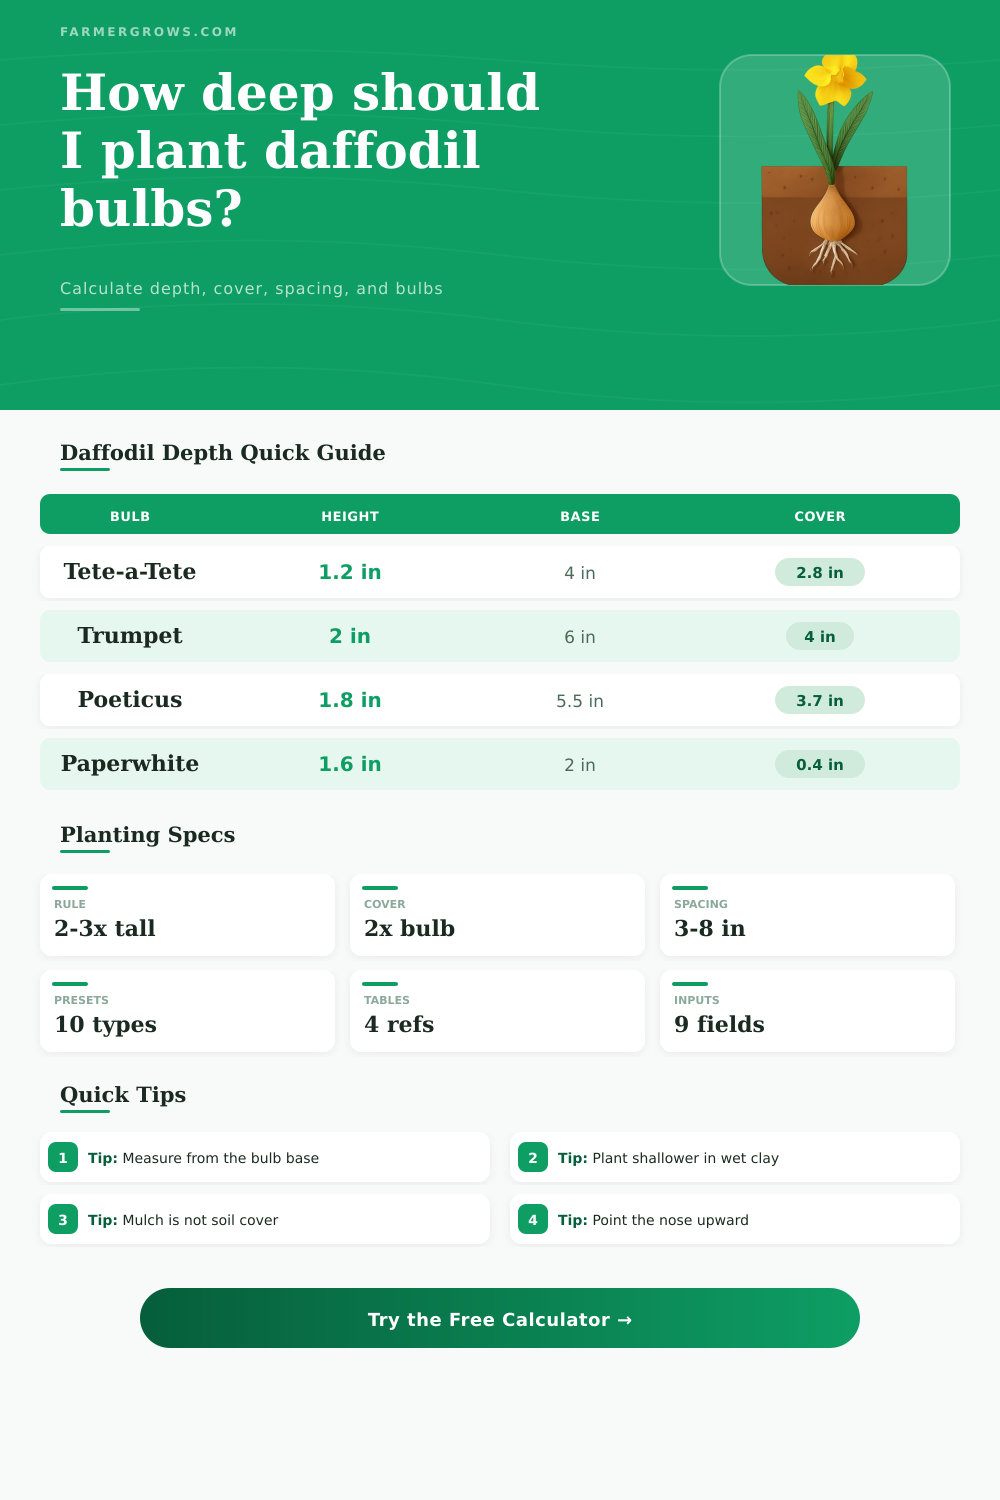
Named daffodil bulb depth presets
| Daffodil or narcissus | Typical bulb height | Outdoor base depth | Best use |
|---|---|---|---|
| King Alfred trumpet | 2.0 in / 5.1 cm | 6.0 in / 15.2 cm | Classic border clumps and cutting rows |
| Tete-a-Tete miniature | 1.2 in / 3.0 cm | 3.5 to 4.0 in / 8.9 to 10.2 cm | Containers, edging, and rock garden pockets |
| Ice Follies large-cupped | 1.8 in / 4.6 cm | 5.0 to 5.5 in / 12.7 to 14.0 cm | Mixed spring beds and broad drifts |
| Actaea poeticus | 1.8 in / 4.6 cm | 5.5 in / 14.0 cm | Cool meadows and late fragrant displays |
| Thalia triandrus | 1.6 in / 4.1 cm | 4.5 to 5.0 in / 11.4 to 12.7 cm | Partial shade, drifts, and refined borders |
| Ziva paperwhite | 1.6 in / 4.1 cm | 1.5 to 2.5 in / 3.8 to 6.4 cm | Indoor forcing bowls with the nose visible |
Soil and drainage depth adjustments
| Site condition | Depth effect | Why it matters | Planting note |
|---|---|---|---|
| Sandy or gritty soil | Add about 0.25 in / 0.6 cm | Loose soil shifts and dries faster | Firm soil below the basal plate after setting bulbs |
| Loose loam | Use the standard depth | Balanced drainage and winter protection | Water once to settle soil pockets |
| Clay loam | Reduce about 0.2 in / 0.5 cm | More winter moisture around dormant bulbs | Blend grit or compost through the planting zone |
| Heavy clay or slow drainage | Reduce 0.4 to 0.7 in / 1.0 to 1.8 cm | Deep wet clay can rot basal plates | Use raised planting pockets where possible |
| Very cold exposed soil | Add about 0.4 in / 1.0 cm | Extra cover buffers freeze-thaw lifting | Mulch after the ground cools, not while warm |
Spacing and bulb count guide
| Pattern | Center spacing | Bulbs per sq ft | Use case |
|---|---|---|---|
| Tight container display | 2 to 3 bulb widths | 9 to 16 small bulbs | Short-term pots where bulbs are lifted or divided soon |
| Natural drift | 3 to 4 bulb widths | 4 to 8 bulbs | Informal clusters in beds and under shrubs |
| Border clumps | 5 to 6 in / 12.7 to 15.2 cm | 3 to 5 bulbs | Repeatable clumps with room for foliage |
| Long-term naturalizing | 6 to 8 in / 15.2 to 20.3 cm | 2 to 4 bulbs | Lawn and meadow plantings that increase over time |
| Cutting row | 4 to 6 in / 10.2 to 15.2 cm | 4 to 6 bulbs | Easy harvest rows with clear maintenance paths |
Common planting areas at standard depth
| Planting area | Typical layout | Large bulbs needed | Mini bulbs needed |
|---|---|---|---|
| 12 inch patio pot | Tight container ring | 5 to 7 bulbs | 10 to 14 bulbs |
| 3 sq ft front clump | Small border triangle | 9 to 15 bulbs | 18 to 24 bulbs |
| 10 sq ft shrub edge | Natural drift | 28 to 45 bulbs | 55 to 80 bulbs |
| 25 sq ft lawn patch | Long-term naturalizing | 50 to 90 bulbs | 100 to 150 bulbs |
| 4 ft cutting row | Staggered row | 8 to 12 bulbs | 14 to 20 bulbs |
🌱Planting Notes
Set the bulb on firm soil with the pointed nose upward, then measure the calculated depth from the finished soil surface to the bulb base. If the soil is fluffy, plant slightly deeper only after firming below the bulb.
If the calculator flags slow drainage, do not solve it by burying bulbs deeper. Improve drainage, raise the planting zone, or choose a container mix so the basal plate stays moist but not waterlogged.
Daffodil growing isnt just stick-a-bulb-in-the-ground-it’s-deep-enough gardening; actualy, certain daffodil varieties is fussy about how deep they go. Too shallow, and those bulb gets lifted out of the earth by the freeze/thaw cycle and aren’t properly anchored when spring comes along. Too deep (as with heavy clay) and the bulb’s base plate doesn’t breathe, eventually rotting. Right depth equals better show in garden.
Bulbs are planted so growing point (the top of the bulb) gets just the right amount of protection from winter cold. The bulb must also be planted deep enough to support stem without crushing or damaging it. To achieve both these goals, most bulbs is planted at a depth equal to three times their height. The height is distance from the top of the bulb to the bottom when it is lying on its side. That’s why the multiple-3 is used as a measurement: It ensures enough soil around stem but not so much as to crush it, while ensuring that the emerging growing point will stay cozy.
How Deep to Plant Daffodil Bulbs
The calculator on the page takes all that into account for you when you type in details of your particular kind of bulb, and where exactly it’s going on your site. That’s the way good gardeners work: with variables, so-called dynamic variables, not static numbers. How deep to plant depends most on type of soil: Bulbs planted in sandy loam need tool to add a bit of extra depth to account for its lack of holding power; heavy clay needs less depth to keep the dormant root end well above soggy ground. The way the soil drains has everything to do with bulb survival… And if it’s soggy much of this winter, no sneaky depth change can rescue what’s really drowning. Trust the drainage rating you choose.
Then there’s the matter of spacing, where our intuition again goes wrong. It might seem good to plant things close together at first, but they will compete for space in a couple of years. According to chart (below), how many bulbs do you need in what space? Want an instant show in a pot? That takes more bulbs per square foot than a longer-term naturalized area. In those areas, you let things grow wild and space them far enough apart so they don’t strangle one another as the clumps split up over time.
The depth at which you set your targets shifts depending on winter exposure. If your climate is relatively warm and ground never freezes hard, you can go up to normal minimums. But if there are serious cold snaps in winter, or if your slope is particularly frost-prone; then that extra inch of soil cover matters big-time as an insulator between your tender young shoots and potentially fatal temperature swings. The device takes your personal Winter Severity Rating into account when calculating the final number.
People often think “mulch” goes toward planting depth. Nope. Mulch is aboveground stuff; its purpose is to buffer surface temperatures. Your roots need solid earth down to where the bulb itself sits. This provides firm, physical support for those roots when they begin their downward journey in fall. The calculator makes this distinction clearly between these two inputs, don’t double-count a layer of shredded bark as structural coverage!
Paperwhites are the exception that proves the rule. Because you typically grow them in a shallow bowl, and sometimes force them indoors, those bulbs is planted far more shallowly than any outdoors variety would be. The nose comes aboveground, with the roots high. This is the opposite of how a border variety like Ice Follies or King Alfred is buried deep in the ground. A paperwhite won’t take kindly if you try to put it six inches underground; it’ll probably rot first.
The trick is to know your measurements. The pointed end is not the bulb’s bottom, but the flat end you want to match up with when measuring. Why? If those top layers are compacted, there isn’t space for the nose to grow upwards again. After placing a bulb, firm soil beneath so that the bulb’s root plates will have good contact with the dirt in the ground.
The how-to relies less on a step-by-step instruction book, and more based off knowing the details of where you live: Is it well-draining? Does the soil hold up (meaning can it support the weight of what you are covering)? Use the tool to give you a good head-start by using horticultural best practices as a guide…but then check yourself to make sure. Get the first handful of clumps in properly, and they’ll pay off for years and years and decades of easy springtime joy. We’re digging this: a nice hole, yes, but with an eye toward creating a home for next year’s crop of growth. Not every daffodil is a pretty digger, in fact they’re long-term investments that pay off when you take good care at planting time. What will work best in your garden depends on what you do right now; get it wrong and there’ll be hell to pay. Follow the math; but then watch where the bulbs fall as they settle into place.