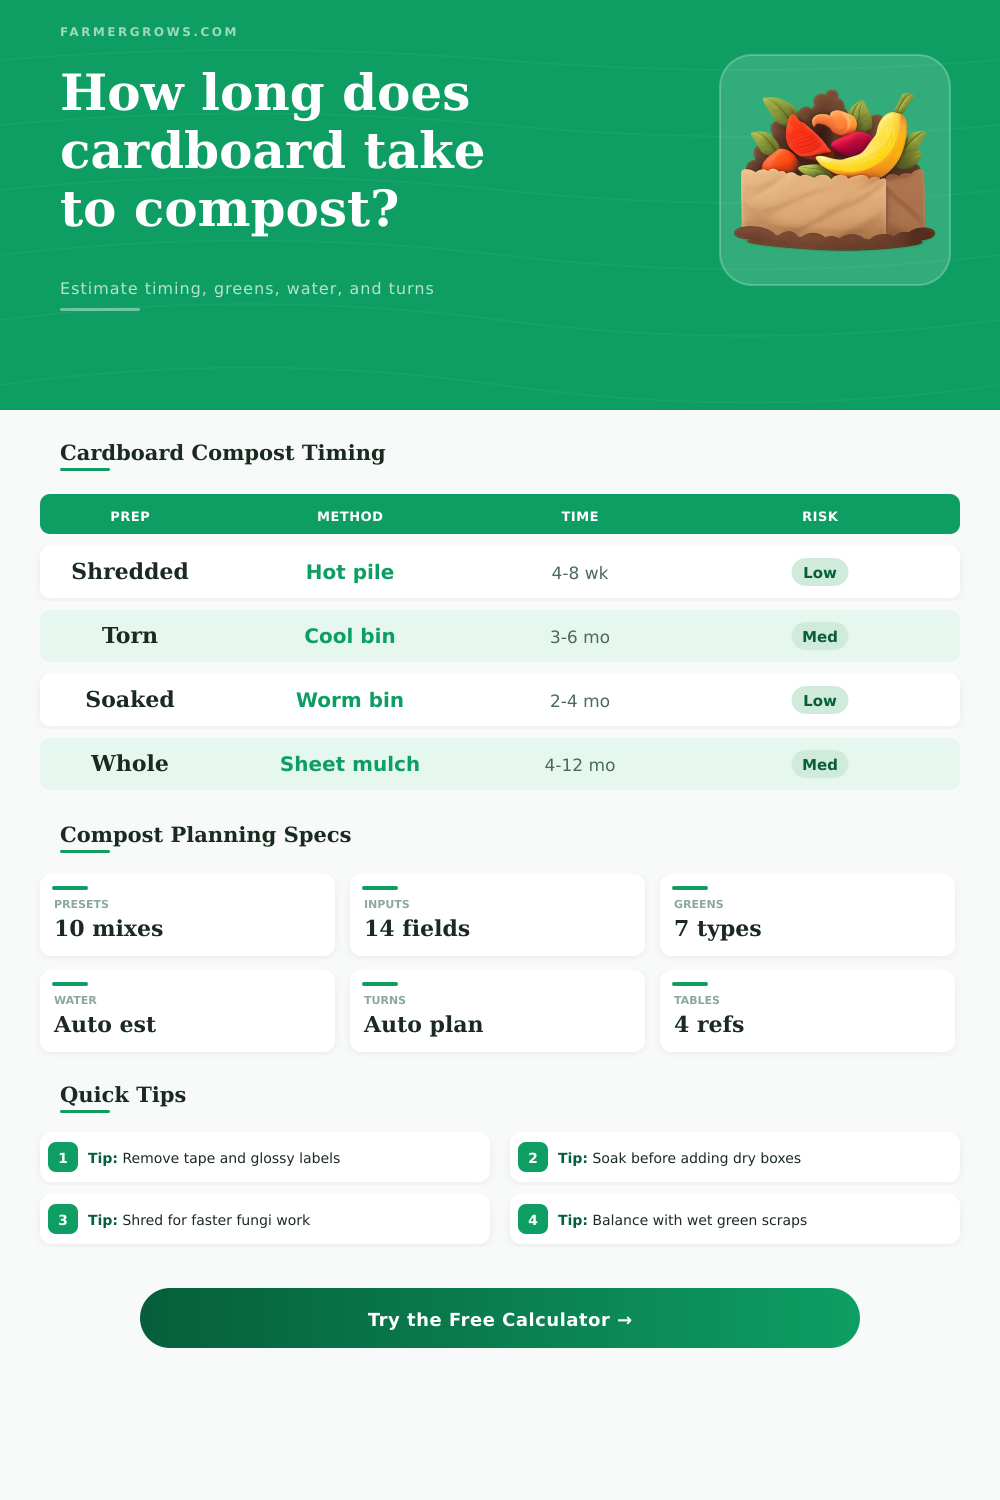
Cardboard Composting Time Calculator
Estimate how long cardboard will take to break down in compost, how much wet green material to add, how much water to use, when to turn it, and whether the batch is likely to stay fungal, balanced, dry, or matted.
Cardboard is a dry, carbon-heavy brown. It composts quickly only when tape is removed, pieces are opened up, moisture reaches the inner flute, and nitrogen-rich greens are mixed through instead of left in layers.
Cardboard Compost Estimate
Use the finish window as a planning range. Cardboard disappears fastest when it is wet inside, shredded small, mixed with greens, and turned before dry pockets form.
| Cardboard prep | Typical hot pile time | Typical cool bin time | Best use | Watch for |
|---|---|---|---|---|
| Shredded under 1 inch | 4 to 8 weeks | 2 to 4 months | Fast compost, tumblers, active bins | Clumping if soaked then compressed |
| Torn 1 to 3 inch pieces | 6 to 10 weeks | 3 to 6 months | Home bins with food scraps or grass | Dry centers in thick piles |
| Scored or punched sheets | 8 to 14 weeks | 4 to 8 months | Lasagna beds and trench composting | Layering that blocks air movement |
| Whole flattened sheets | 3 to 6 months | 6 to 12 months | Sheet mulch under wood chips or leaves | Edges drying before soil contact |
| Pulp egg cartons or trays | 5 to 9 weeks | 2 to 5 months | Worm bedding and small bins | Over-soaking into dense pads |
| Green material | Typical C:N | Suggested volume vs loose cardboard | Moisture effect | Timing effect |
|---|---|---|---|---|
| Fresh grass clippings | 17:1 to 25:1 | 1.5 to 2.5 cu ft per cu ft | Very wet | Fast, but can mat |
| Kitchen fruit and vegetable scraps | 15:1 to 20:1 | 1.25 to 2 cu ft per cu ft | Wet | Fast if mixed well |
| Coffee grounds | 20:1 to 25:1 | 0.8 to 1.5 cu ft per cu ft | Damp and dense | Fast in thin layers |
| Aged herbivore manure | 12:1 to 25:1 | 0.75 to 1.5 cu ft per cu ft | Moist | Fast heat builder |
| Finished compost starter | 20:1 to 30:1 | 0.5 to 1 cu ft per cu ft | Moderate | Adds microbes, not much nitrogen |
| Starting condition | Water per lb dry cardboard | Water per kg dry cardboard | Good sign | Problem sign |
|---|---|---|---|---|
| Dry corrugated boxes | 0.35 to 0.55 gal | 2.9 to 4.6 L | Flutes bend and darken | Stiff dry channels remain |
| Partly damp pieces | 0.15 to 0.30 gal | 1.3 to 2.5 L | Pieces tear easily | Water runs out immediately |
| Pre-soaked cardboard | 0 to 0.15 gal | 0 to 1.3 L | Damp sponge texture | Slimy compressed pads |
| Sheet mulch under chips | 0.25 to 0.50 gal | 2.1 to 4.2 L | Sheets settle to soil | Corners curl upward |
| Material | Compost suitability | Approx dry density | Prep priority | Calculator adjustment |
|---|---|---|---|---|
| Plain corrugated shipping box | Excellent after tape removal | 0.28 lb per sq ft sheet | Open flutes, shred or tear | Baseline timing |
| Brown kraft cardboard | Excellent | 0.22 lb per sq ft sheet | Soak before mixing | Slightly faster |
| Thin paperboard | Good if not plastic-coated | 0.12 lb per sq ft sheet | Tear small, avoid glossy coating | Faster, lower volume |
| Pulp egg carton or tray | Excellent for worms | 5 lb per loose cu ft | Soak and crumble | Faster in moist bins |
| Waxed or glossy coated board | Poor for compost | Varies | Remove from batch when possible | High risk warning |
For faster breakdown: Wet cardboard until the corrugation softens, then mix it through greens instead of making a thick brown layer.
For cleaner compost: Remove tape, plastic windows, shipping labels, staples, and glossy coated pieces before shredding or soaking.
For worm bins: Use plain soaked cardboard as bedding, but keep the bin airy and avoid hot manure-heavy mixes.
For sheet mulch: Overlap edges, soak the sheets, and cover them with mulch so soil contact stays damp.
To a composting expert, those empty shipping boxes is gold: They’re slow-release carbon, while you see just another heap of garbage. It is physics, not effort, that allow one person to see what other sees. If you stack cardboard like a blanket, it can linger for months, but if you treat it like sponge cake, it will break down much fasterer. Use the calculator on this page for guidance.
This help you avoid overwatering or undermoisturizing and stops you from wondering if you are doing either one in your bin. This is also where most people go wrong: They add bits of materials in layers, brown, then green, then more brown. In pictures, that’s nice, but in practice, those are dry air pockets that stop decomposition. To soften cardboard fiber so it breaks down, you need to have a moist layer of something rich in nitrogen against the cardboard.
How to Compost Cardboard Easily
If you shred the boxes (into chunks no bigger than your thumb) and mix them with compostable stuff like grass clippings or even just kitchen scraps, you’re giving the inside fluting access to moisture and microbes. That’s why the tool wants to know how you prepared the material, and why shredded is better. A sheet of material take months to break down. When shredded, it dissolves within weeks because the fungi has to work its way inward from the outside of a dense, dry piece of paper. It seems like a tiny change but makes all the difference.
There’s also a hidden variable called moisture. If you compress cardboard too tightly, its structure breaks down and it will repel water once it is full. At that point, the cardboard just gets in the way. What you’re looking for is something like a wet sponge (not slimy sludge, nor brittle sheet). Adding dry boxes to an already-started compost heap act as drying agents which steal water from neighboring greens, thereby halting bacteria action right around there. Soak ’em first before putting the cardboard into bin.
Knowing the amount of pounds of cardboard you put in isn’t nearly as important than understanding the water inputs. To begin this chemical process, it needs some green materials that supply the nitrogen. But not all greens has the same amount of energy. Wet and fresh grass clippings are potent, so you need less of them to balance out a lot of dry materials. Drier and denser coffee grounds takes more volume to do the same trick. To substitute one ingredient with another, follow the ratios in the table on the page.
The right ratio is what you’re striving for. A healthy pile should be neither too thin nor stinky from rotten-egg smells caused by lack of air. Composting isn’t exactly a workout, but it is redistributing. When I turn the heap, I shift any wet spots from the sides (where they may have become soaked) into the relatively drier interior of the heap. I also loosen the parts that have gotten packed down, especially where sheets of cardboard is matted. Those can create barriers that block air circulation and hold in smells unless they get disrupted regularly by turning.
Depending upon your location’s current temperature, the calculator will suggest how frequently to give it a stir, factoring in the size of the heap you’ve made. If the weather is warmer (fast-forward!), the microbes will be working faster, gobbling up moisture quicker so it needs attention more frequently. If you don’t want to go the heat route, worm bins can be more gentle. Soaking, shredding, cardboard, which will hold in moisture but still have air pockets, is a favorite of red wigglers. However, don’t make it too acidic or too hot (excess manure). And make sure there’s some fluffiness to the bedding so the worms can travel between moist air pockets without wading in muck.
And last: What doesn’t go into the bin? Plastic tape, waxed pizza boxes, glossy coatings, none degrade on a schedule that’s fast enough to serve you or the garden. If you leave them, they will remain in your finished soil. Get rid of them during this stage of prep so you could of saved yourself hours of sifting and complaining later.
There’s one resource that a home composter has in great abundance: cardboard. But use it well by feeding it a little water and some nitrogen, turning it frequently to let in air, and shredding it to increase its surface area. Then you’ll have dark, loamy compost to work into the garden. This will enrich your soil and hold moisture for many growing seasons to come.
It all began as trash, in your cart’s empty boxes. Now look at it: fuel for the very soil you hope to grow food upon.